Replicating the “Every Second Counts” Sign from The Bear
Background:
The Bear is my favorite piece of media on the planet.
I was introduced to it as a “family show,” meaning a series that my siblings, parents, and I watch together for every episode.
The five of us happen to agree on the “best” episode. It’s season 2, episode 7, titled “Forks”. In this episode, you learn about the phrase “Every Second Counts” and it becomes a driving force of the series.
For Christmas, I decided to commemorate our love for the show by recreating the “Every Second Counts” that appears in “Forks”. It’s important to note that this project tried to replicate the sign as perfectly as possible. I began this project in September 2023 and completed it on Christmas eve (down to the wire… I know).
This project post may contain spoilers, so proceed with caution.
Research
I began with market research by looking at what people were currently doing to recreate the sign. I found a couple different versions on Etsy, but they were pretty rudimentary. They looked to be either laser cut acrylic or just 3D printed it as shown below. None of the current products looked to accurately recreate the sign at a high level, so I had to start fresh.
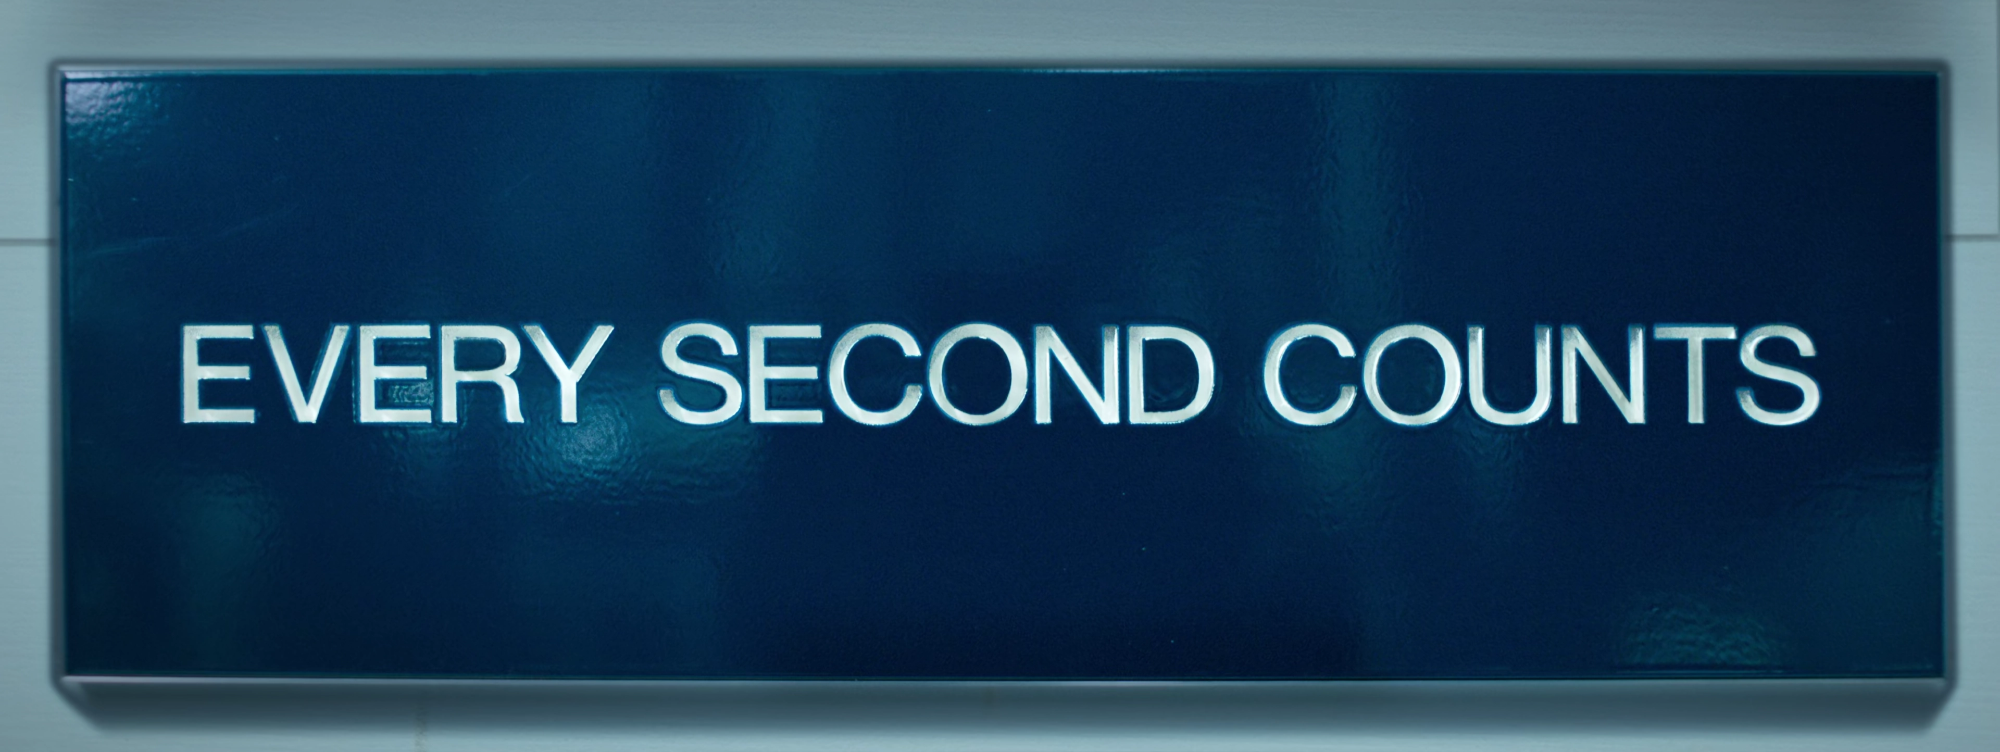
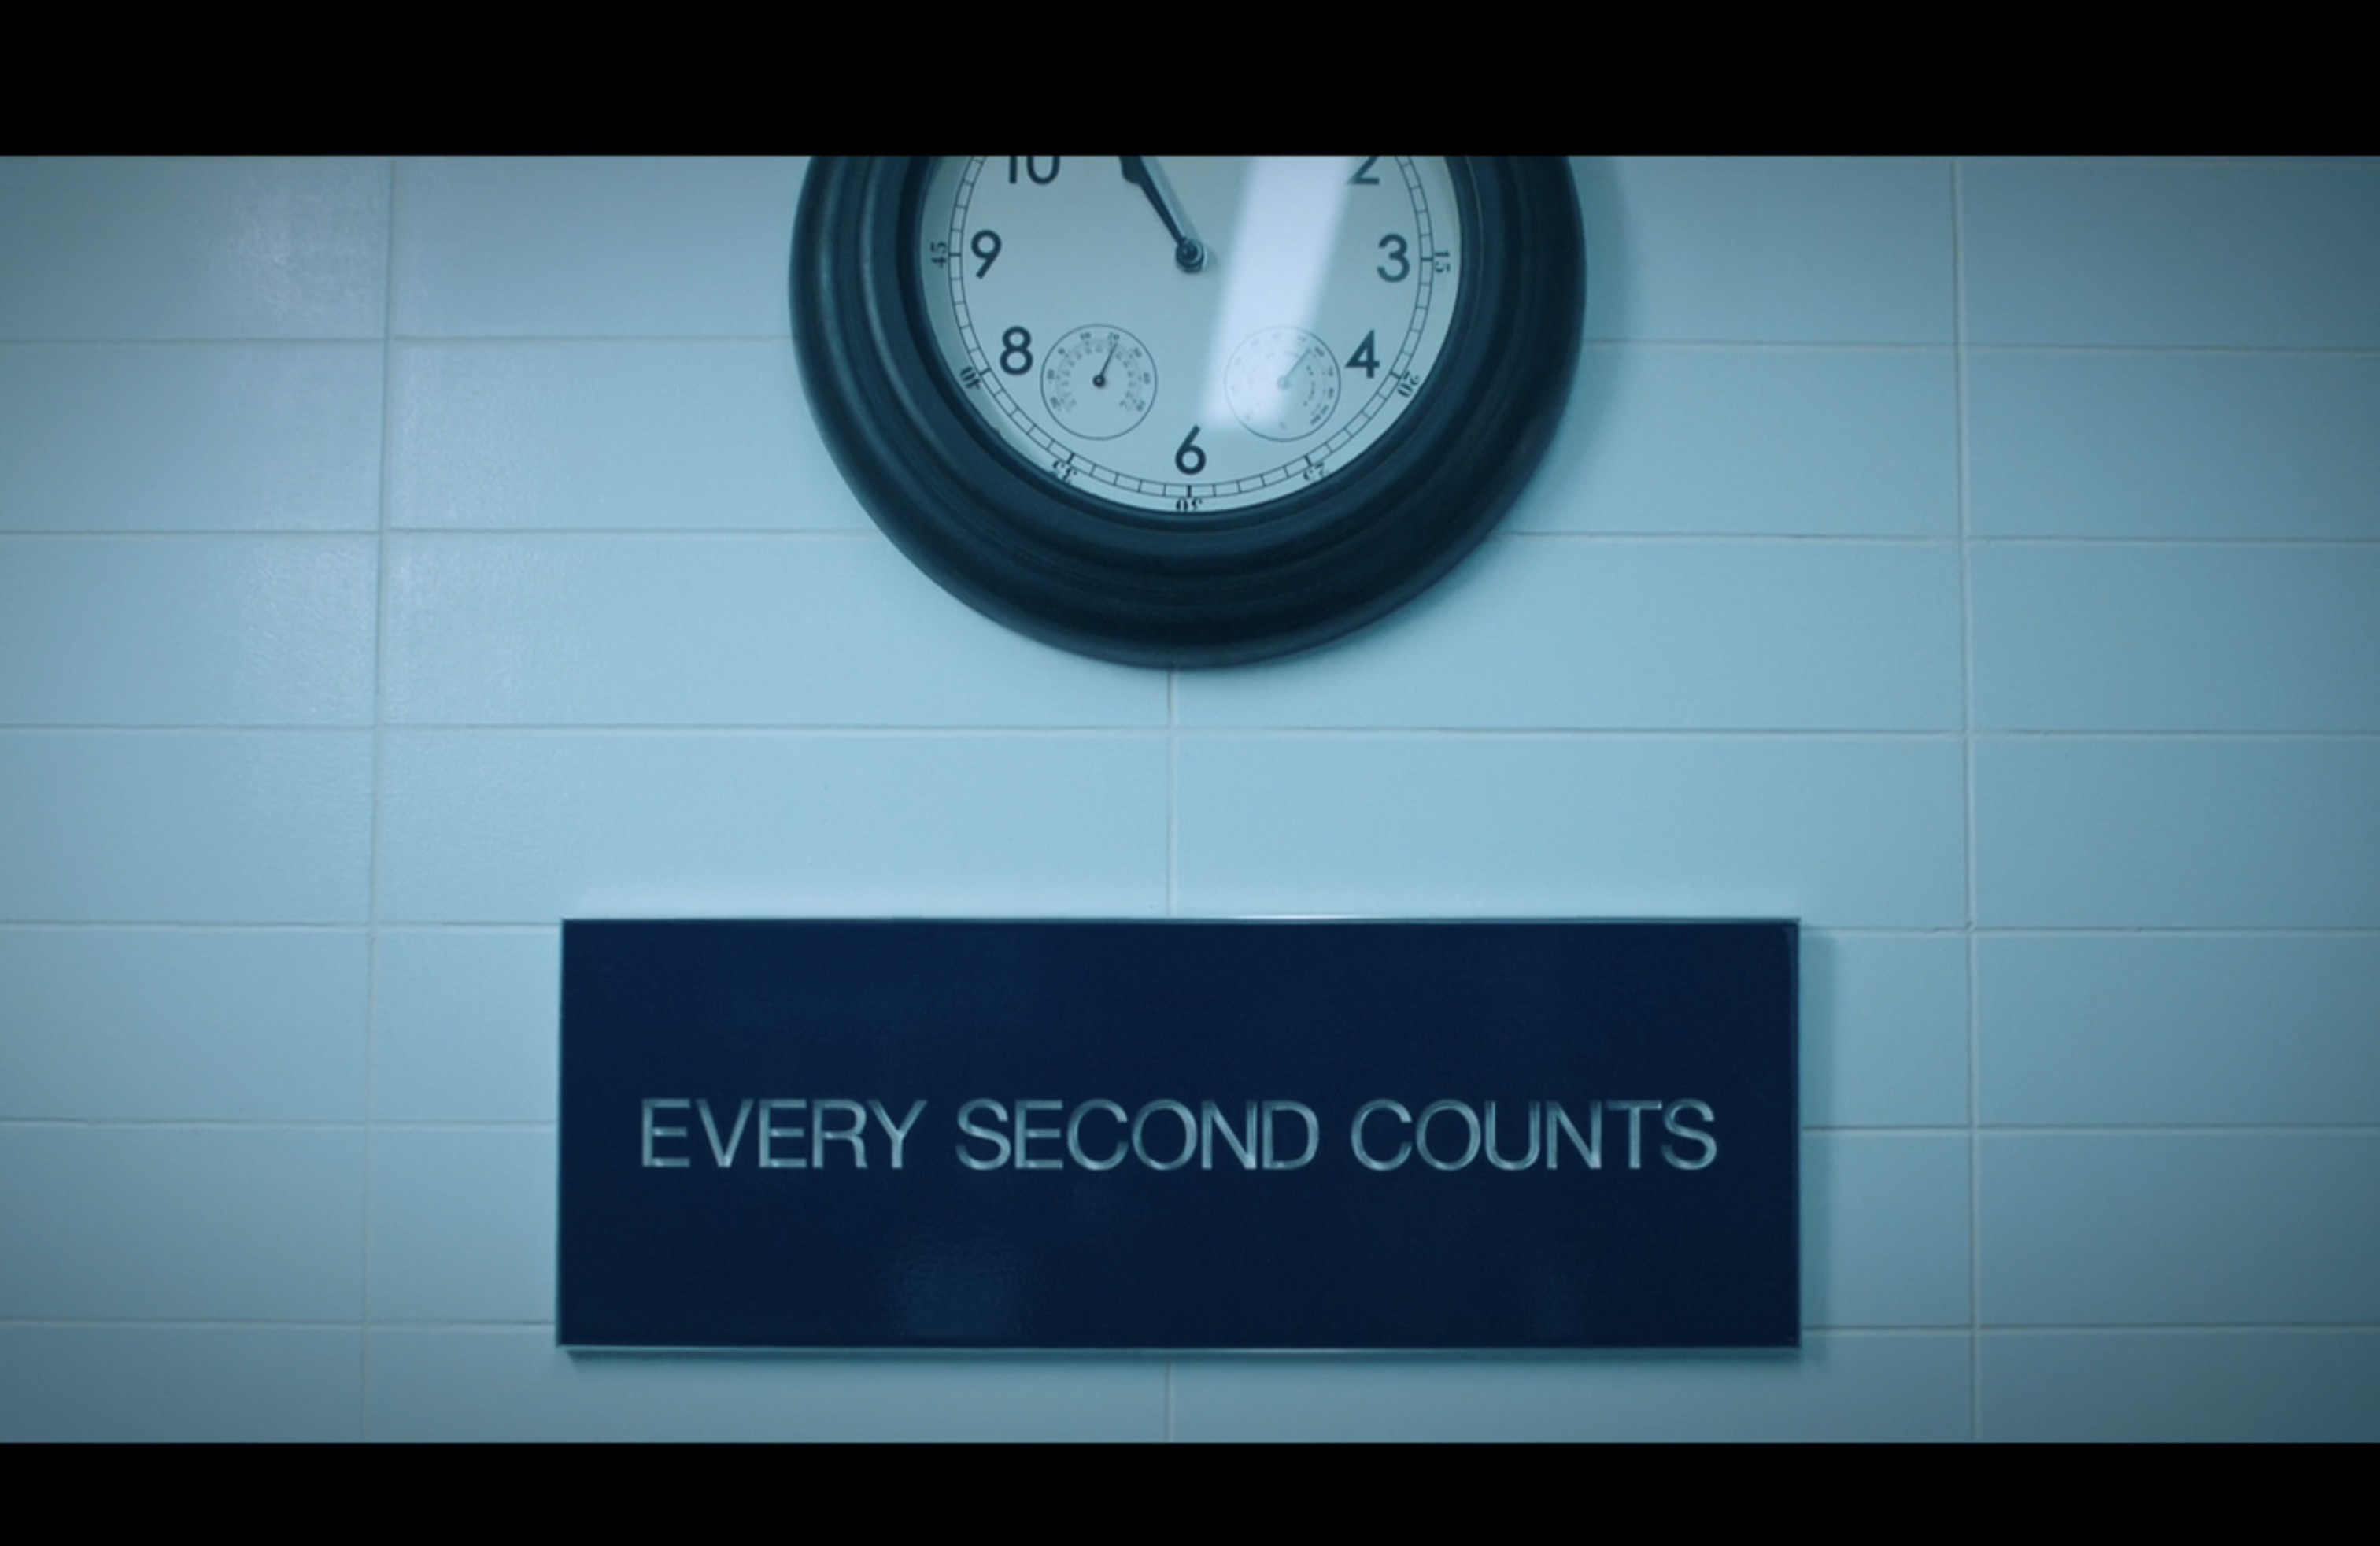
The next step was to find as much content from the show itself for reference. I happened to already have a solution to getting a high-res snapshot of the sign from a previous project. Using a little bit of javascript, I was able capture this image from Season 2, Episode 7 at minute 32:41:
At first glance, the sign looks pretty straightforward: a blue sign with a grayish frame and white letters. After studying it for a bit, though, I was left with many questions. “What material is the frame? Are the letters recessed? How big is it?” And the biggest one of all: “What is that surface finish?”
Armed with these questions, I realized that it would be necessary to find shots of the sign at a couple different angles in order to accurately recreate the prop. So, I went through each episode and grabbed some frames. In total, there are 3 locations where the sign appears: Chef Luca’s restaurant in Copenhagen, The Bear (as in the restaurant), and Ever.
Season 2, Episode 4 at 8:21 in Copenhagen
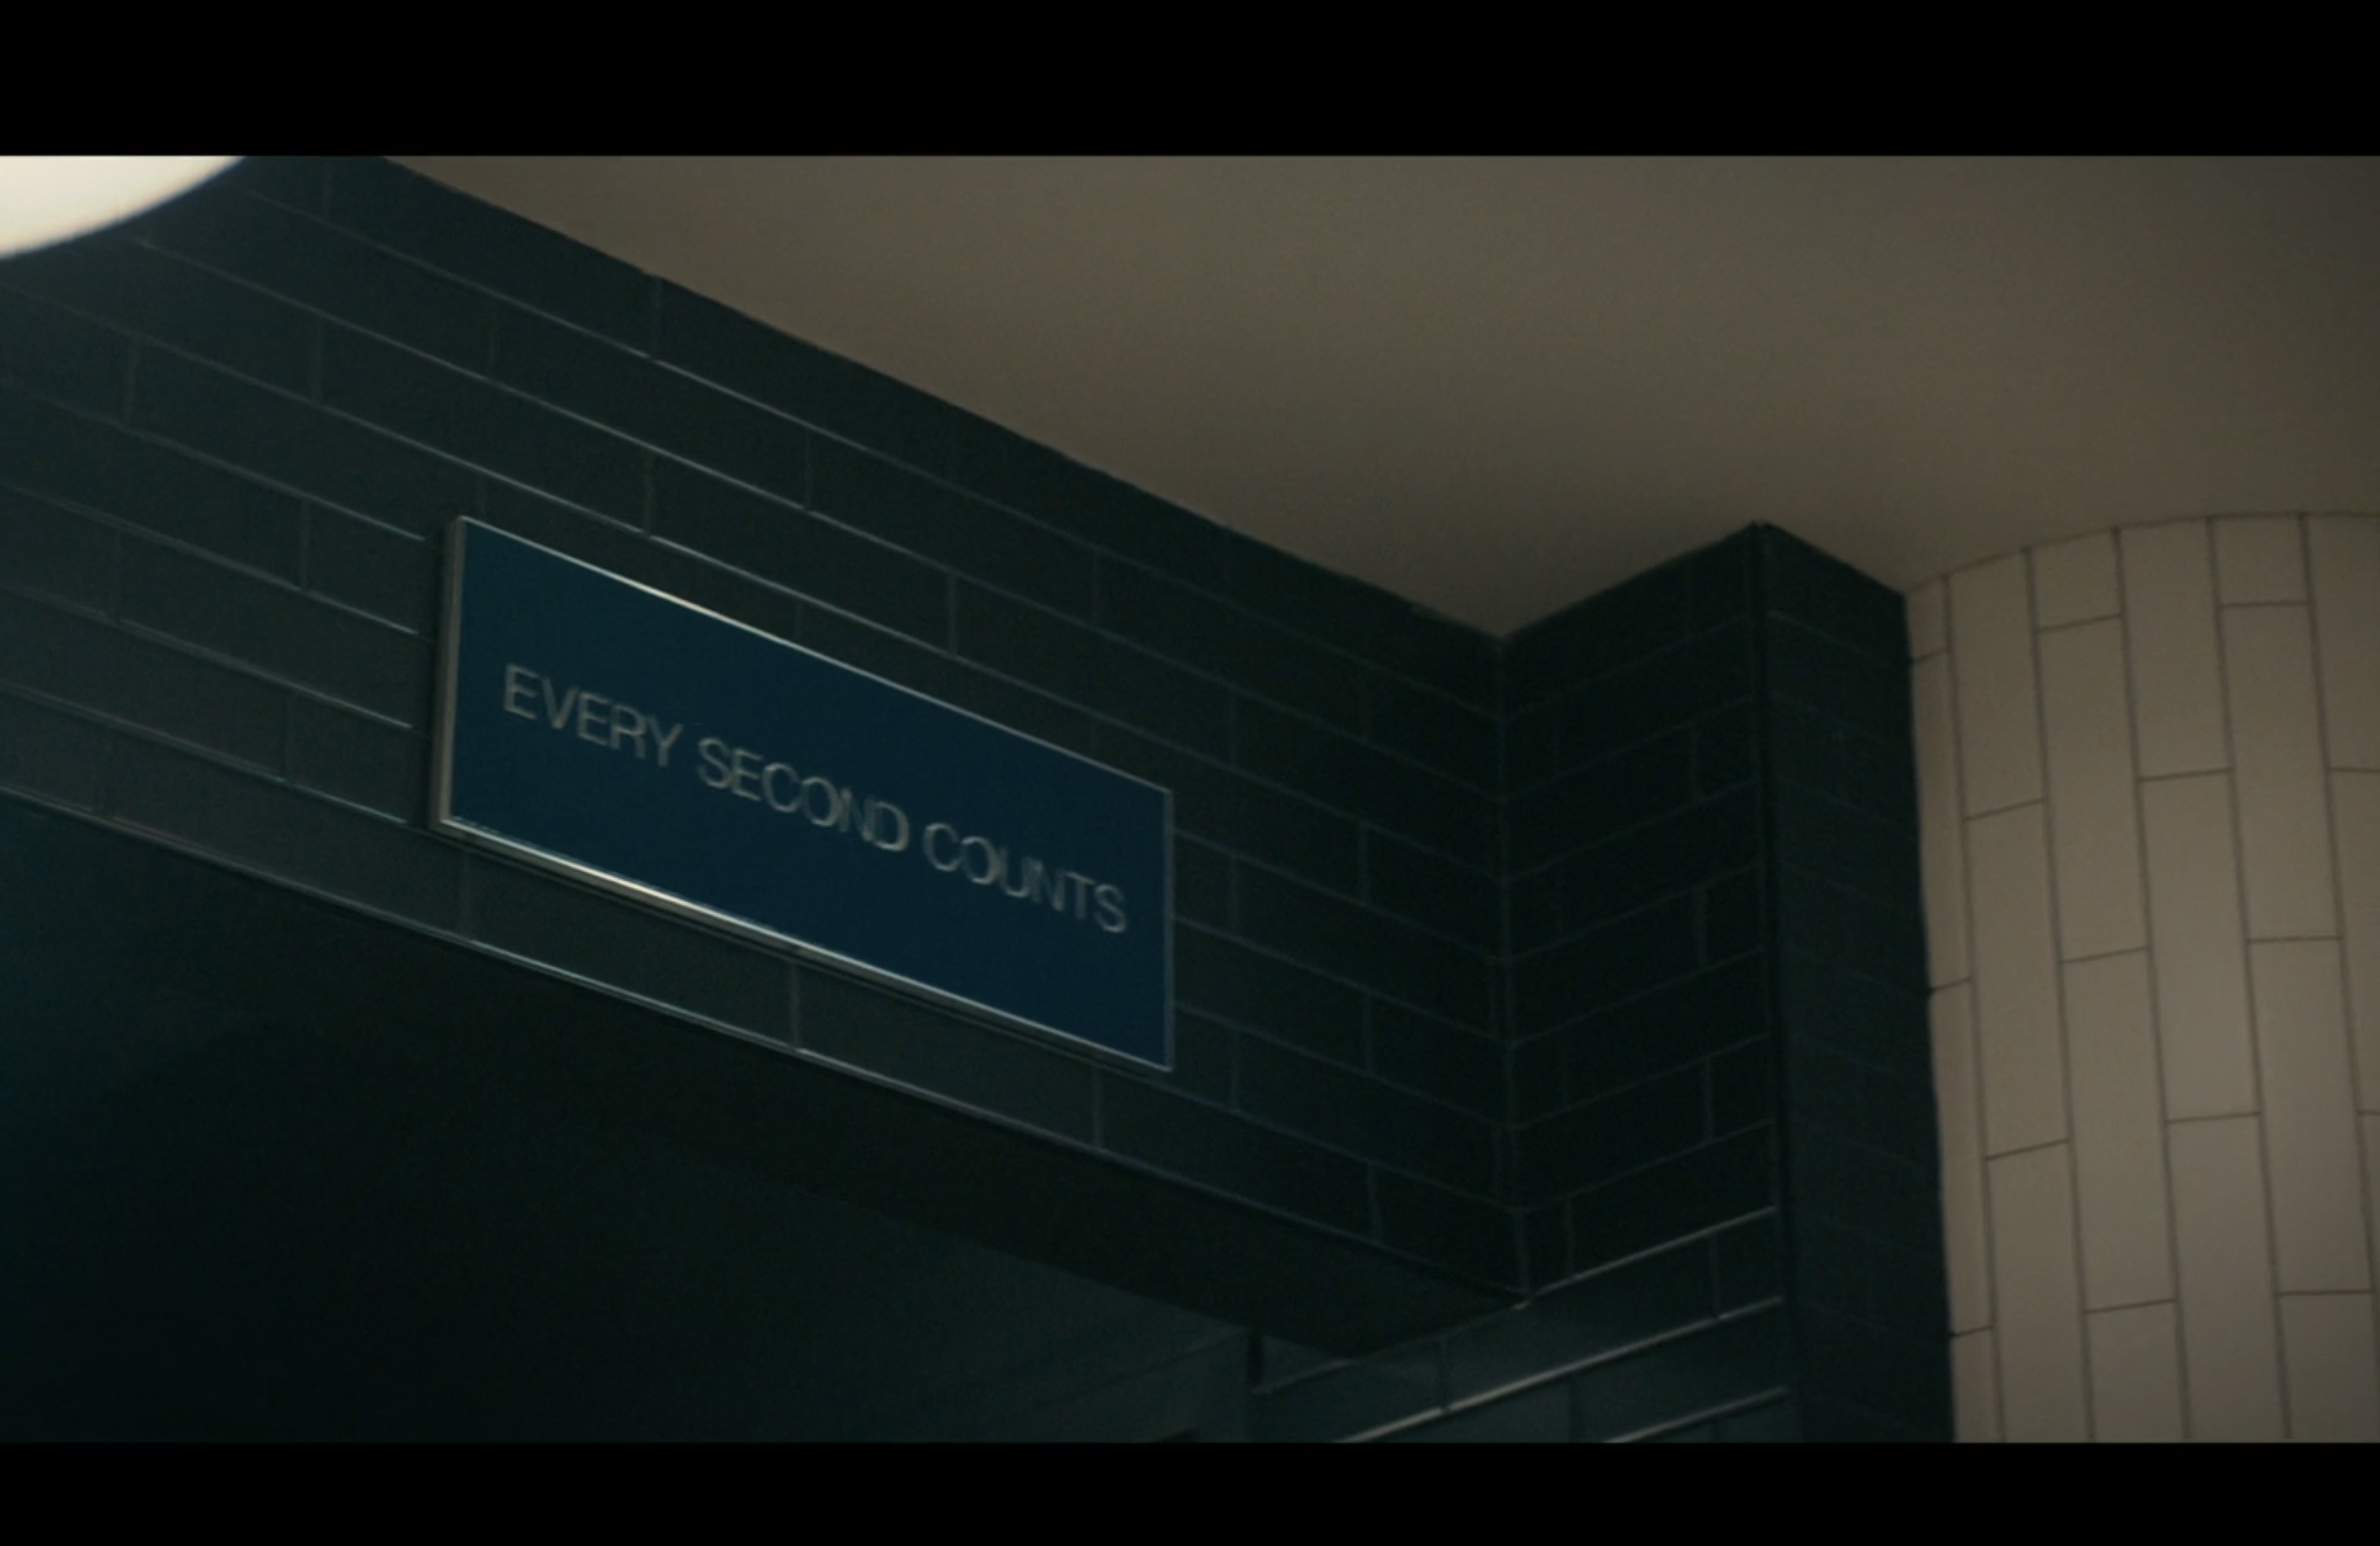
Season 2, Episode 10 at 27:54 at The Bear. From this point forward, many episodes contain similar views of this exact version of the sign in the same place, so I stopped recording those.

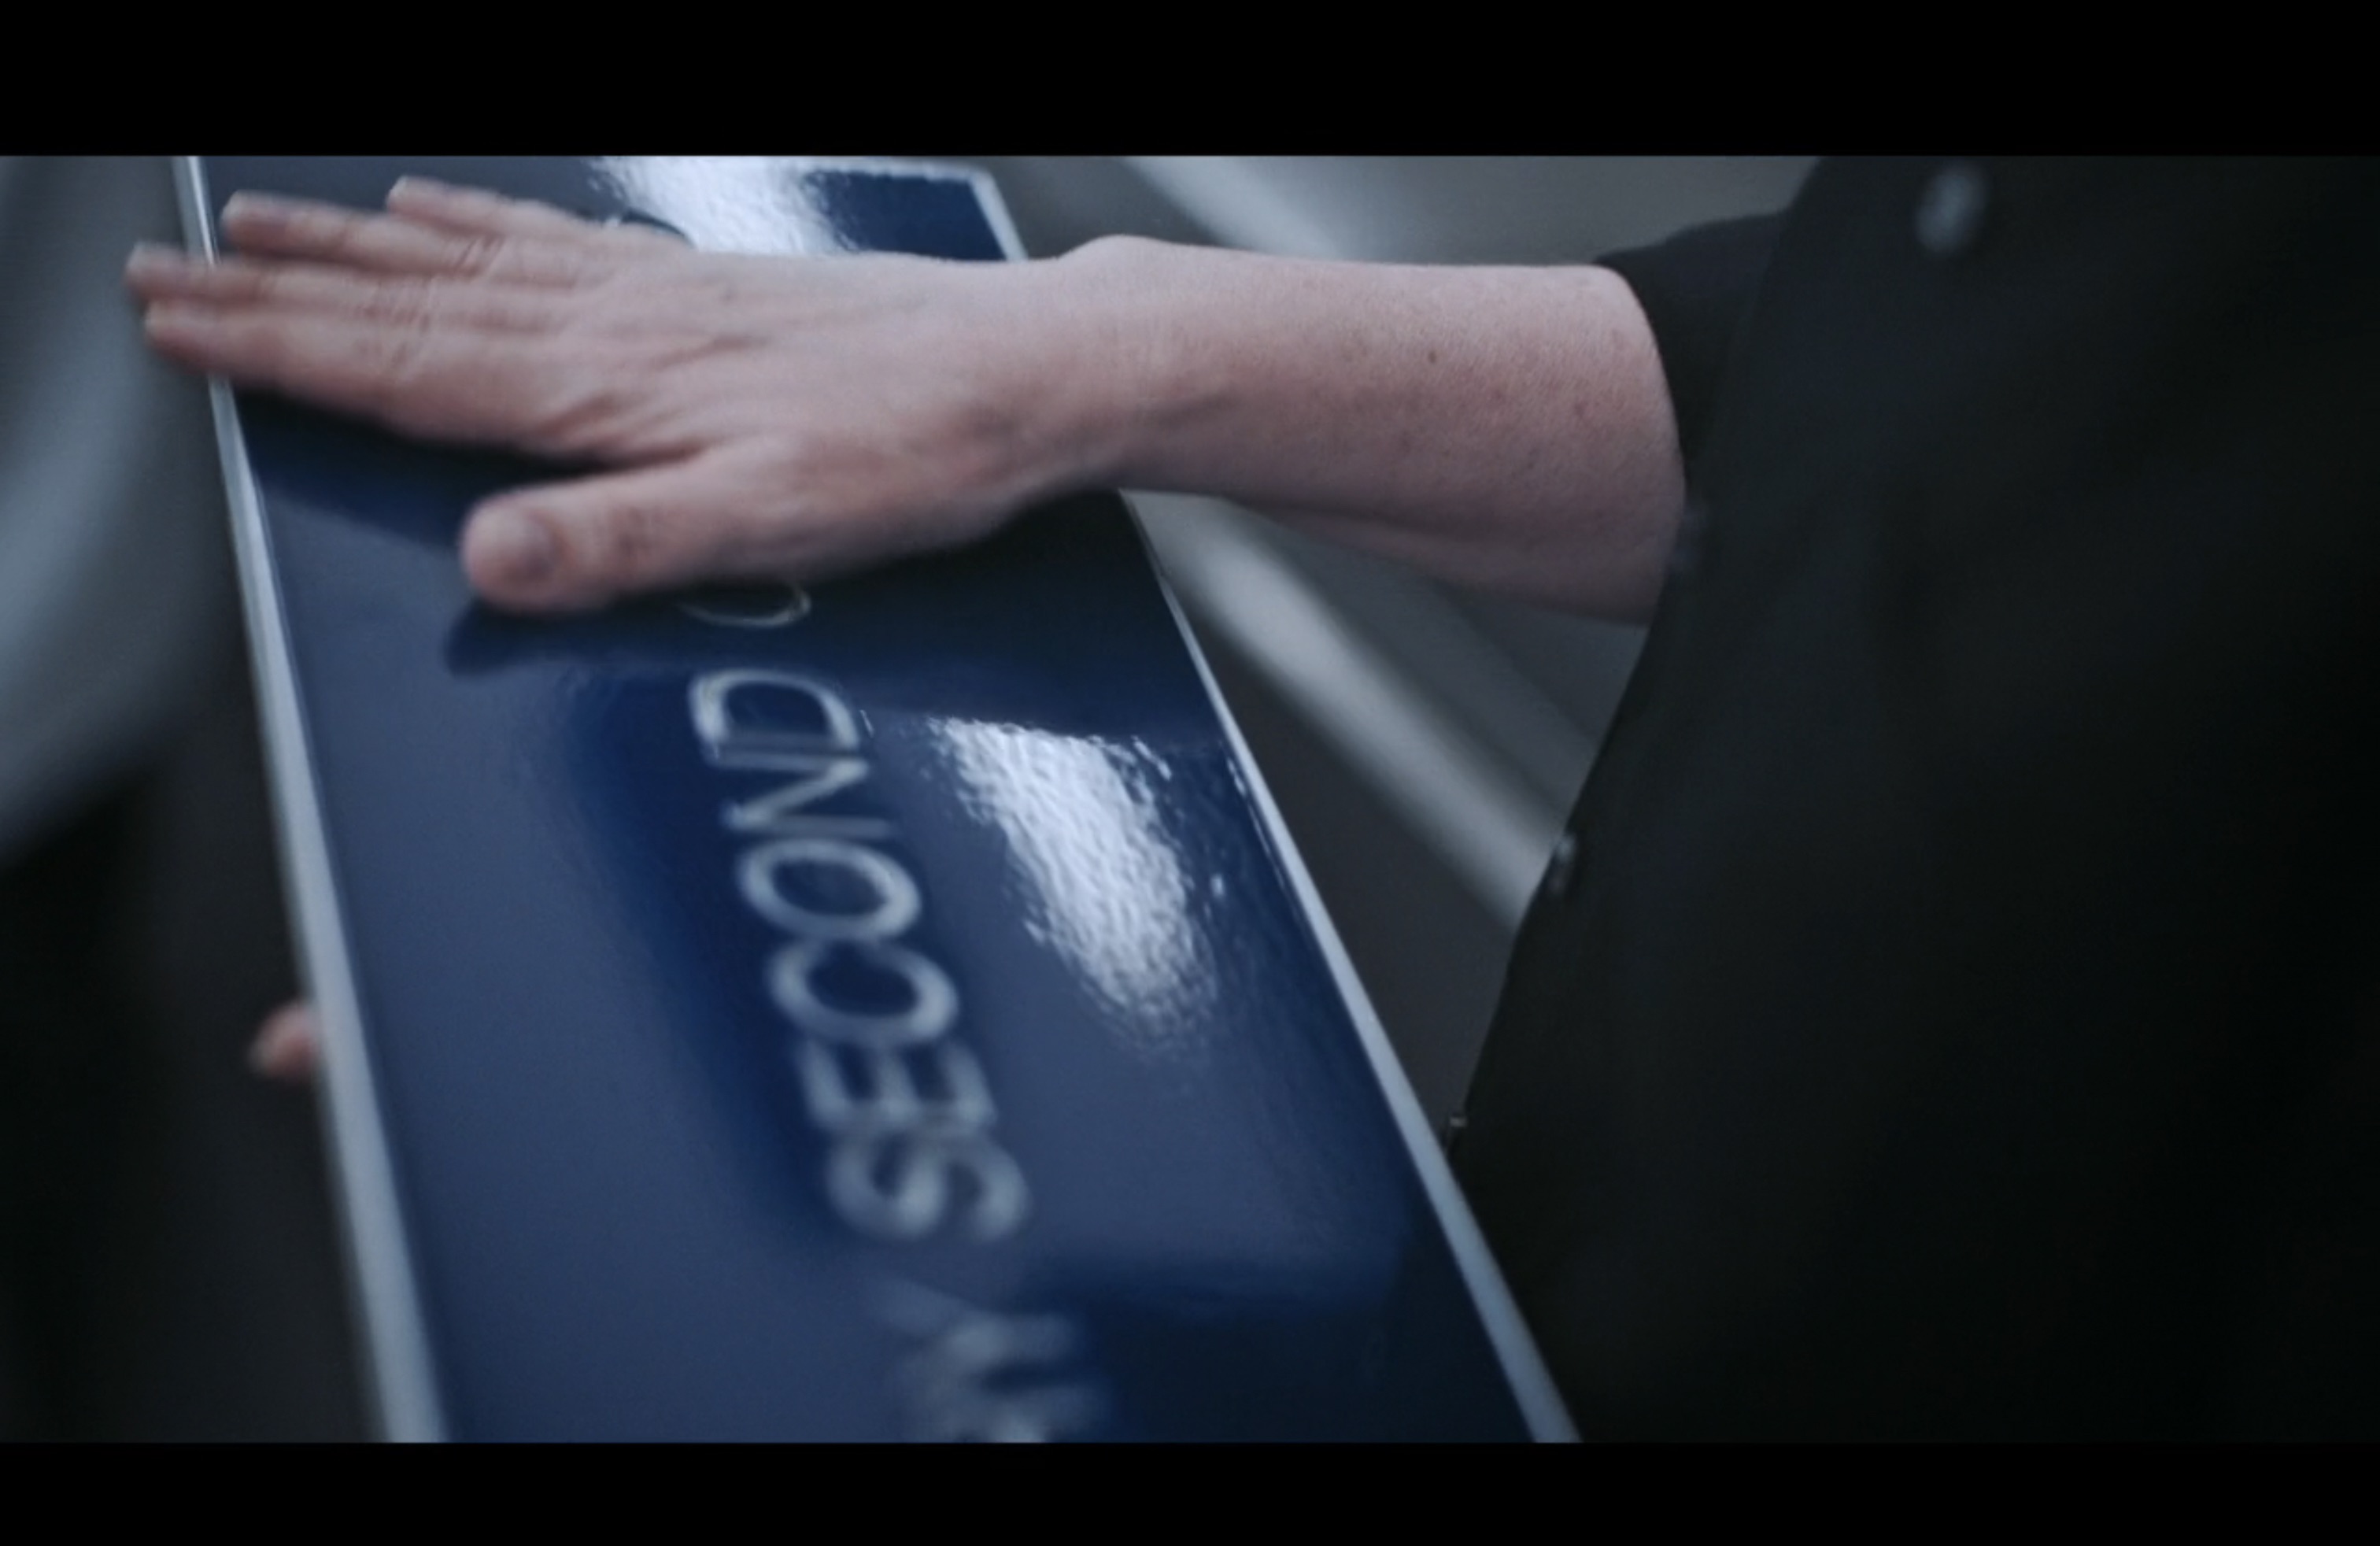
Season 3, Episode 10 beginning 35:56 at Ever. The above four shots show a bunch of different angles which is super helpful for the understanding the surface texture and the frame. From these shots, it really looks like the letters are recessed.
With this research, I was left with some TODOs:
- Confirm that the letters are actually recessed
- Determine the exact sizing including length, width, and depth
- Determine the font and kerning of the letters
- Figure out how to achieve the shiny/ripply surface texture
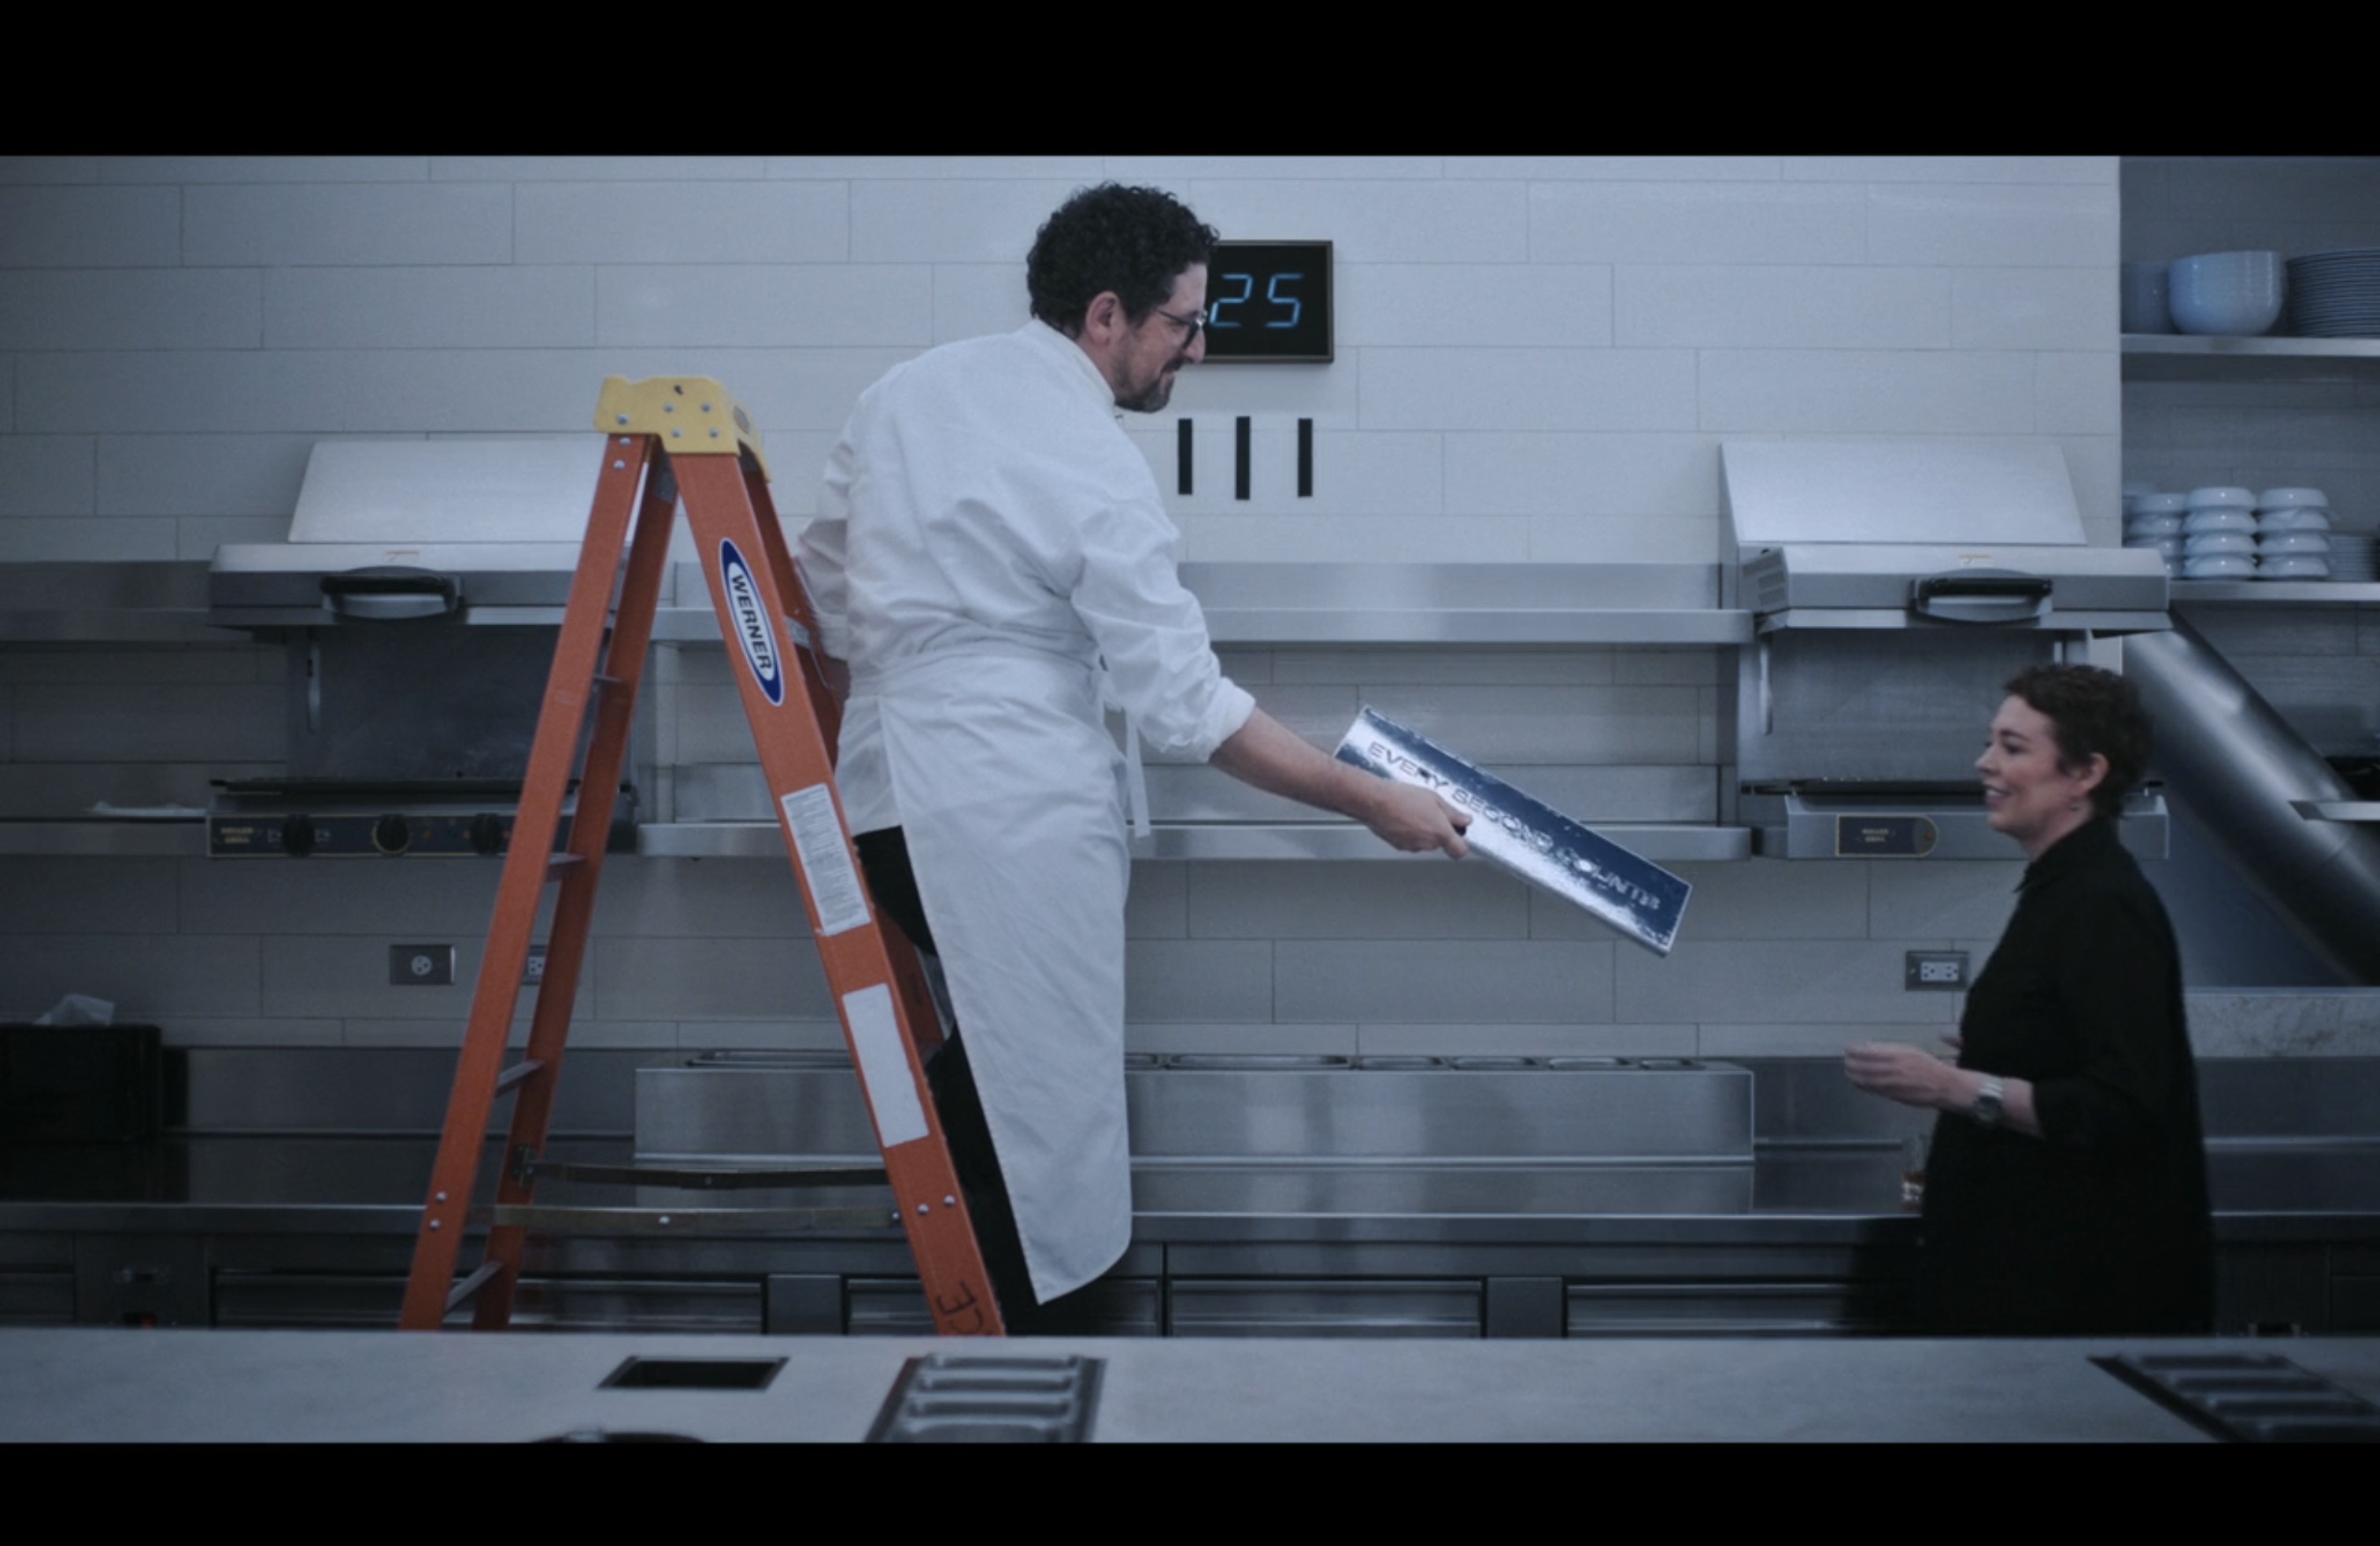
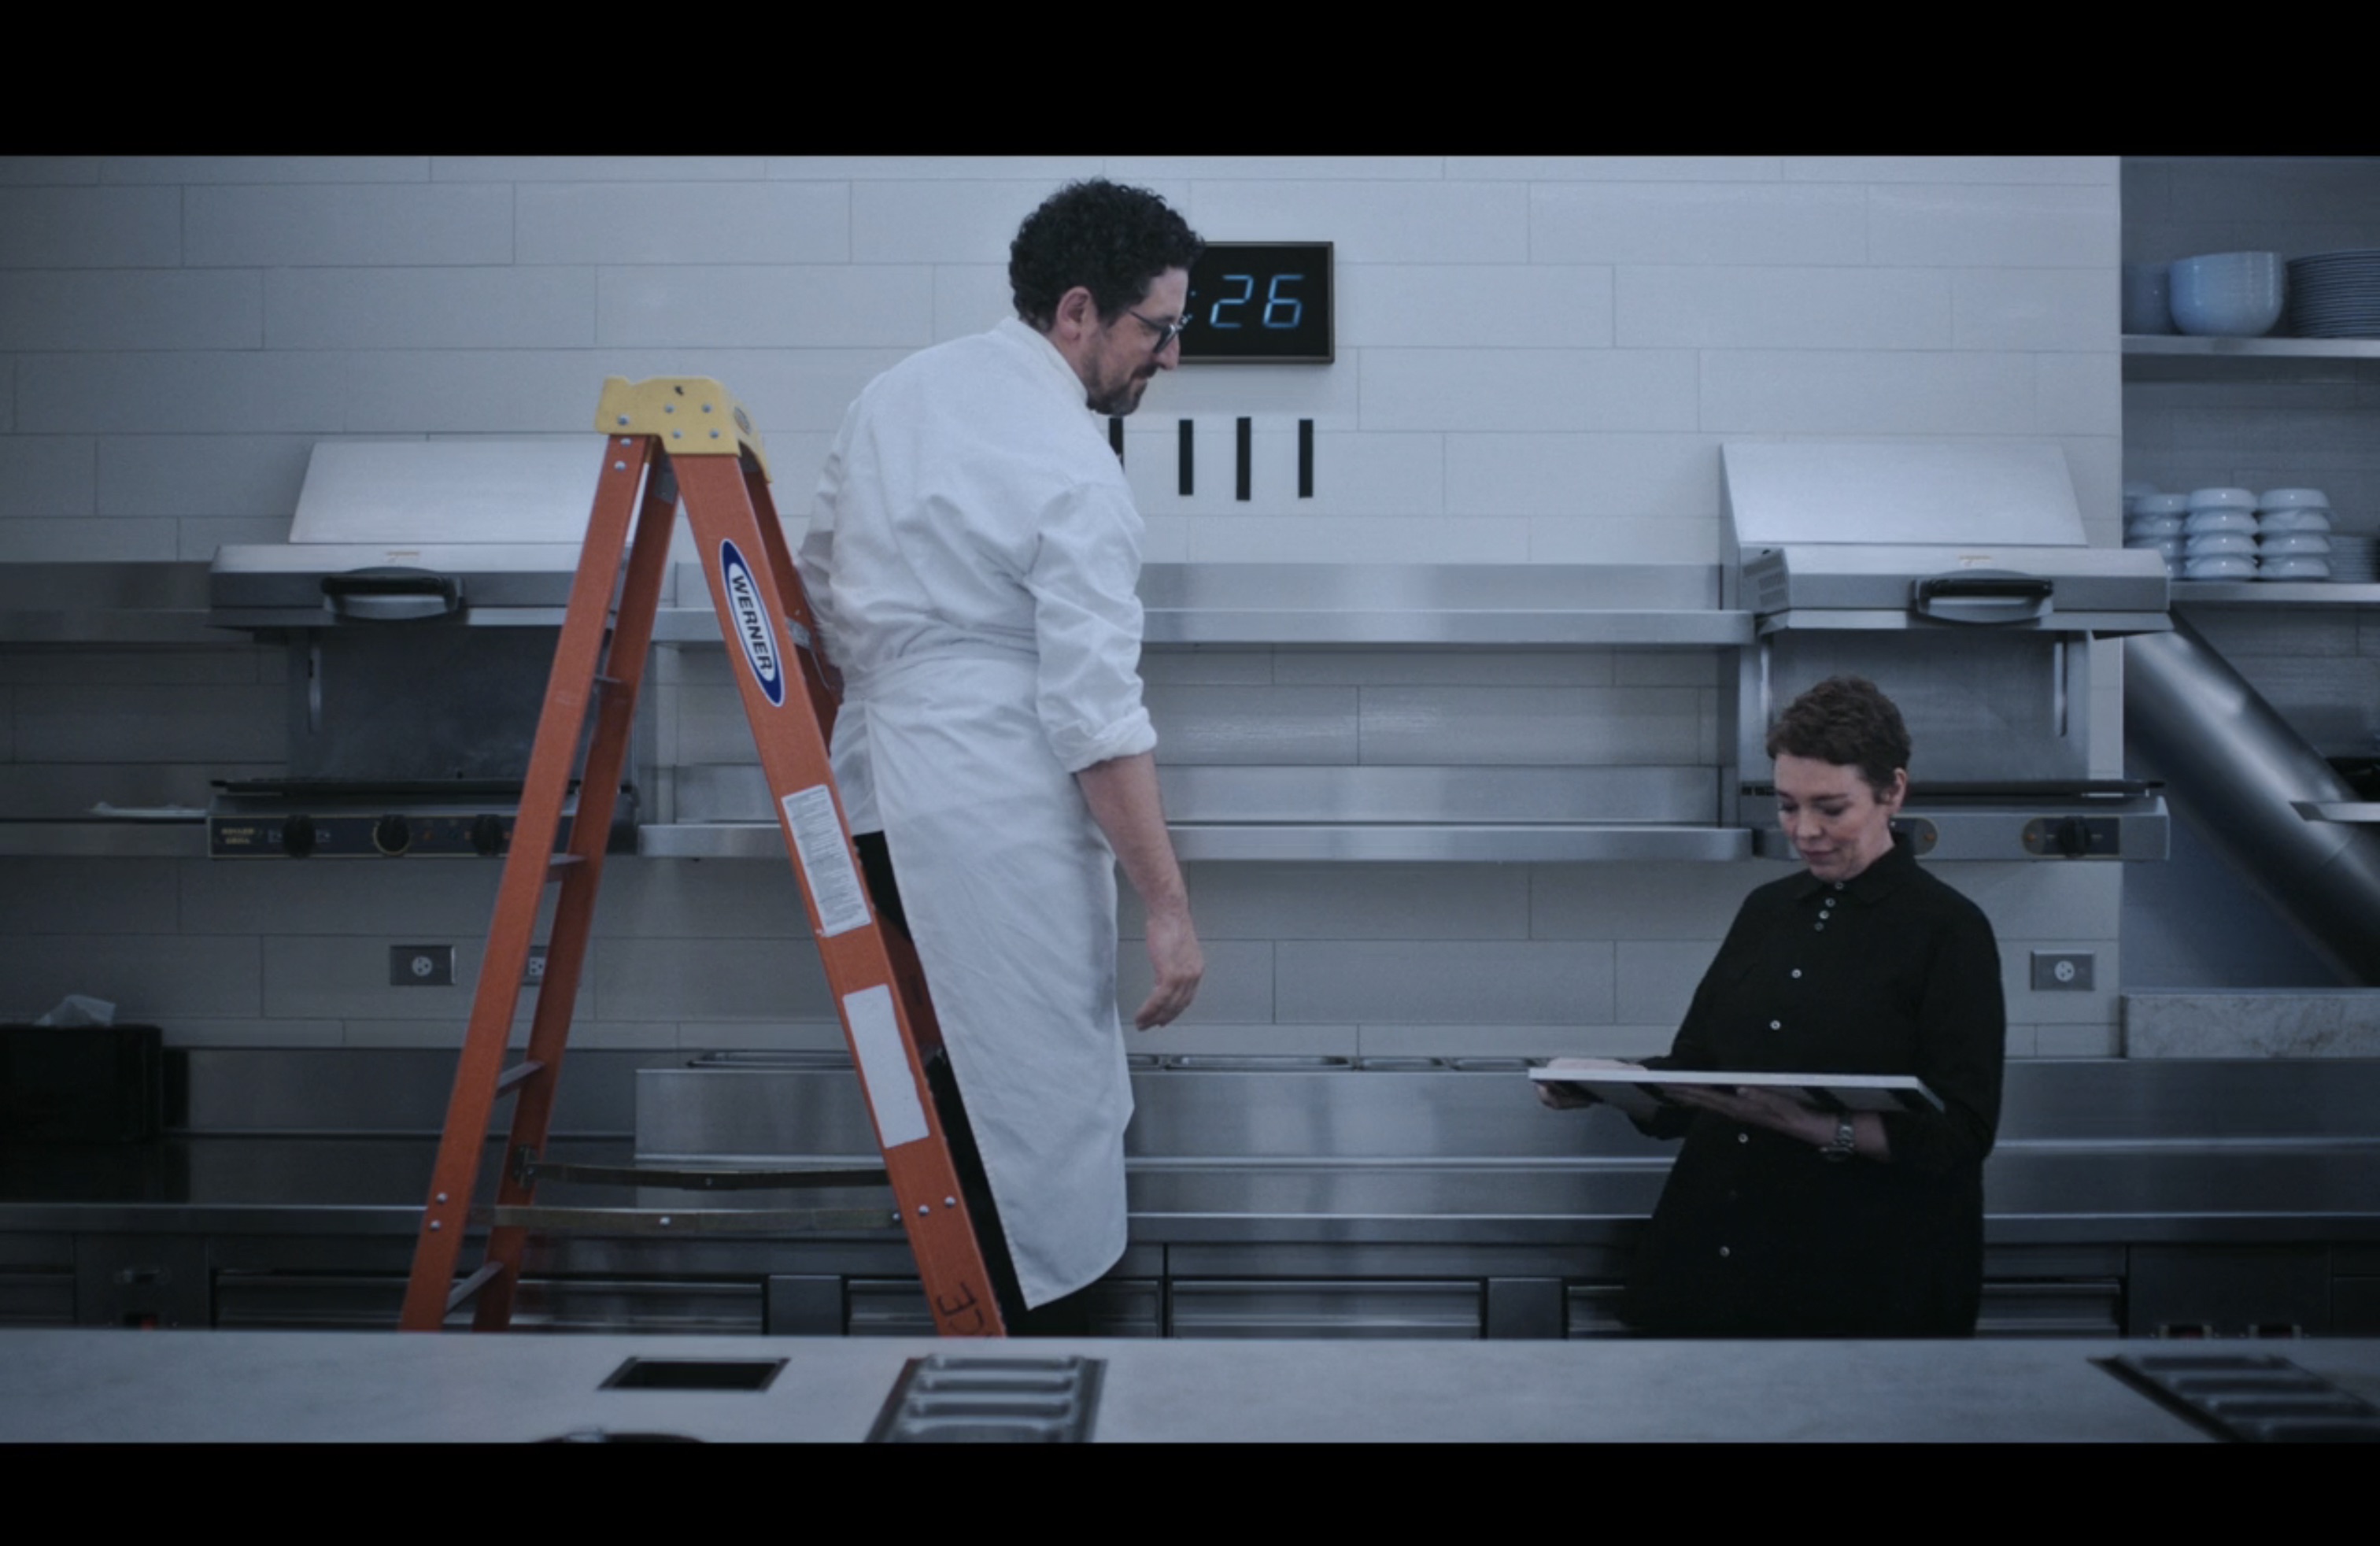
My next thought was to reach out to someone who works for The Bear, thinking they might be able to help with genuine size specifications and creation techniques. Chef Terry (Olivia Colman) touches the sign as seen above, so I thought it might be considered a prop? I reached out to Laura Roeper who was listed as the Propmaster on IMDB. Her response was extremely kind:
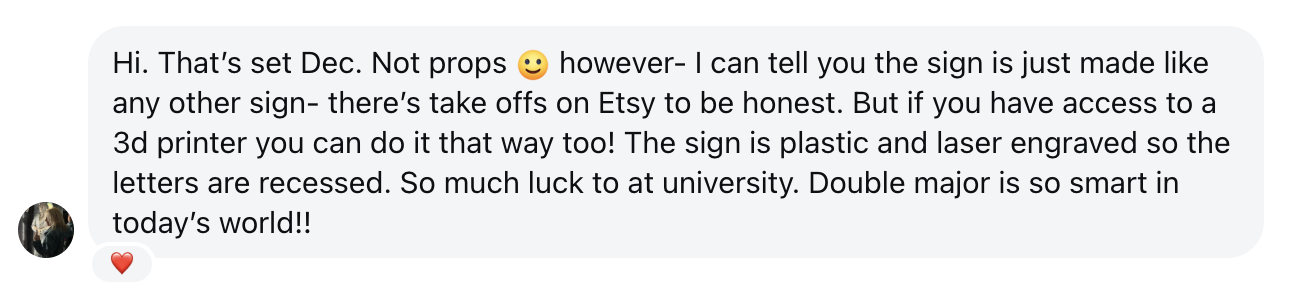
Laura’s message confirmed one major question that I had. The letters are recessed. My plan for this was to laser cut the letters through a blue sheet of acrylic and adhere a white sheet behind it.
Given her advice, I also looked for set decoration people to message. I tried reaching out to a few of them, but didn’t have any luck. That being said, I discovered some helpful images from Eric Frankel’s personal website. He was a set decorator on The Bear for Season 1 and 2.
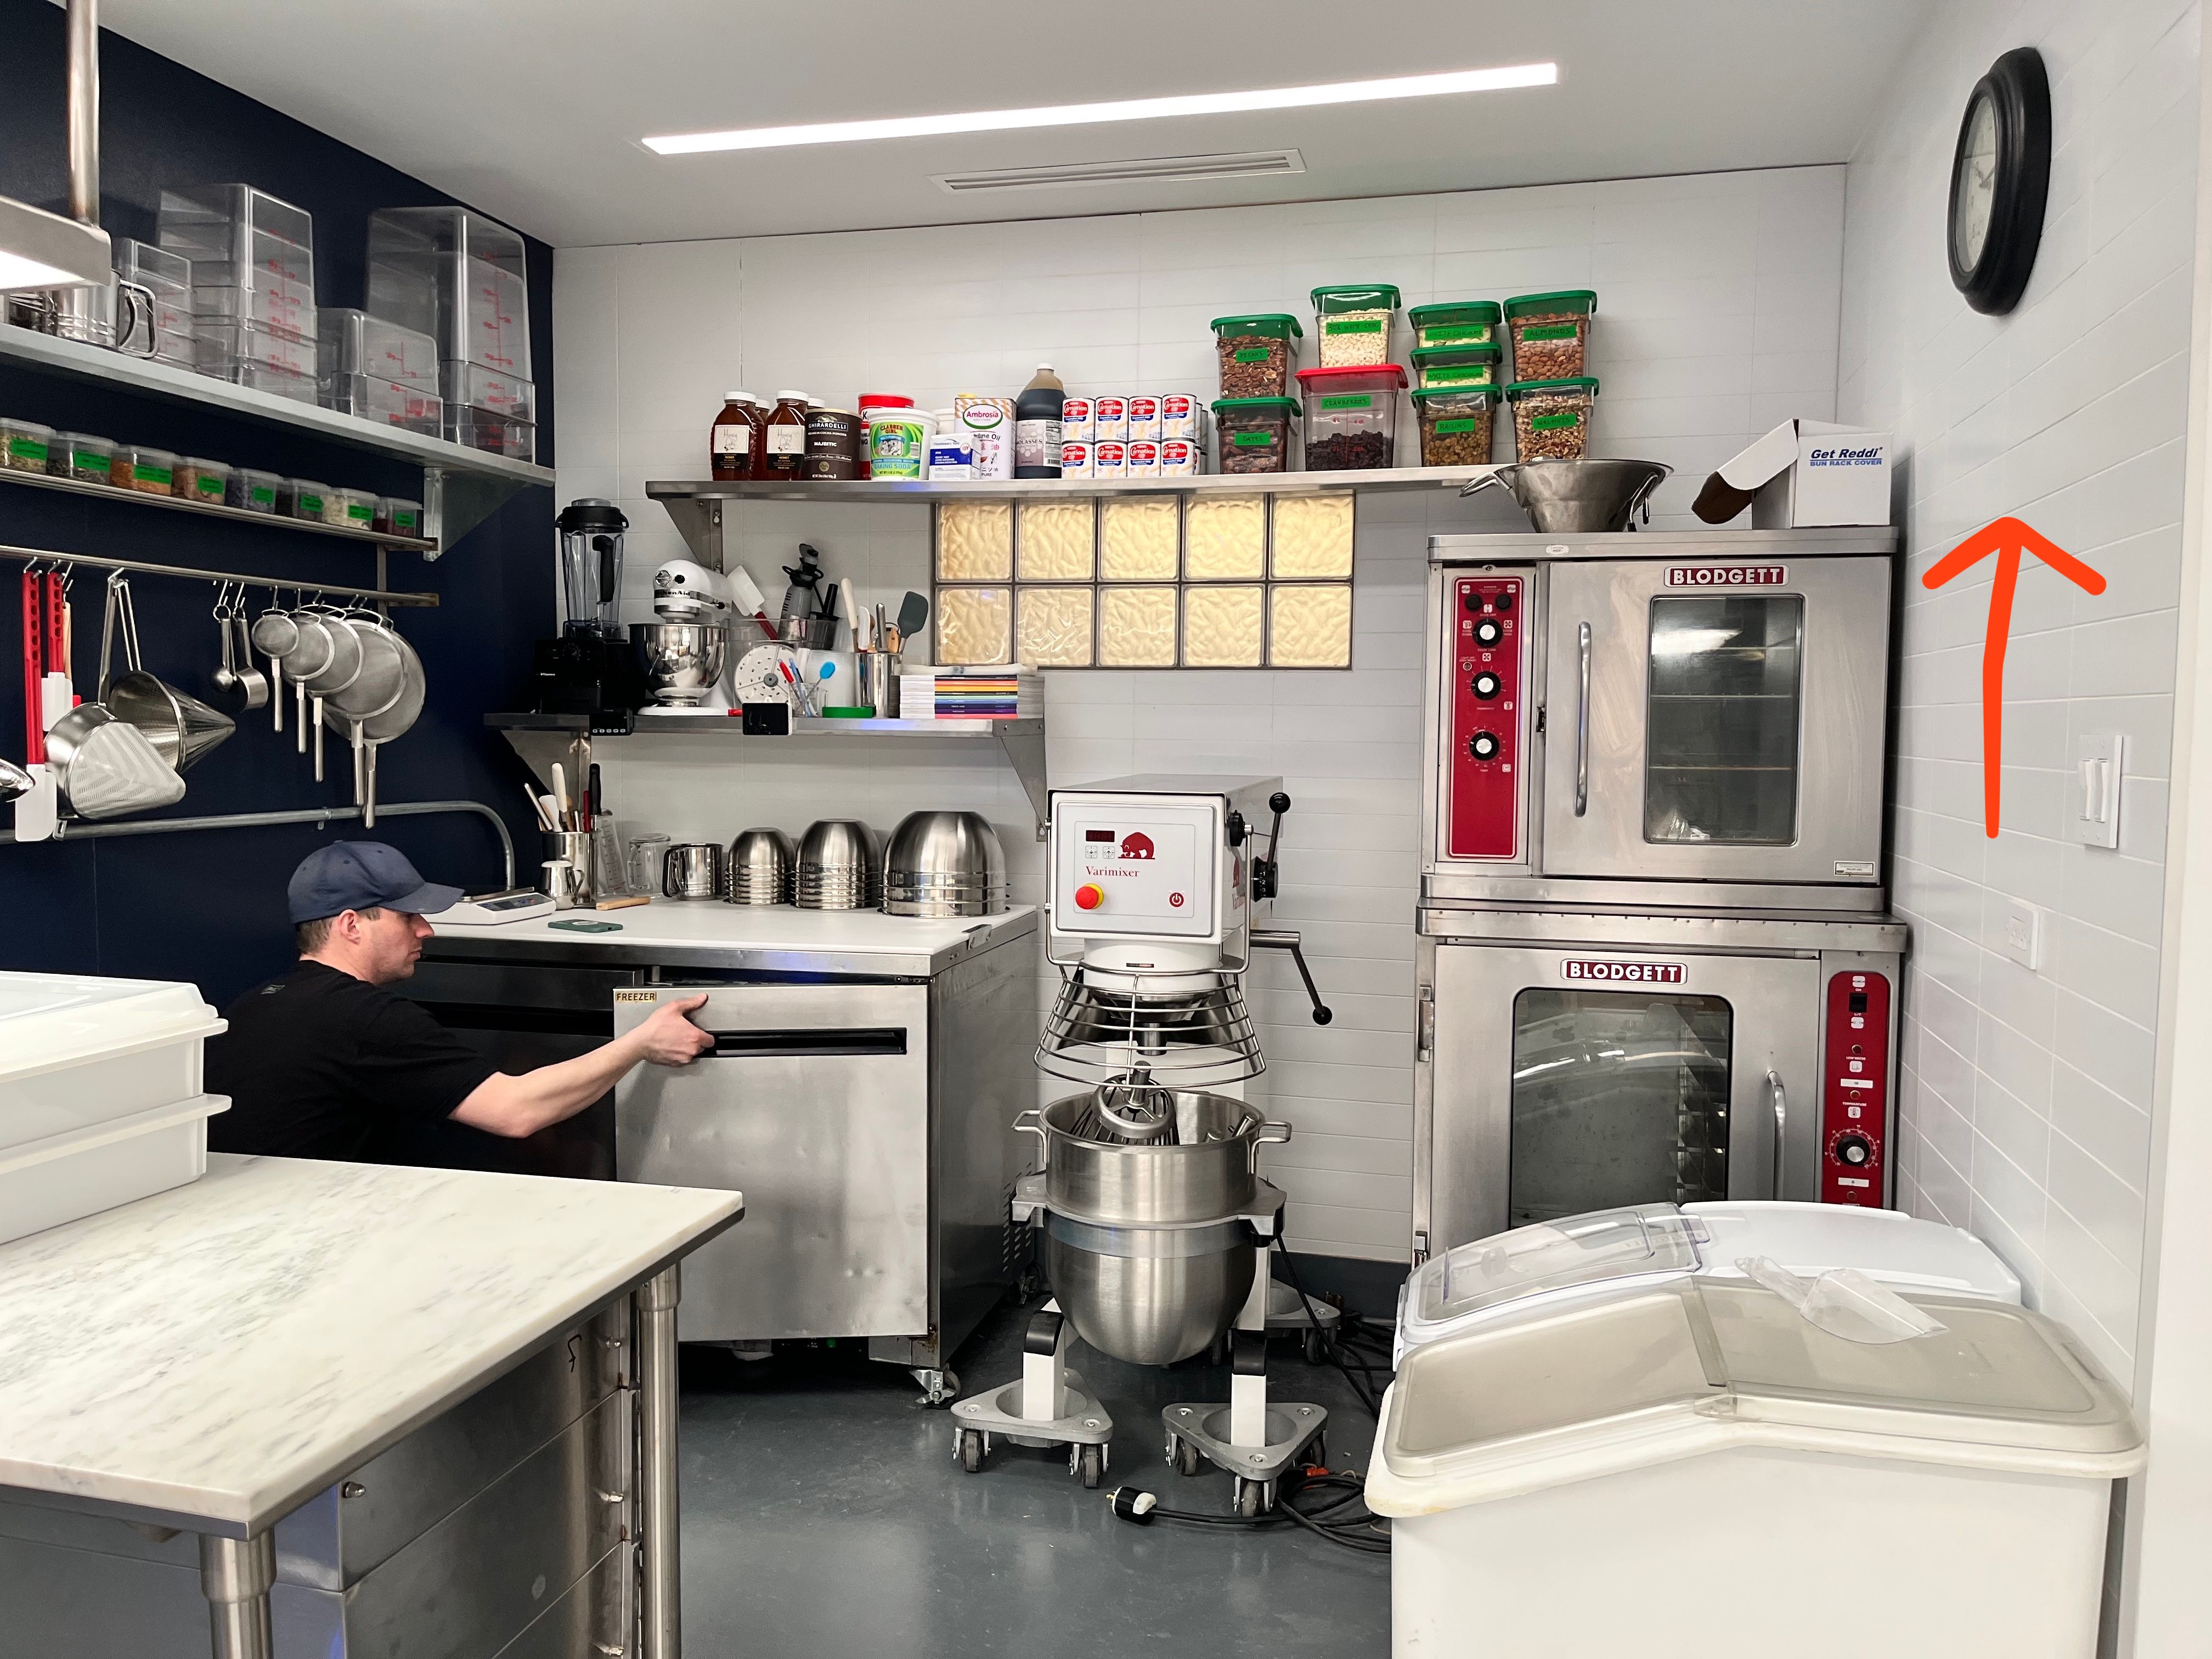
The red arrow points to where the sign is hung at the end of season 2.
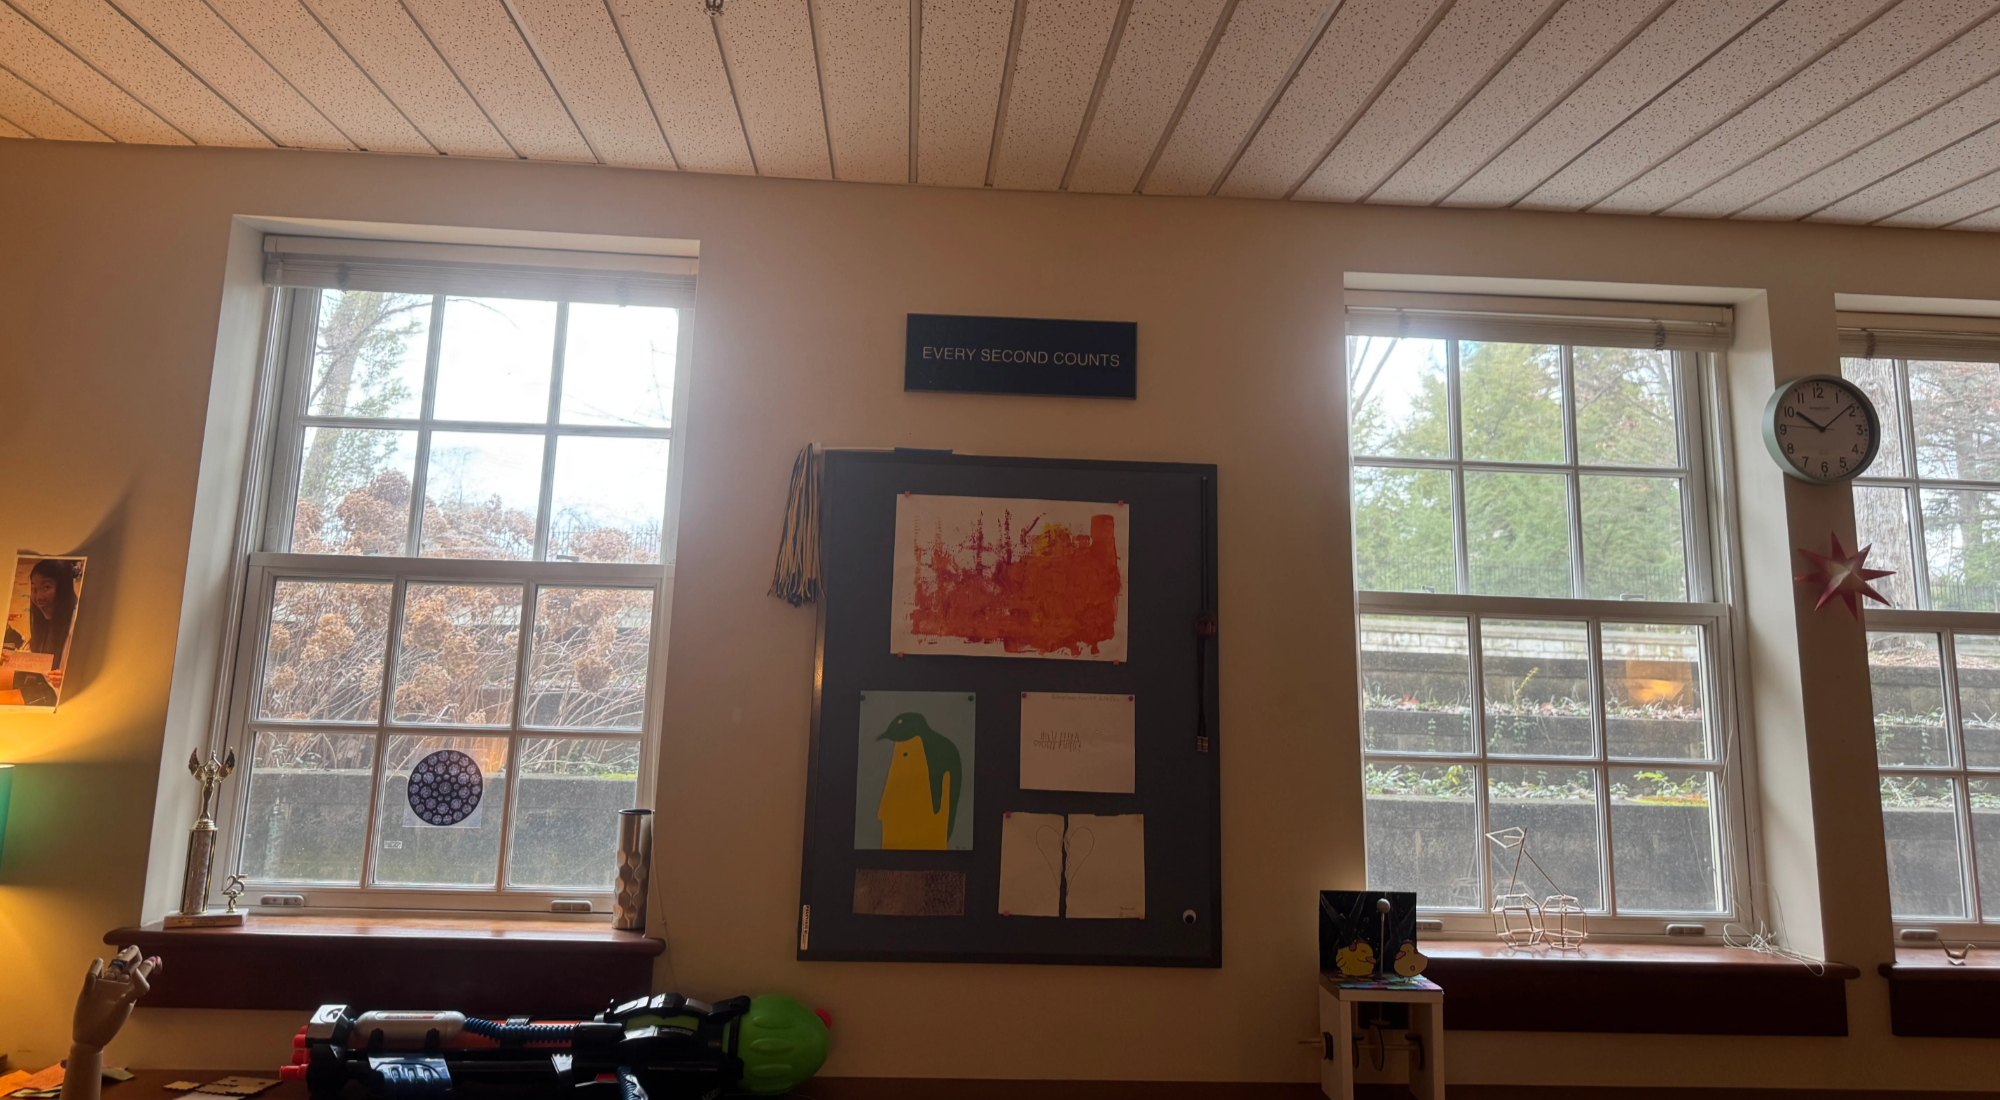
Now to find the dimensions, I thought I could just find the size of the clock that hangs above the sign and just use a ratio of the pixel width from the shot below. The only problem: I literally couldn’t find the clock ANYWHERE online. I tried numerous reverse image search tactics but failed to find an exact match. So, my second best option was to find the size of the tiles.
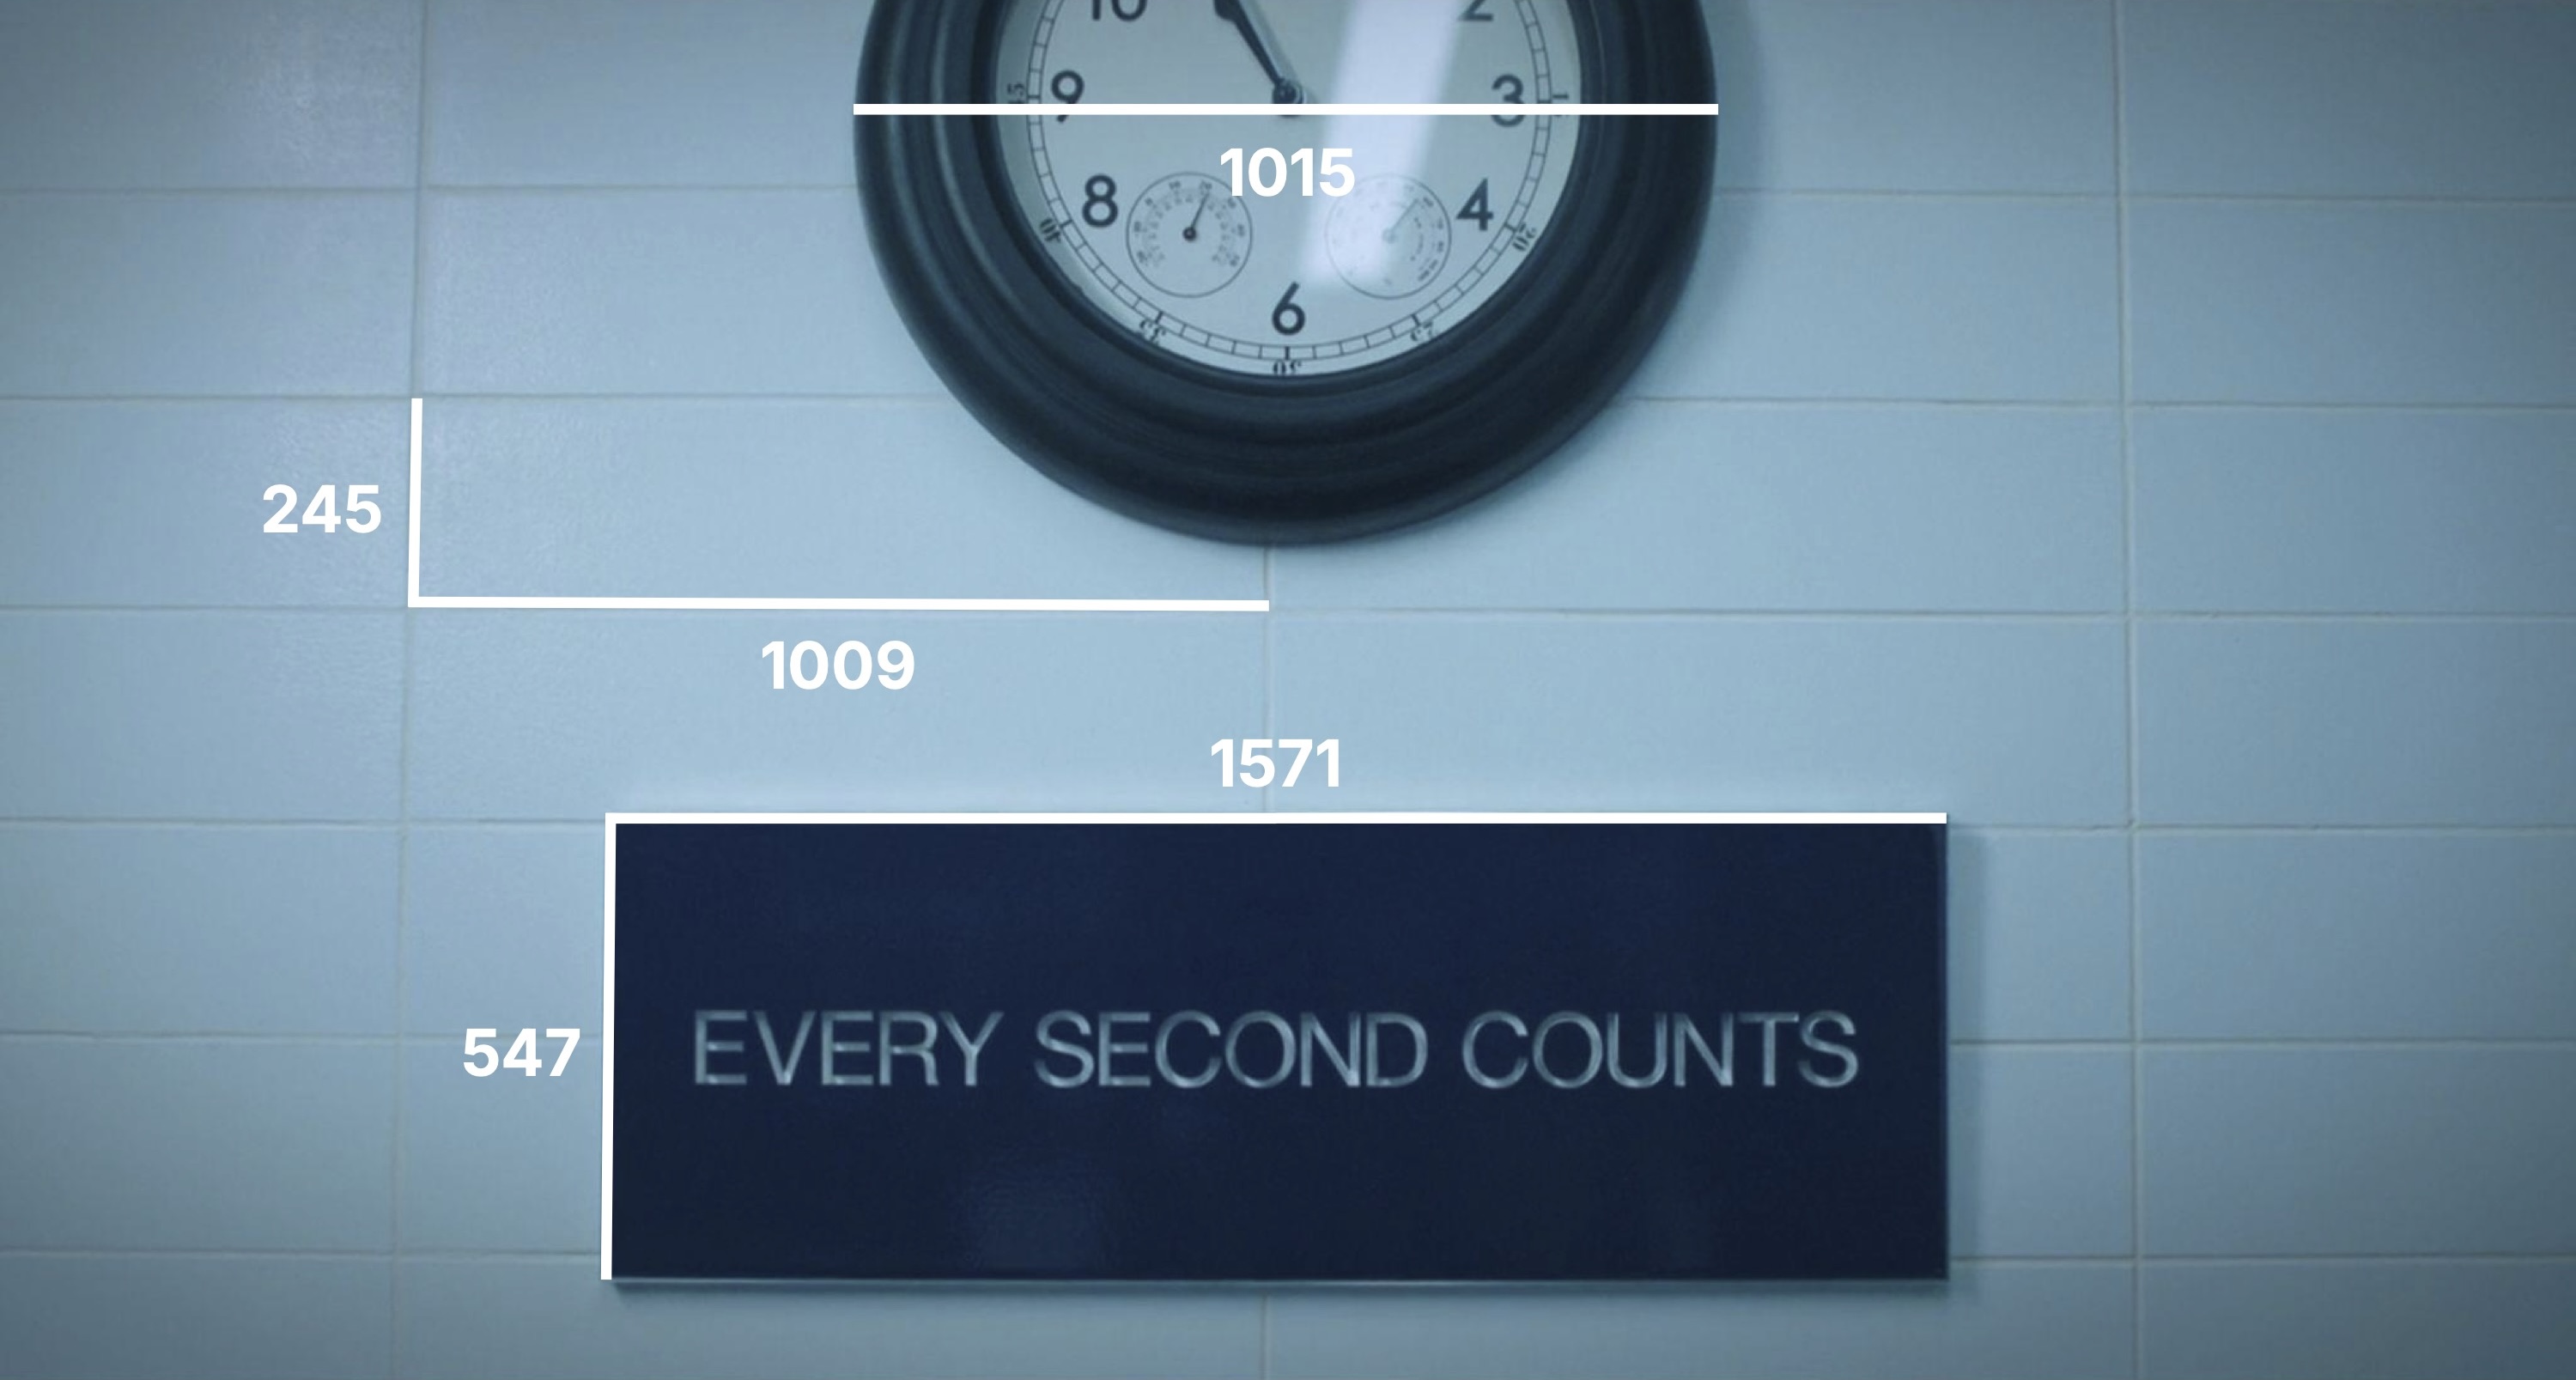
Using the pixelated dimensions from the image, I could find the ratio between the size of tiles and the sign. From there, I just needed to find the actual size of the tiles.
To do this, I used Erik Frankel’s images and found the actual size of different products against the wall and how many tiles they take up. By doing several approximations, I would have a pretty good guess about the tile sizing.
I began with some products on the top shelf:
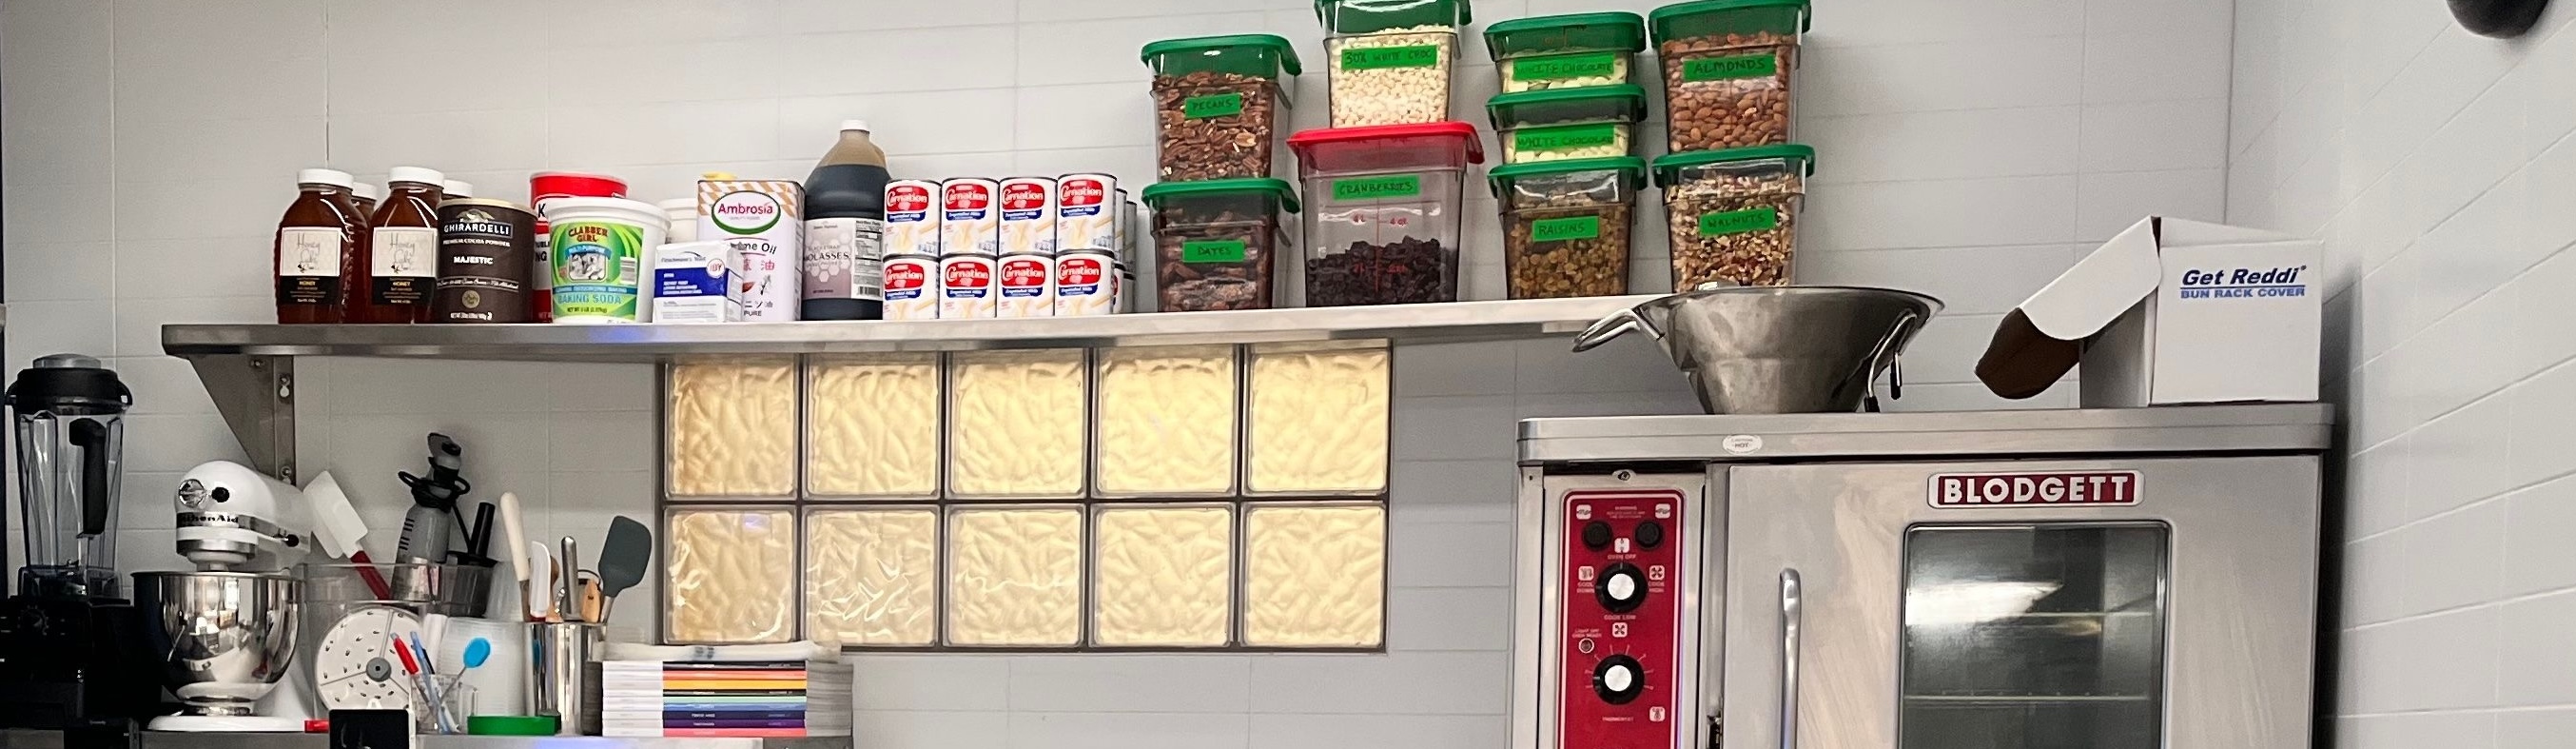
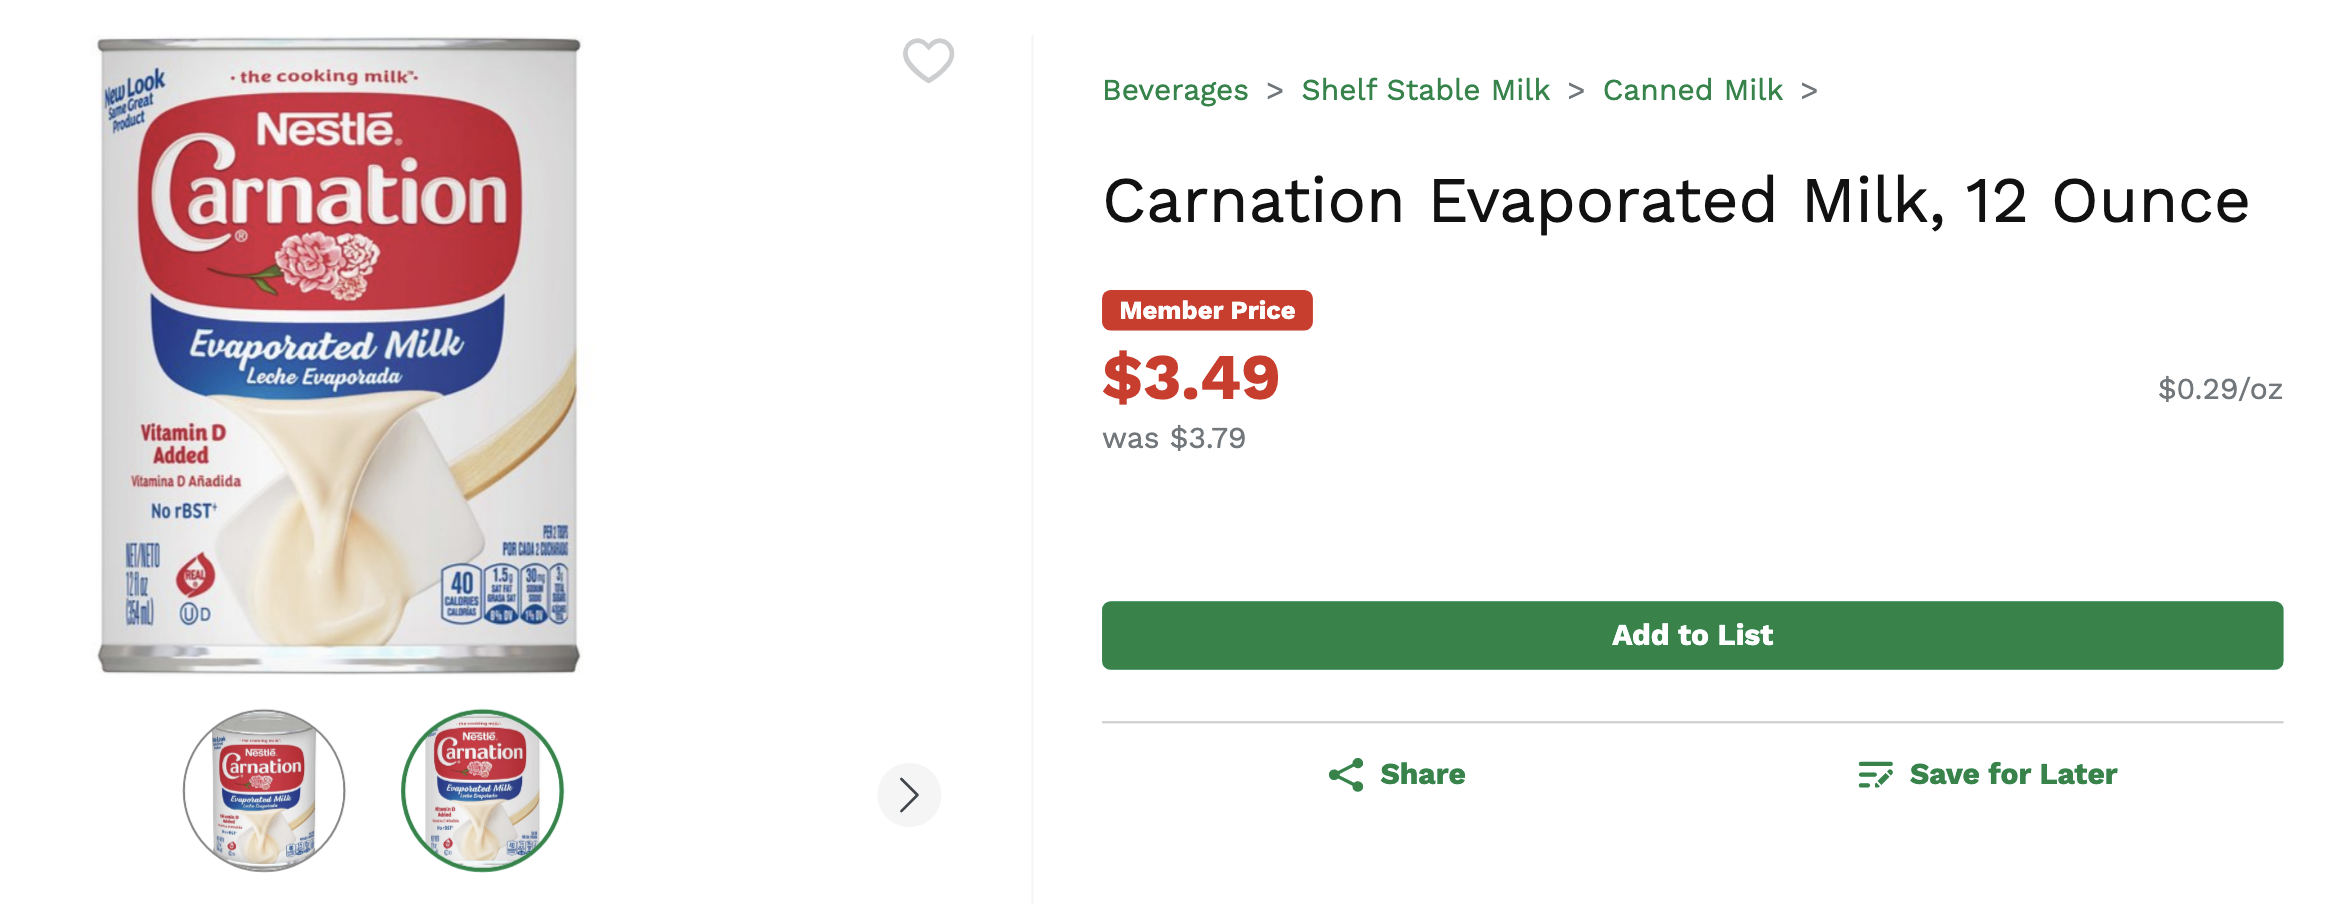
Beginning with the cans, we can see they are Carnation Evaporated milk
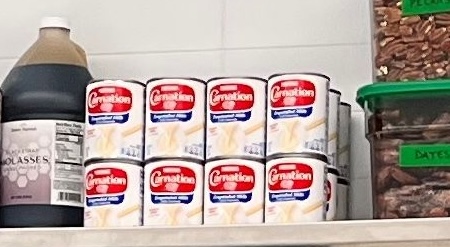
It looks like the shelf top sits right at the halfway point within a tile. So, the height of 2 cans = 2 tiles (height). It looks like the width of 4 cans = 0.8 tiles (width)
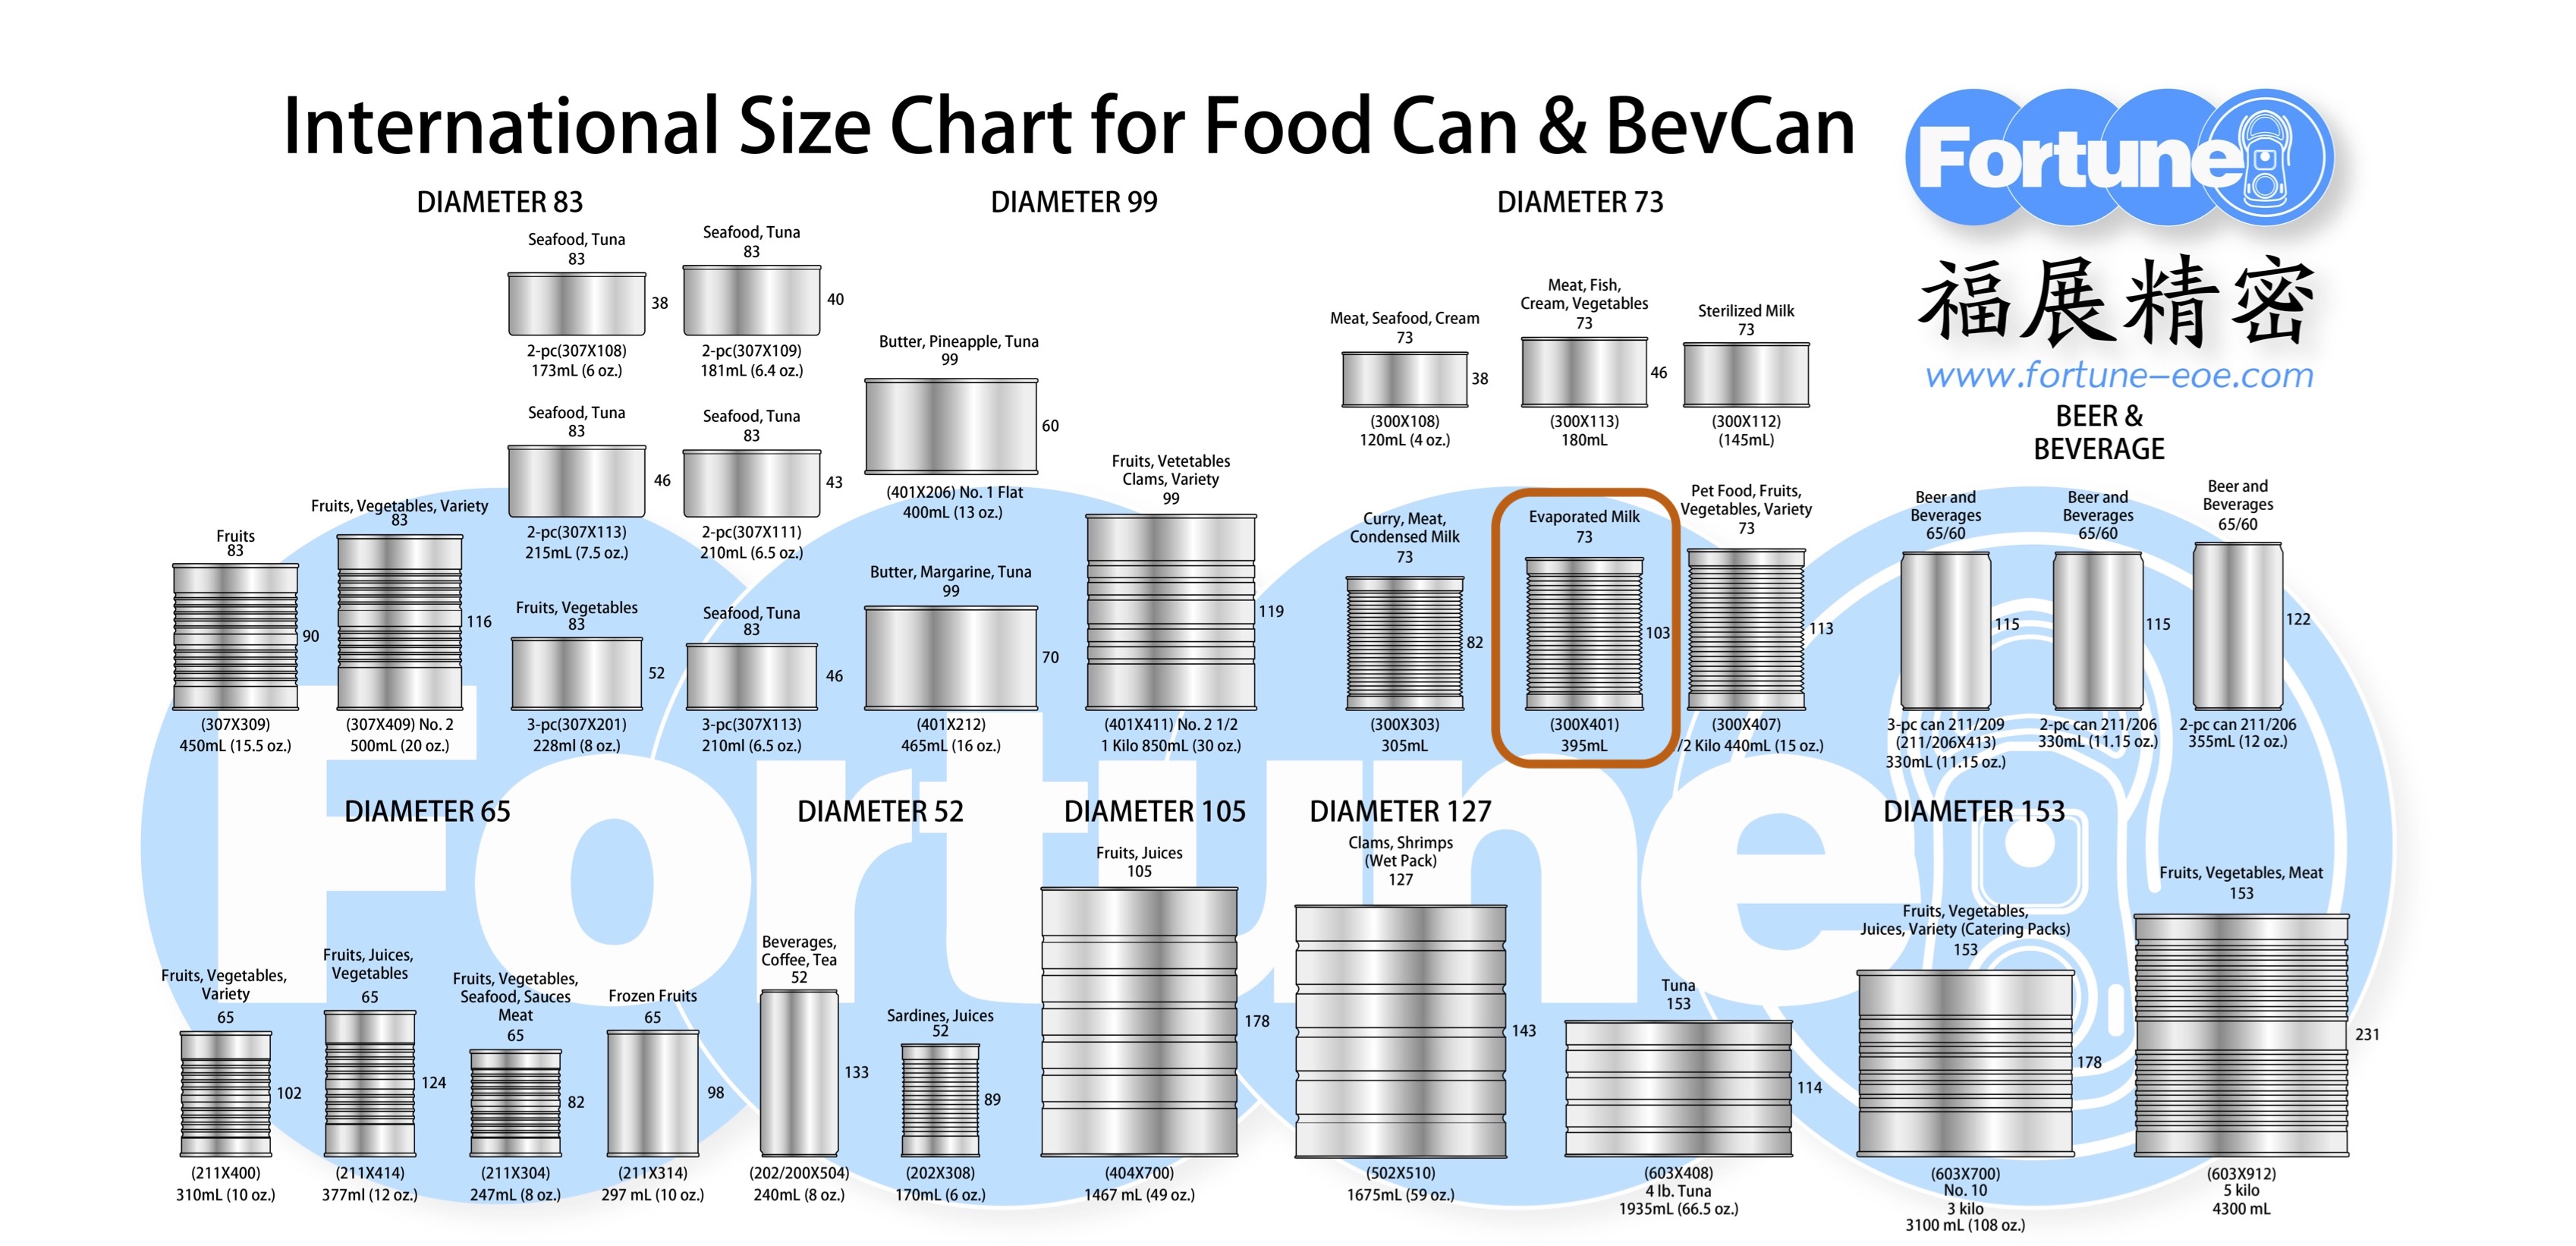
I found the international size chart for food/beverage cans, and we can see the evaporated milk cans are 73 mm in diameter and 103 mm tall.
Next up, these look to be classic Cambro food storage containers
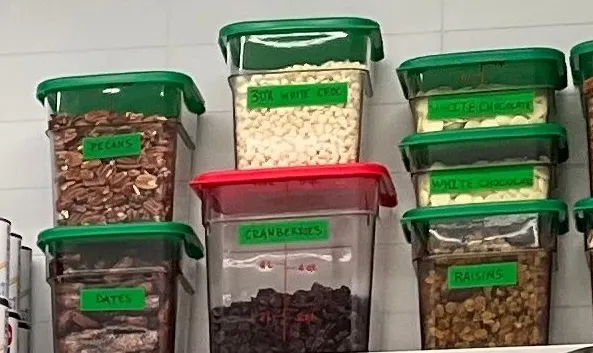
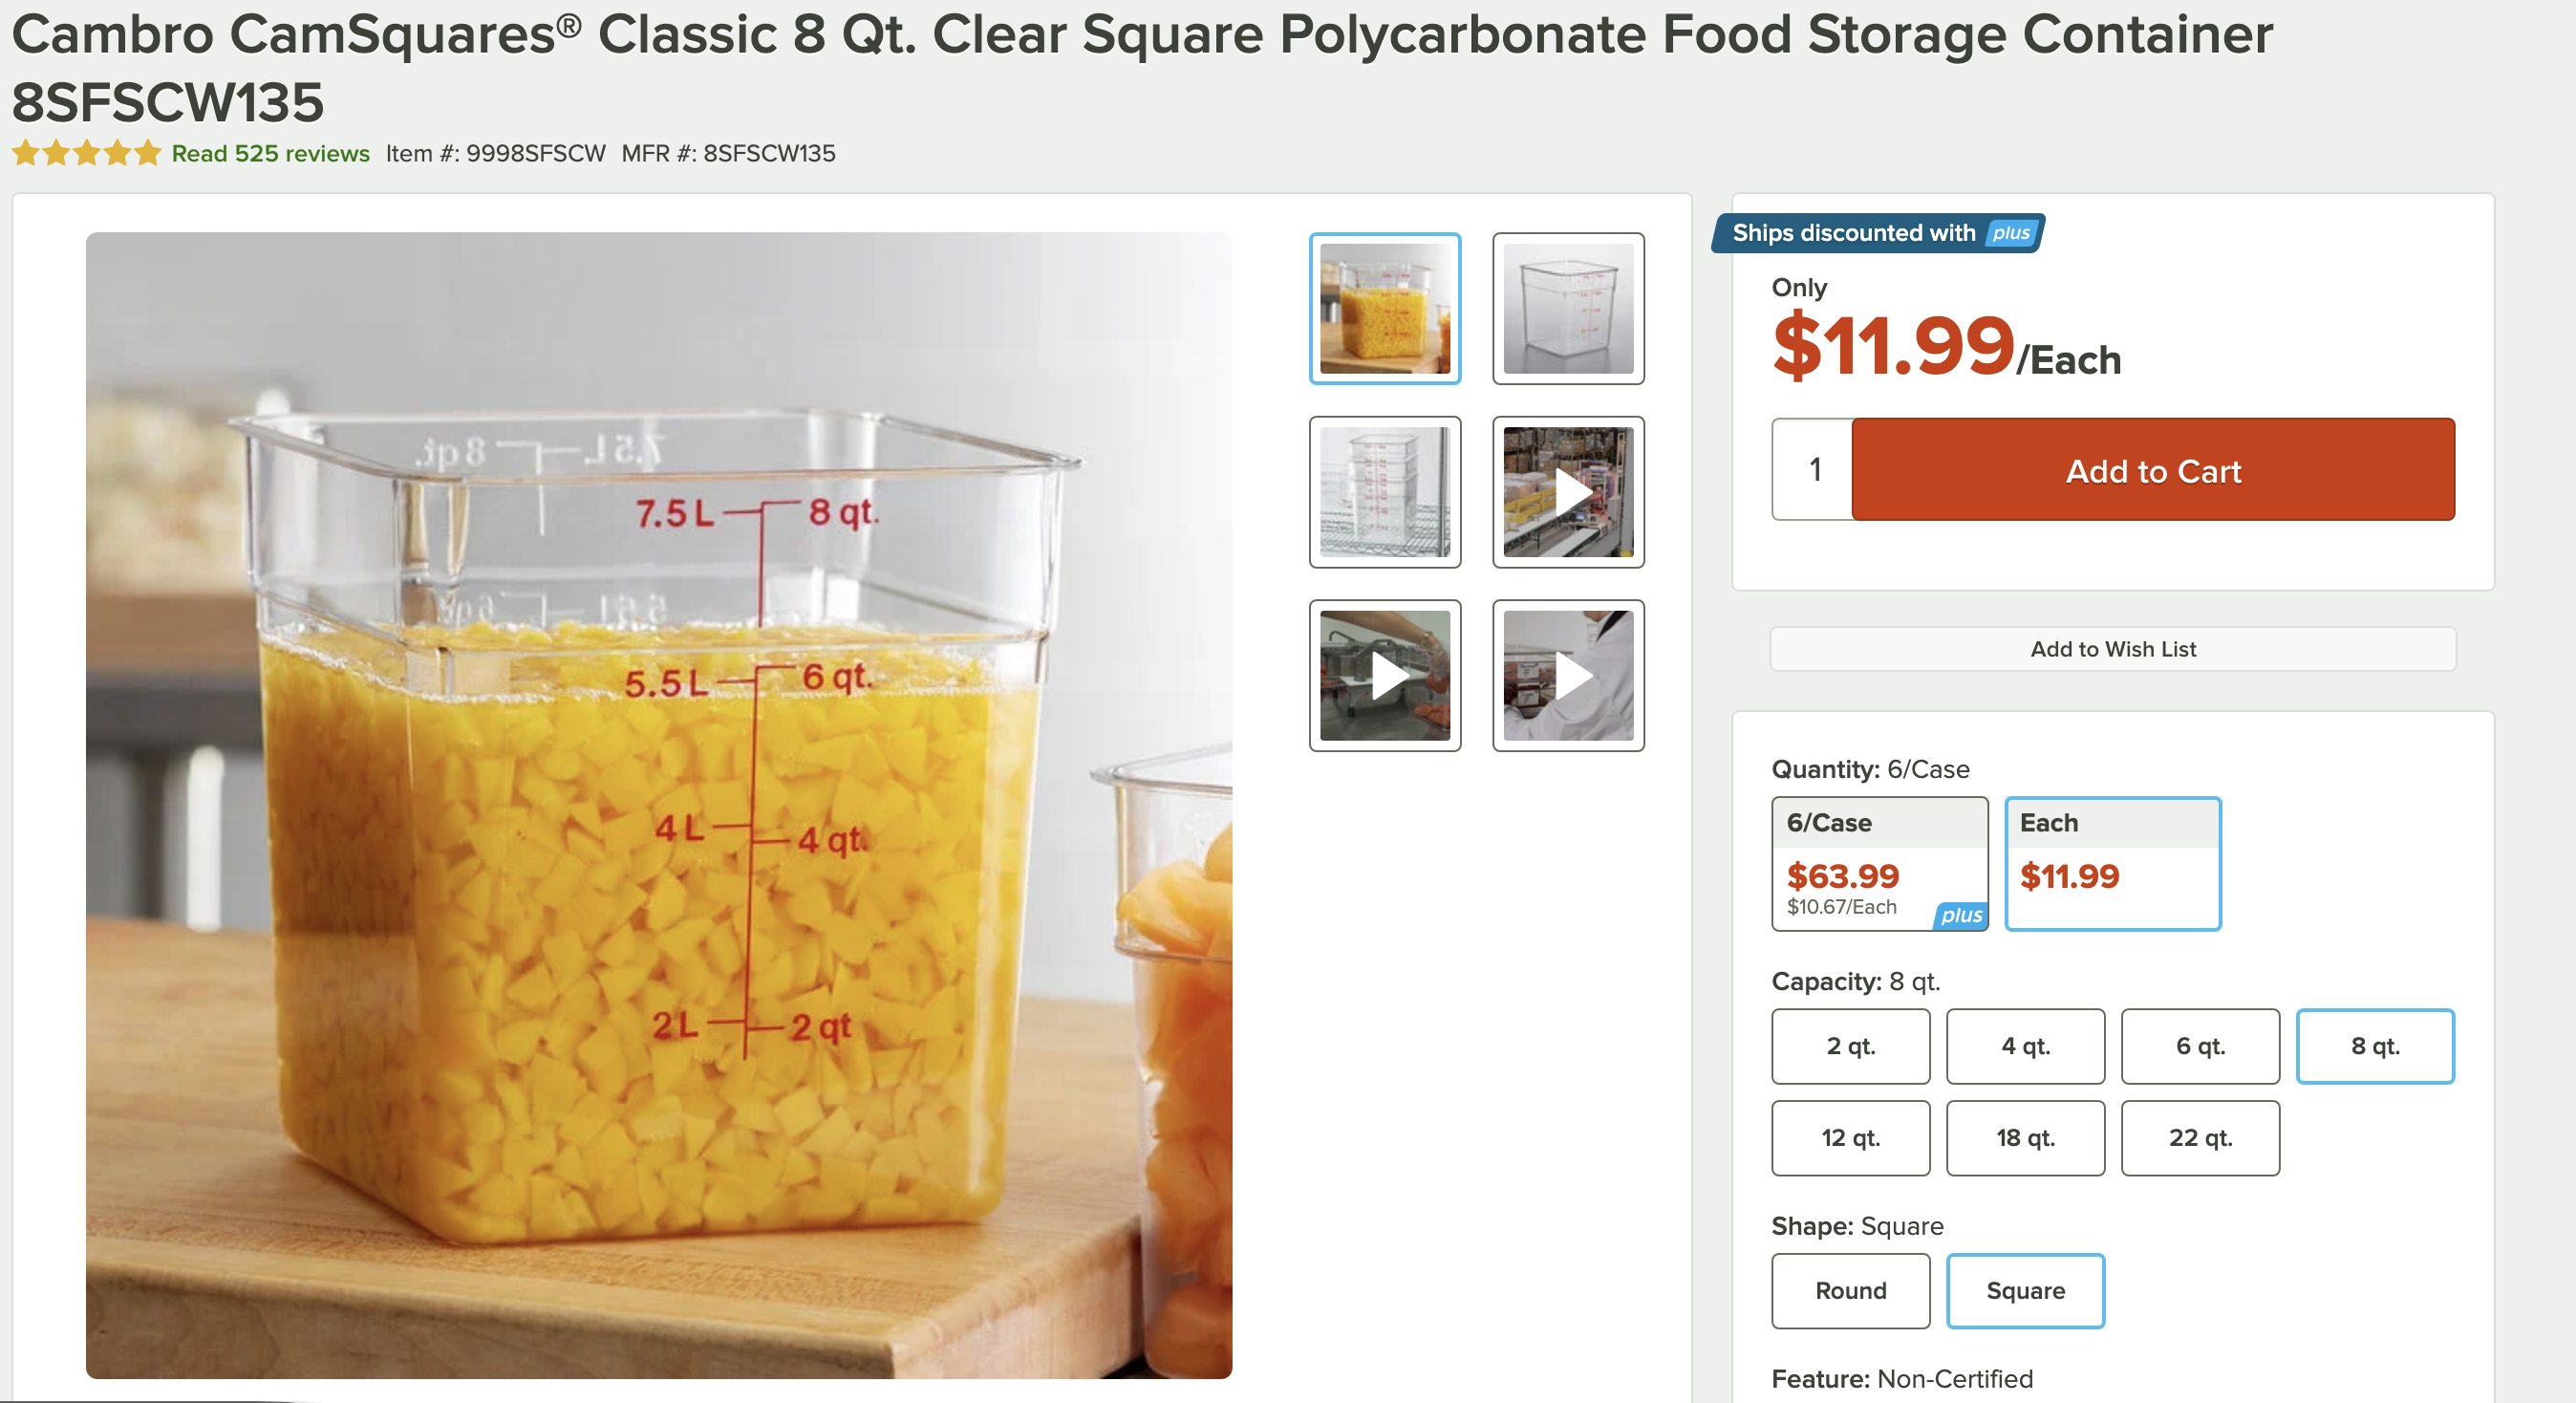
I’ll only use the height for these since the width of the containers taper down. Looking at the red lidded one (8 quart) it looks like its a bit less than 2.5 tiles (height)
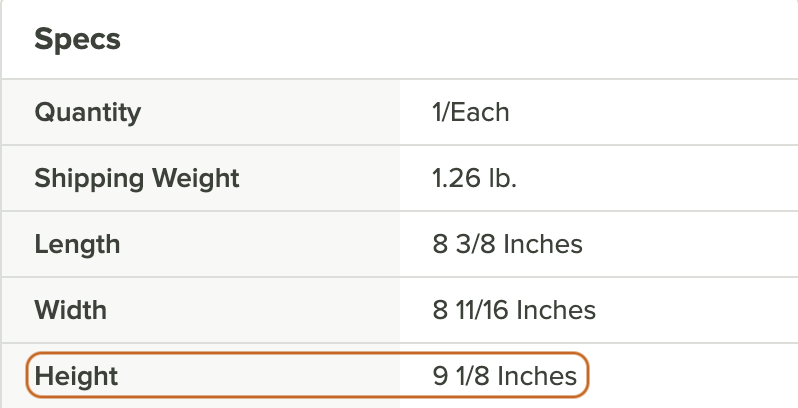
Looking at the specs sheet, the container height is 9.125 inches. I found tile size in terms of mm to stay consistent.
The Blodgett oven was my next target
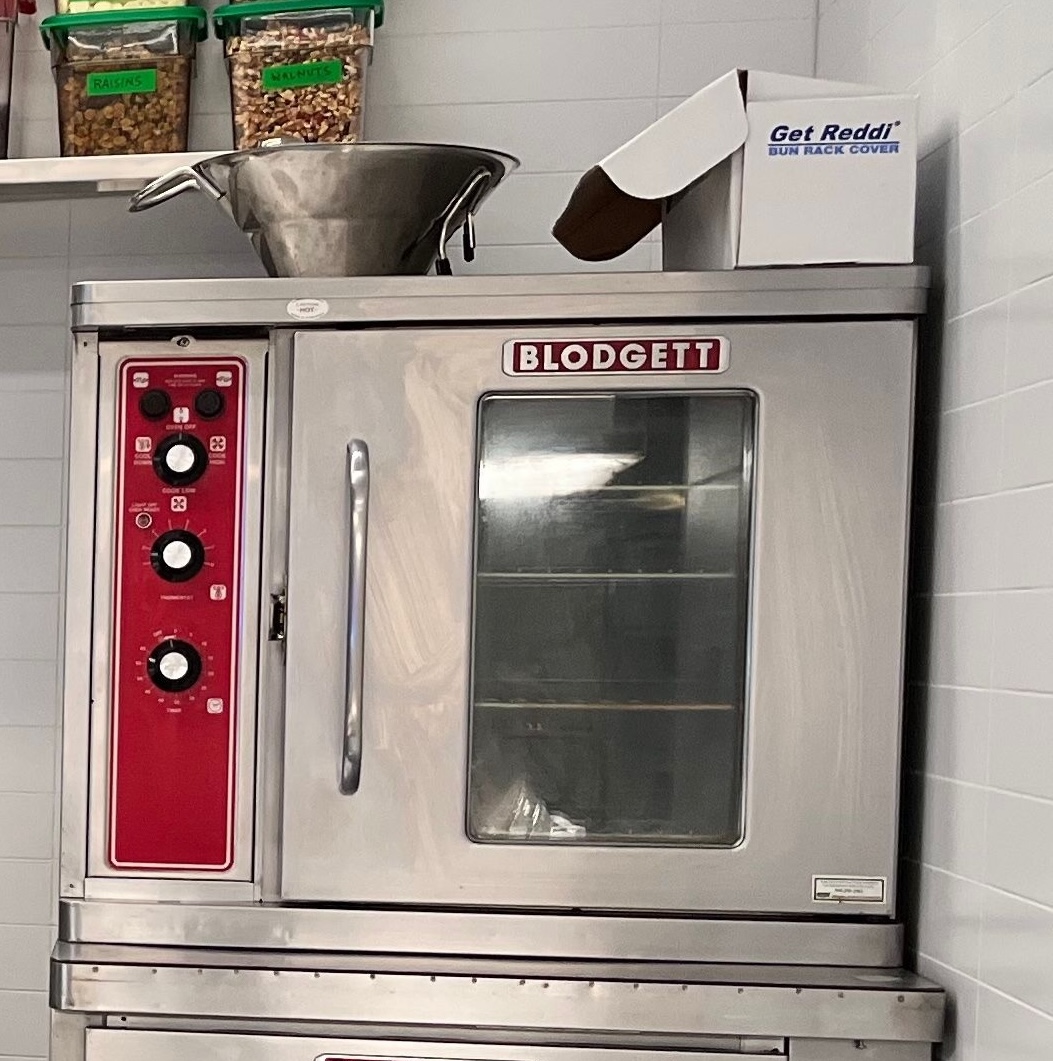
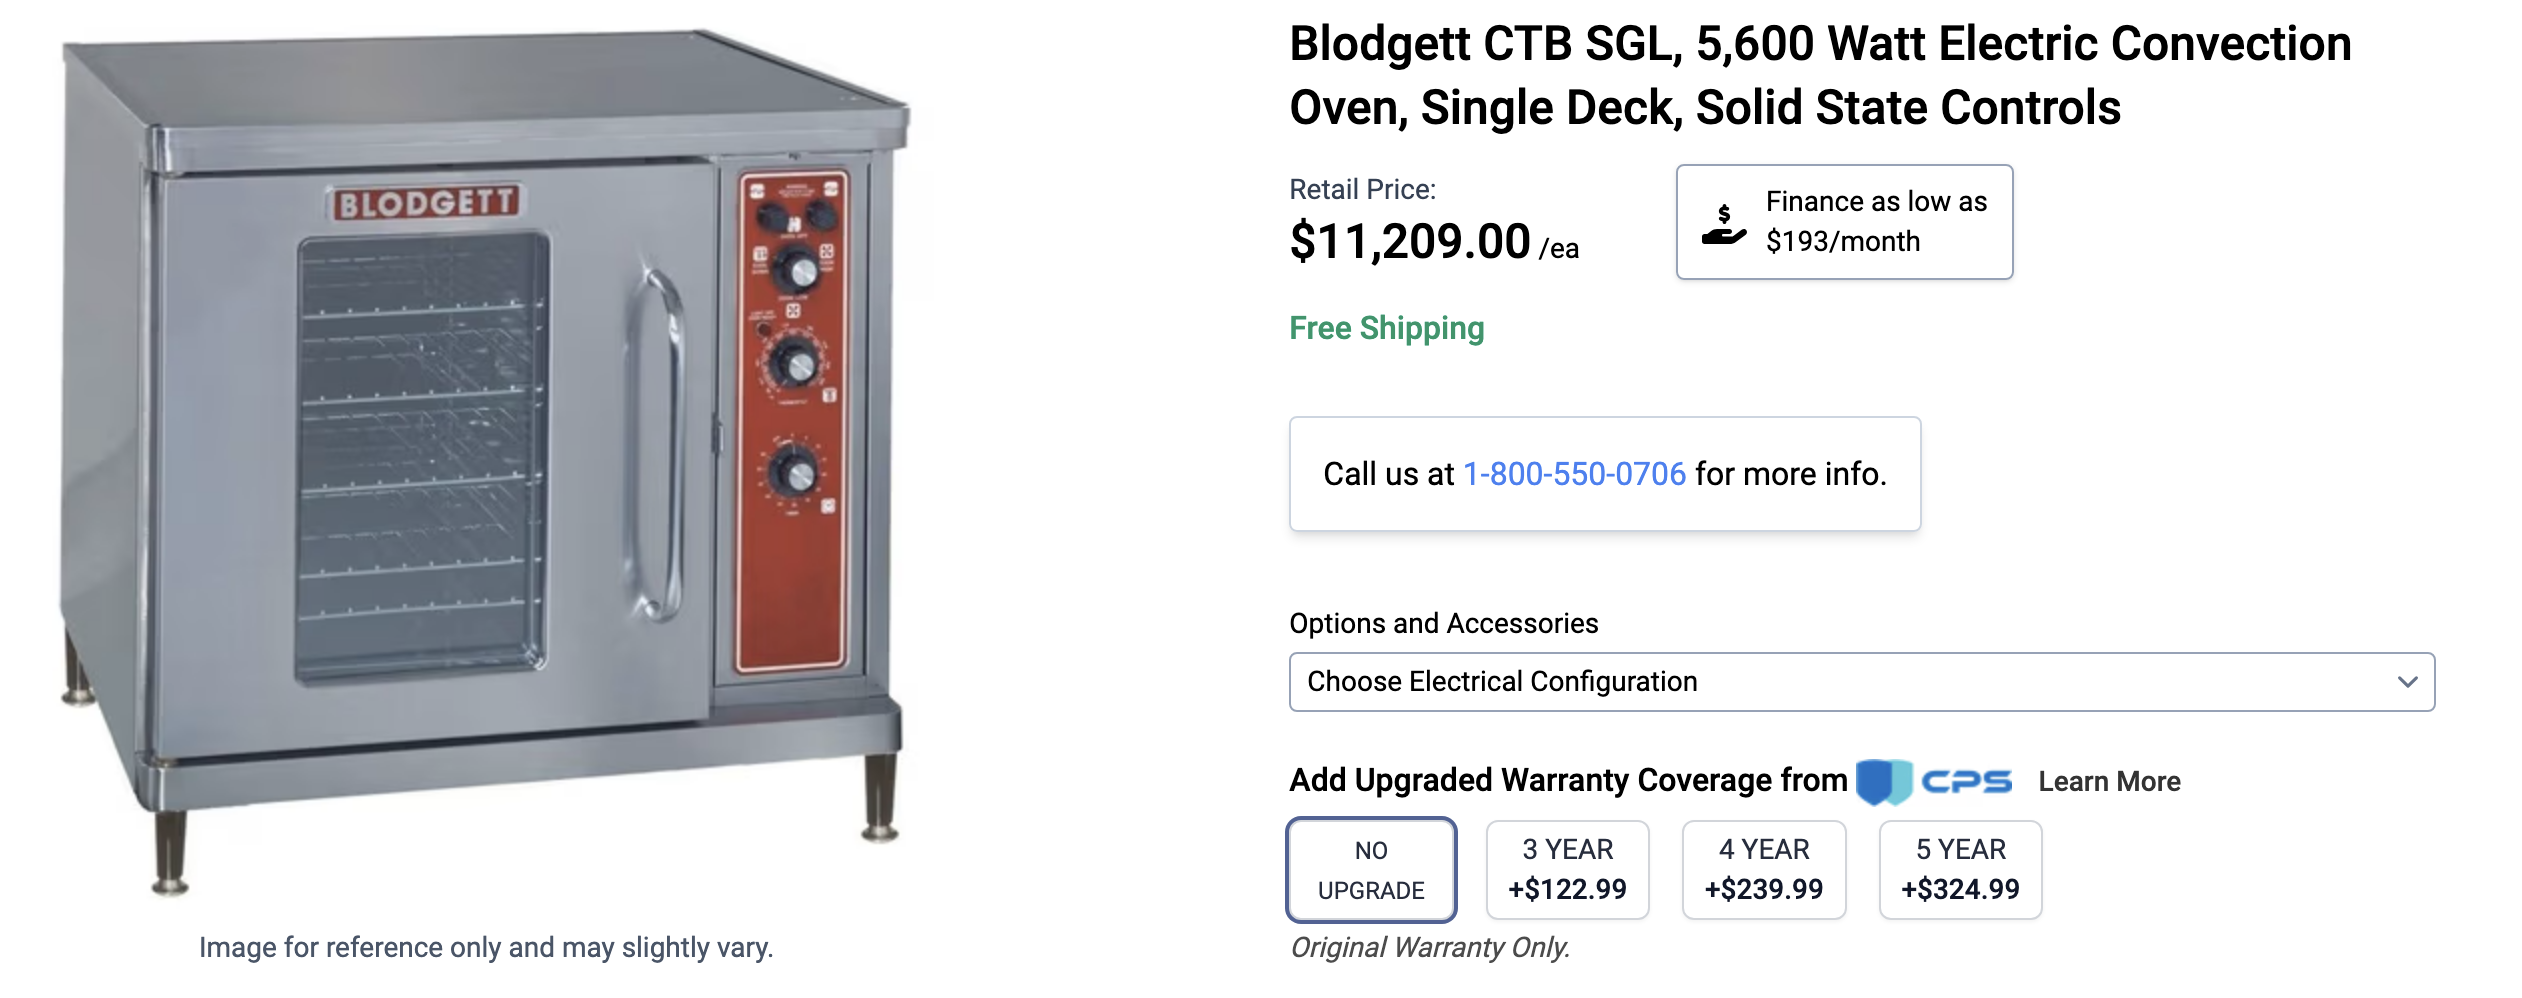
The height of the oven looked to take up about 7.5 tiles (height). The width looked to be a little more than 2 tiles (width) because you can see the edge of a tile sticking out to the left of the oven. So the back probably sits about halfway through a tile.

Again, I’ll transfer the final calculations into mm.
With these three items, I had a pretty good idea of the actual size of the tiles.
Using these measurements and the pixel ratios of the tile to the sign:
Prototyping
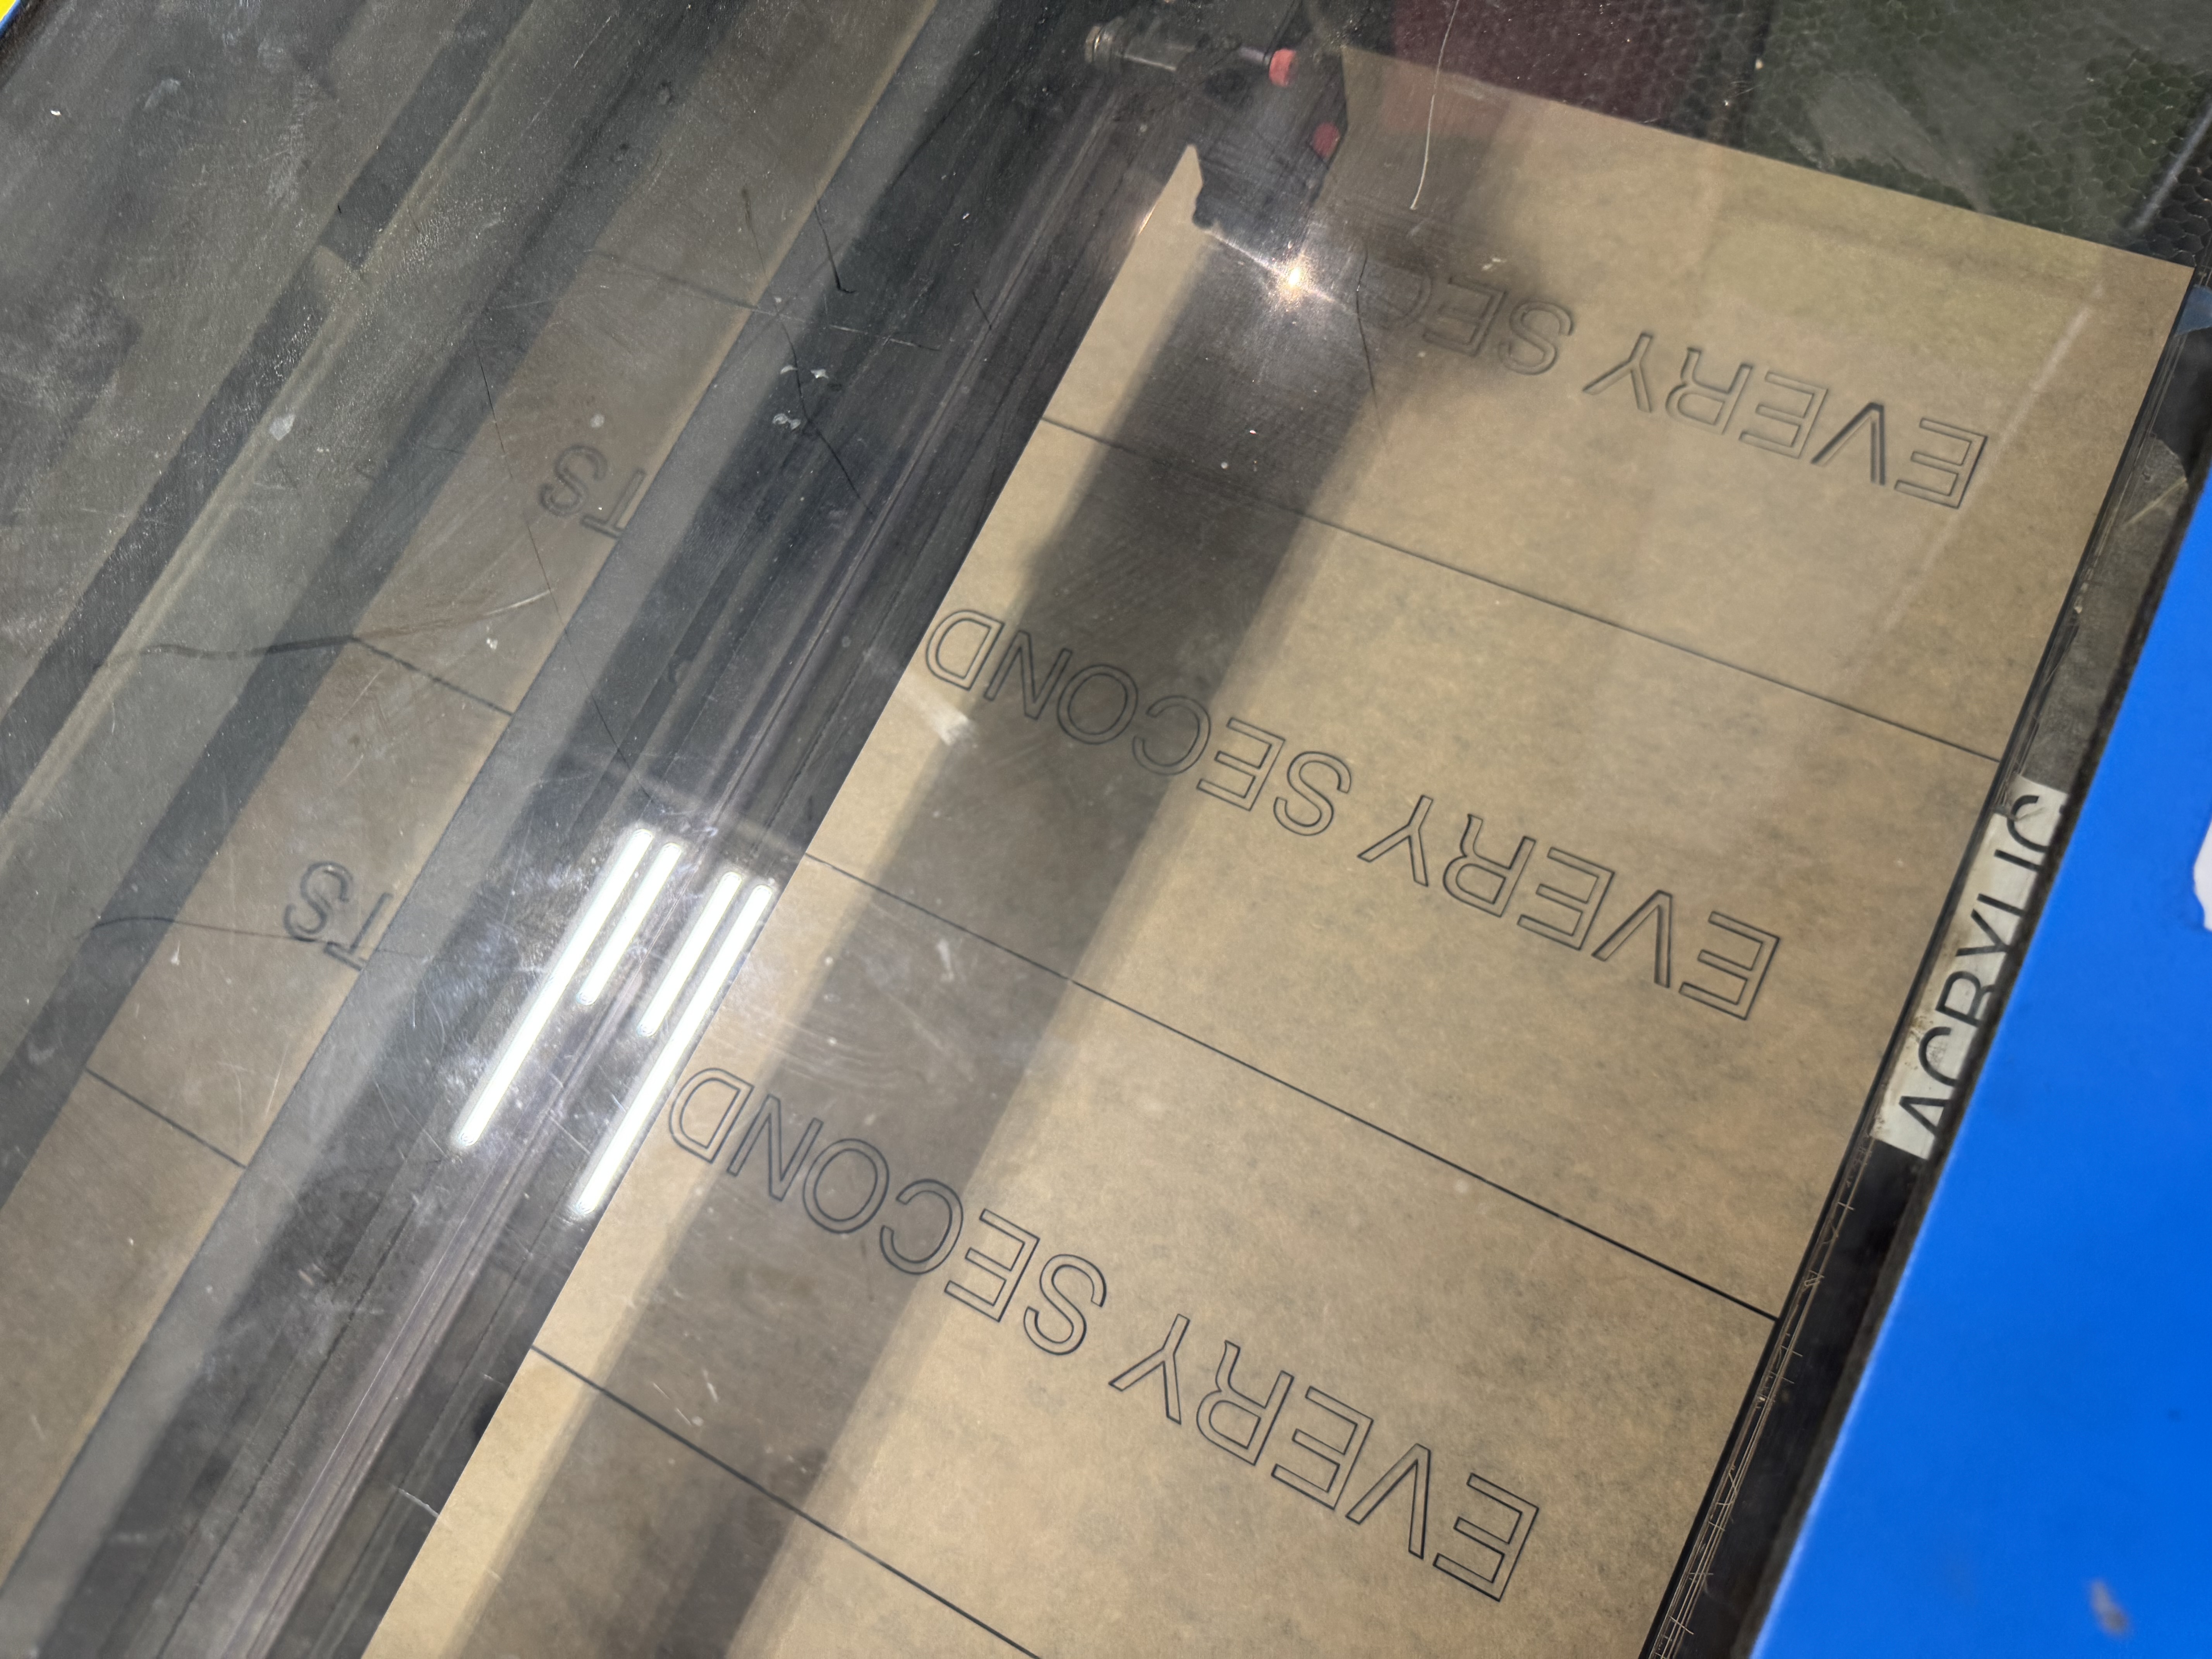
With these measurements, I ordered navy and white cast acrylic from CM’s Acrylics. While I waited for that to ship. I did a test on a sheet of blue acrylic I had laying around. It was pretty apparent from a couple online font image analyzers that the text was using the classic Helvetica font family. I used the laser cutters in the Brown Design Workshop (BDW).
After peeling off the brown paper backing, I could see that the first test looked pretty darn good:
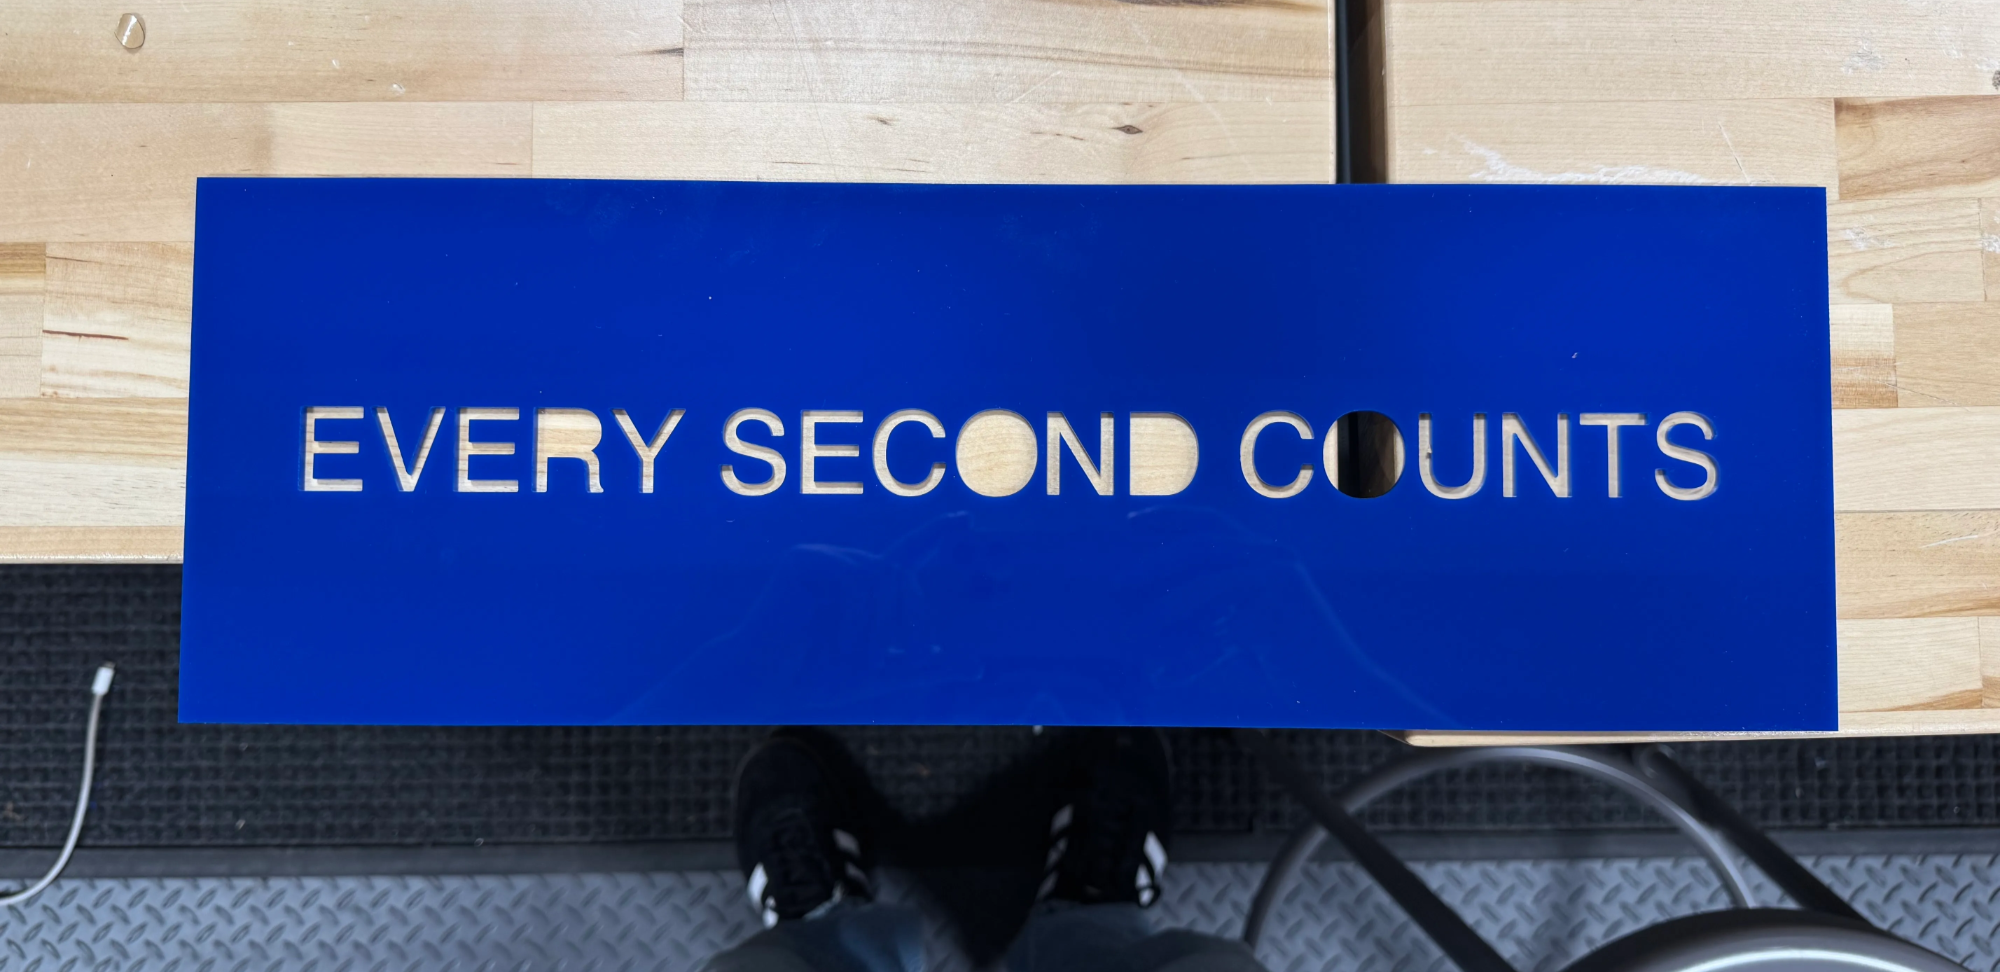
So, when the correct acrylic arrived, I went ahead and cut it! I put it against some white paper, so I could really see the vision:
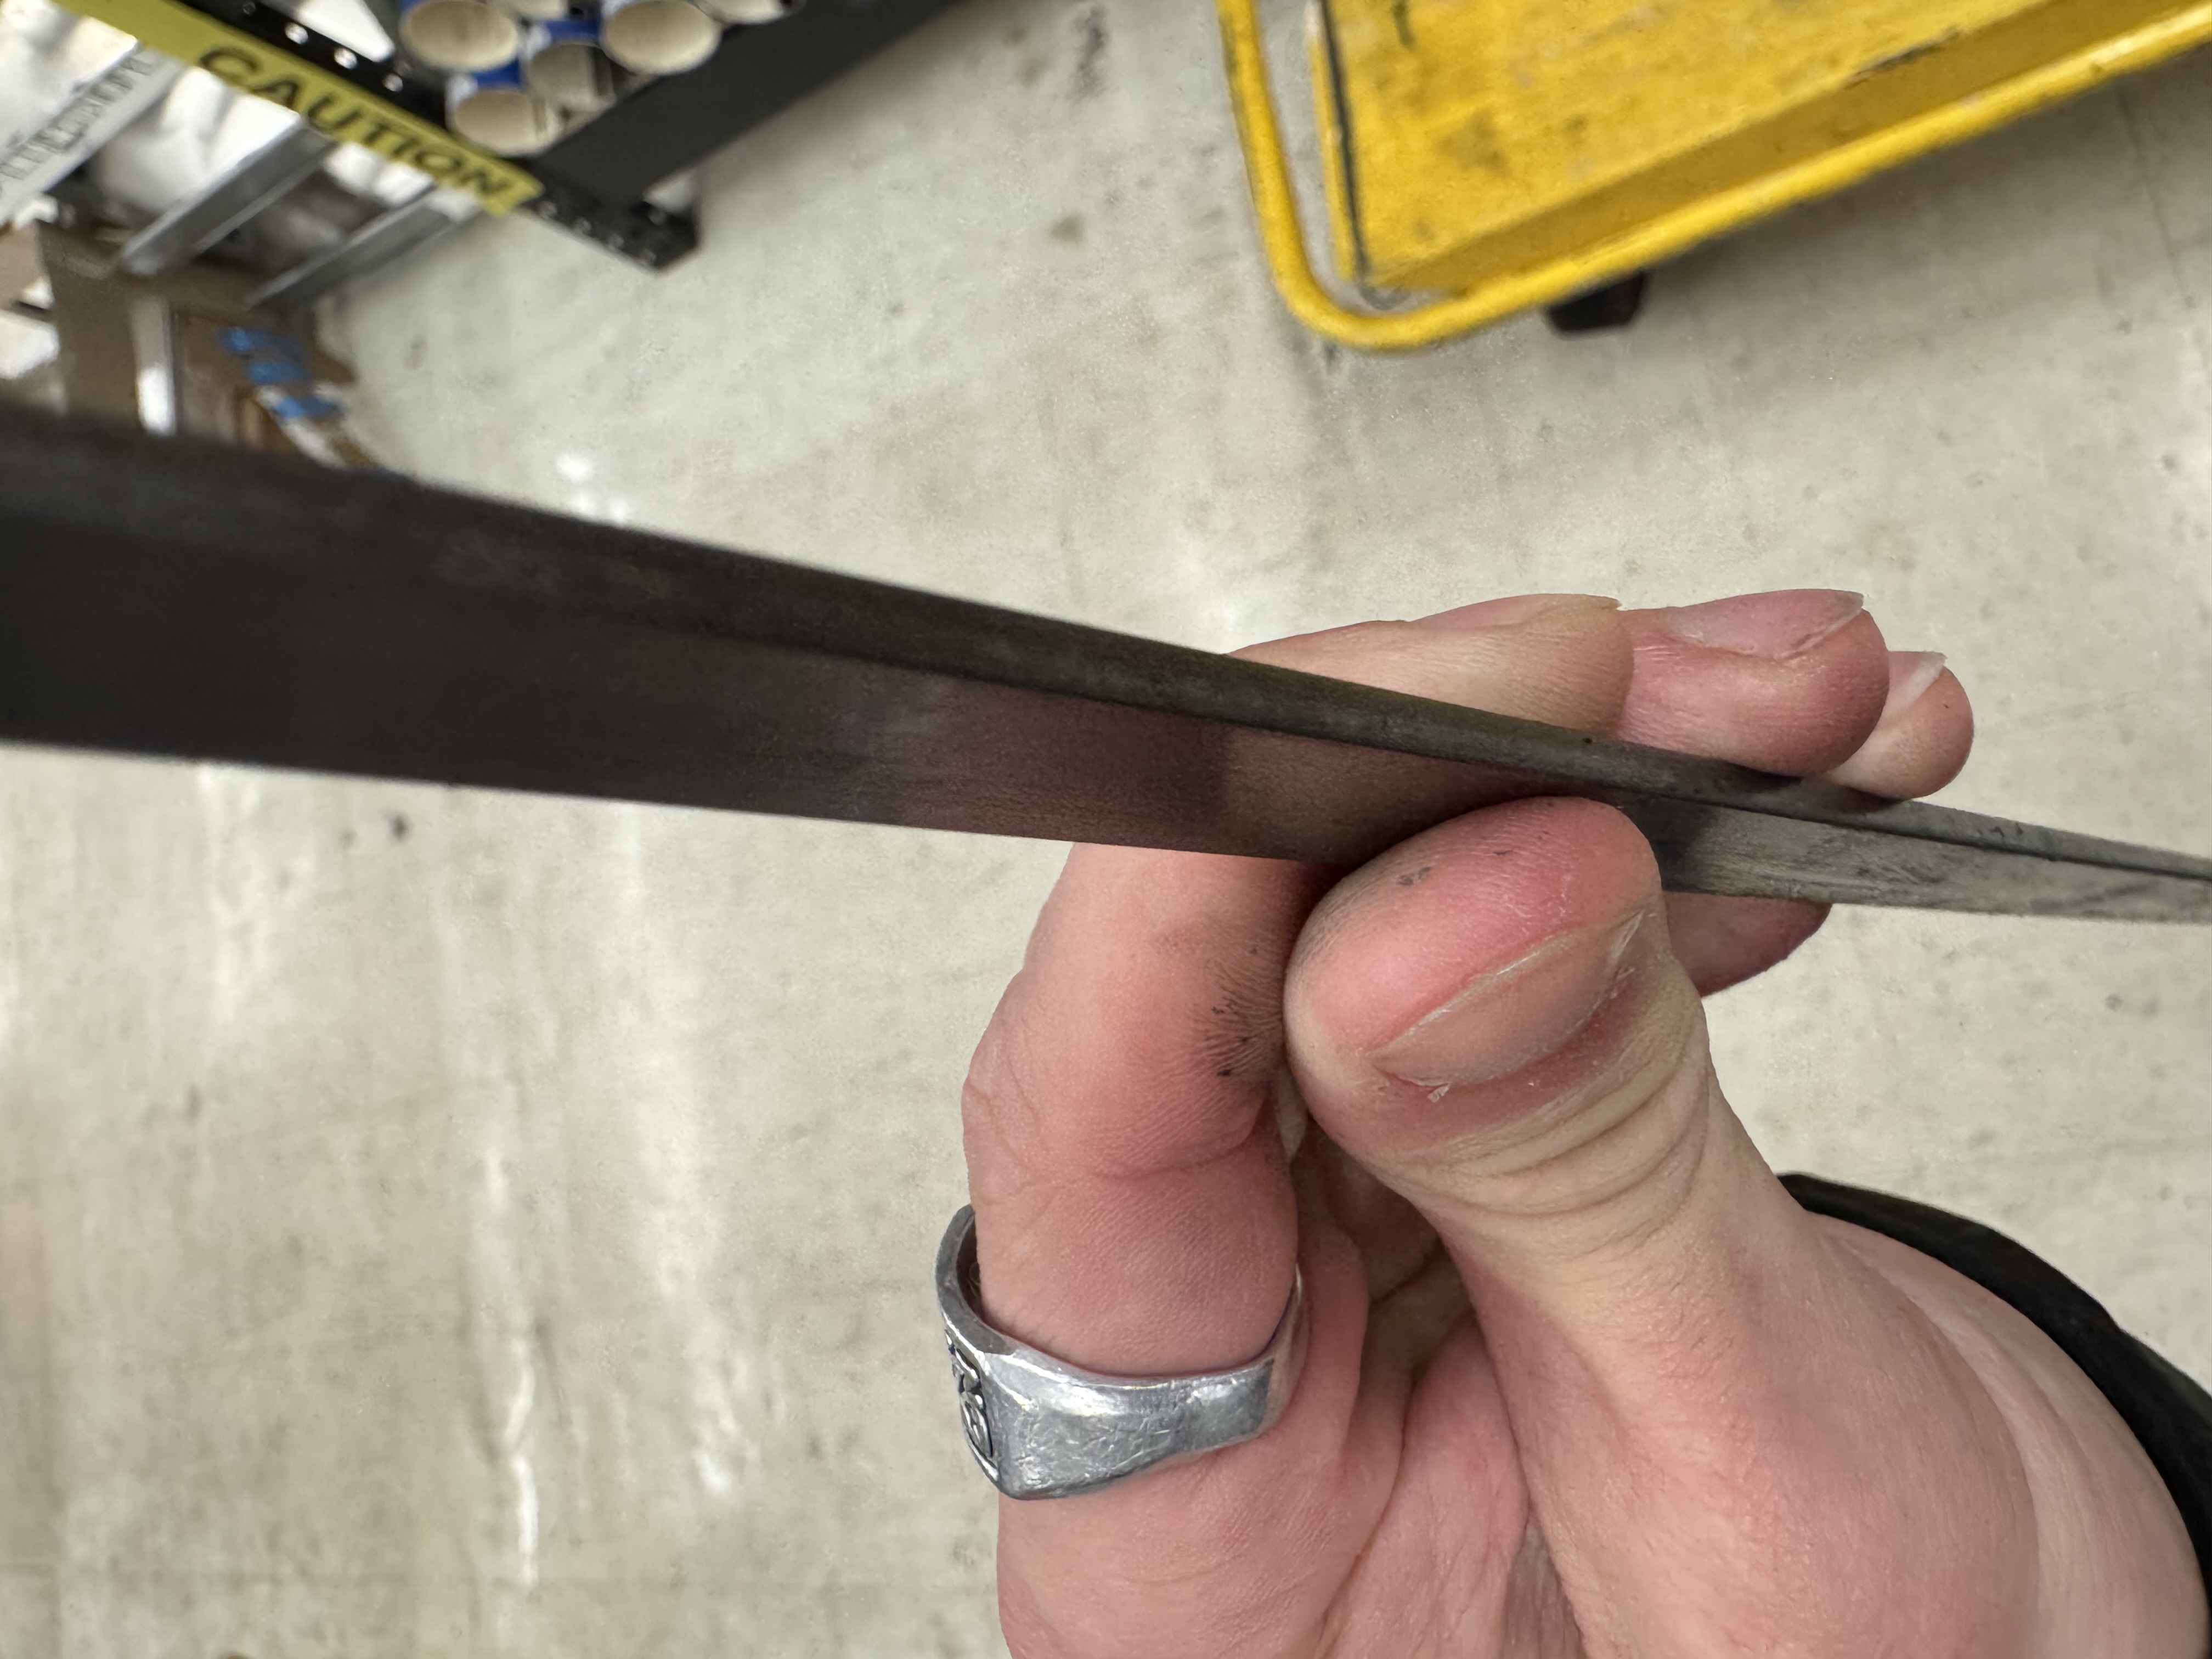
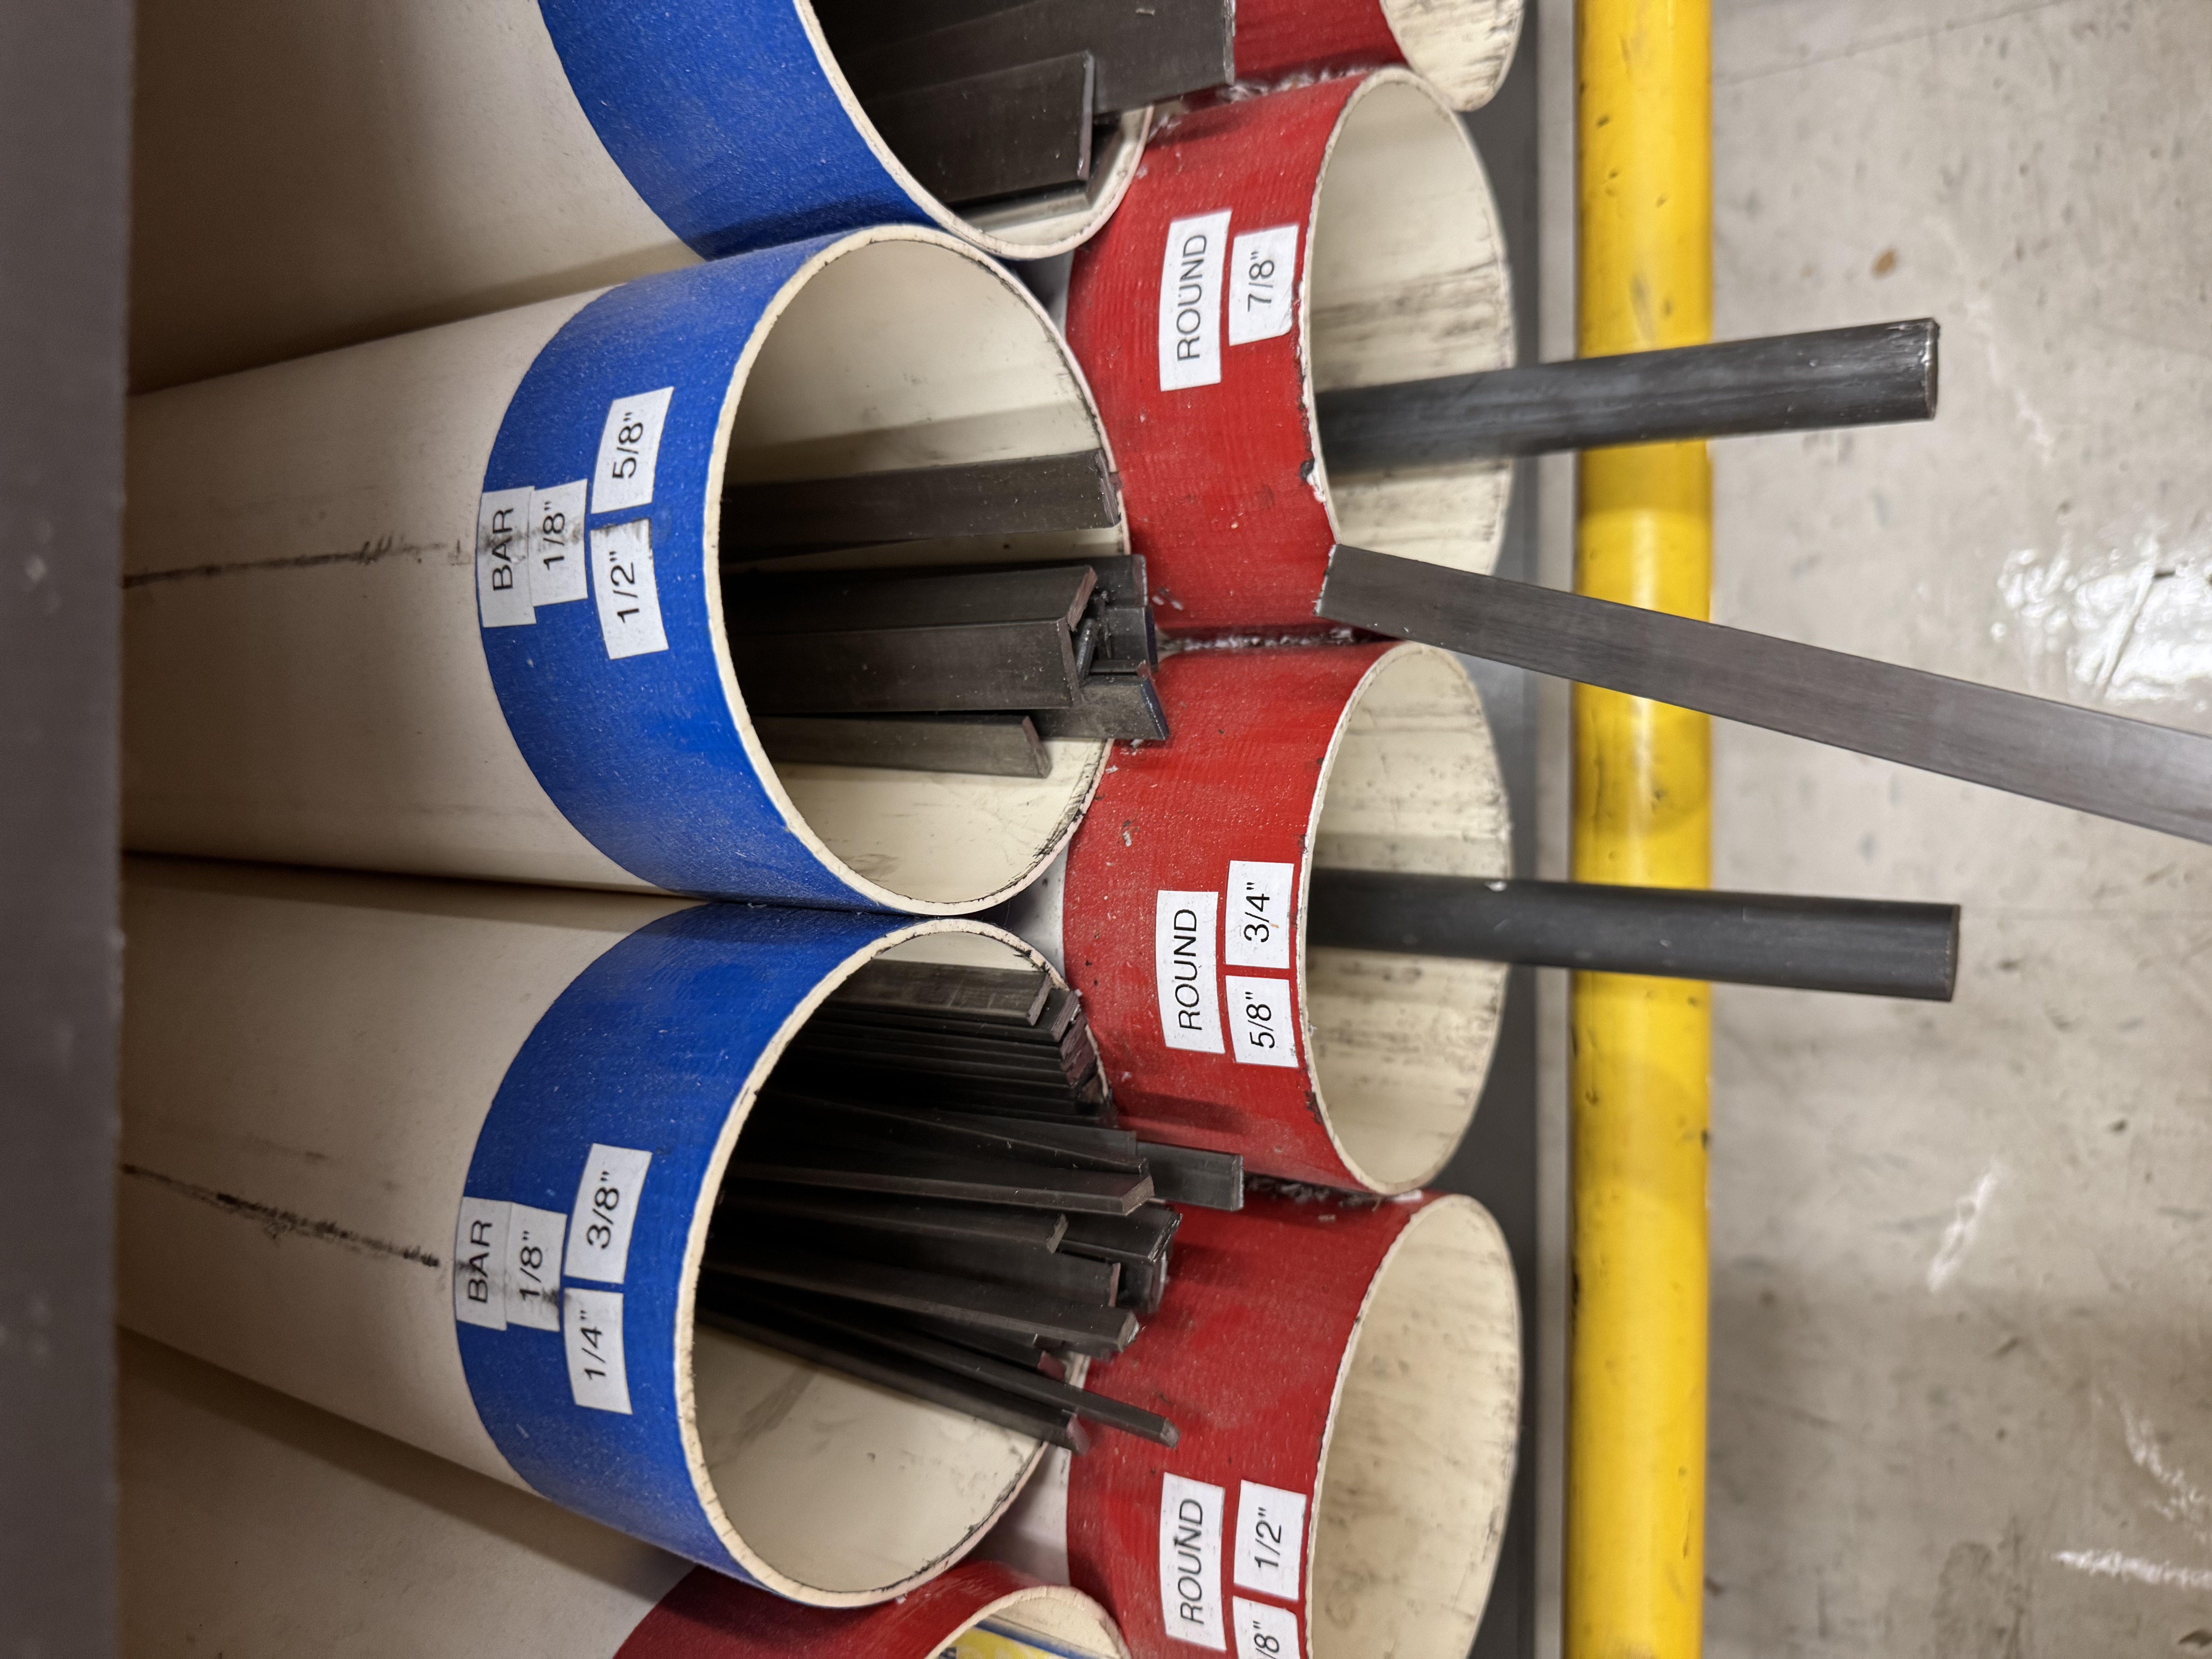
Before tackling the weird, ripply finish, I began working on the frame. From the images of Chef Terry holding the sign, I became pretty confident that it was some sort of metal border. My initial guess was aluminum for weight purposes, but when I went to the RISD 3D store to source materials, the flat steel bar looked perfect. Carrying it up College Hill to my dorm was a ridiculous task: I had to hold the 4 foot bars of steel above my head so that the ends wouldn’t touch the ground.
Cutting this bar stock proved to be my next big challenge. With the help of John Shilko, one of the BDW staff, I used the horizontal band saw to cut the bars almost to length. My plan was to cut down the excess when I got home from college. Transporting the 4 foot-long bars from Providence to Louisville would have been impossible.

When I got home, I went straight to my high school’s Makery, where Mr. Geis, my former robotics teacher, helped me cut the bars to their final size. We went through five metal cutting blades!
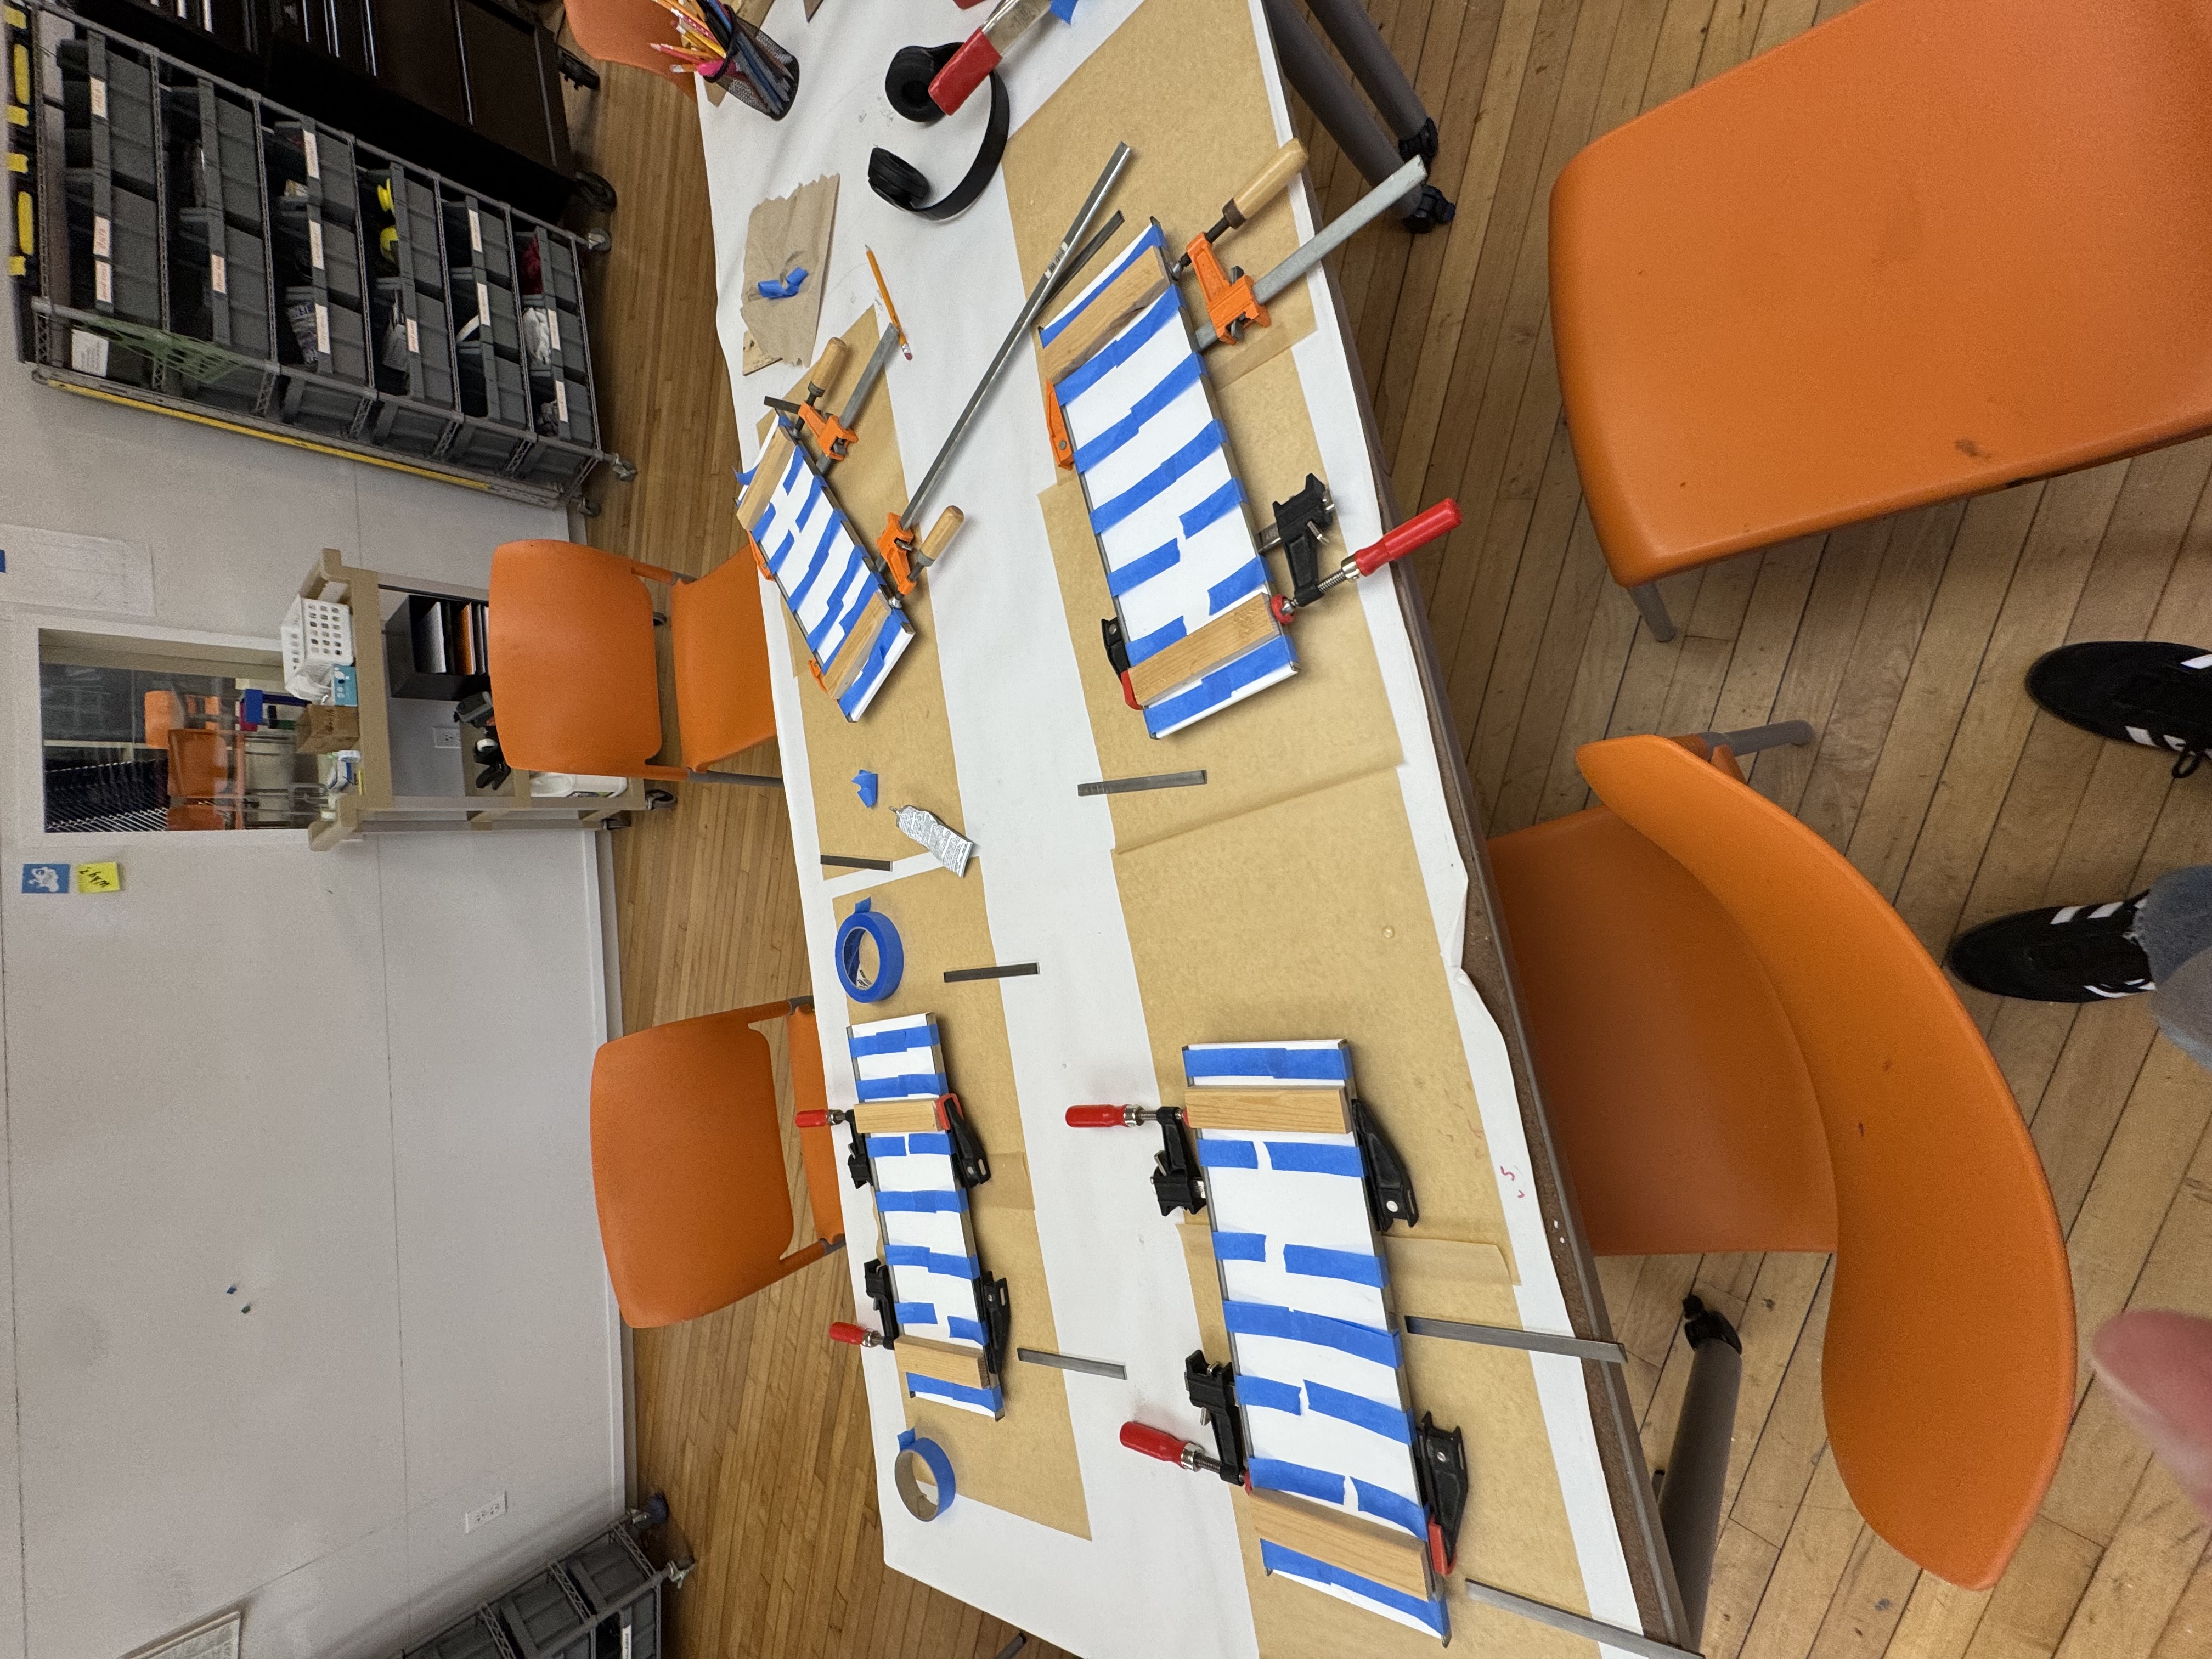
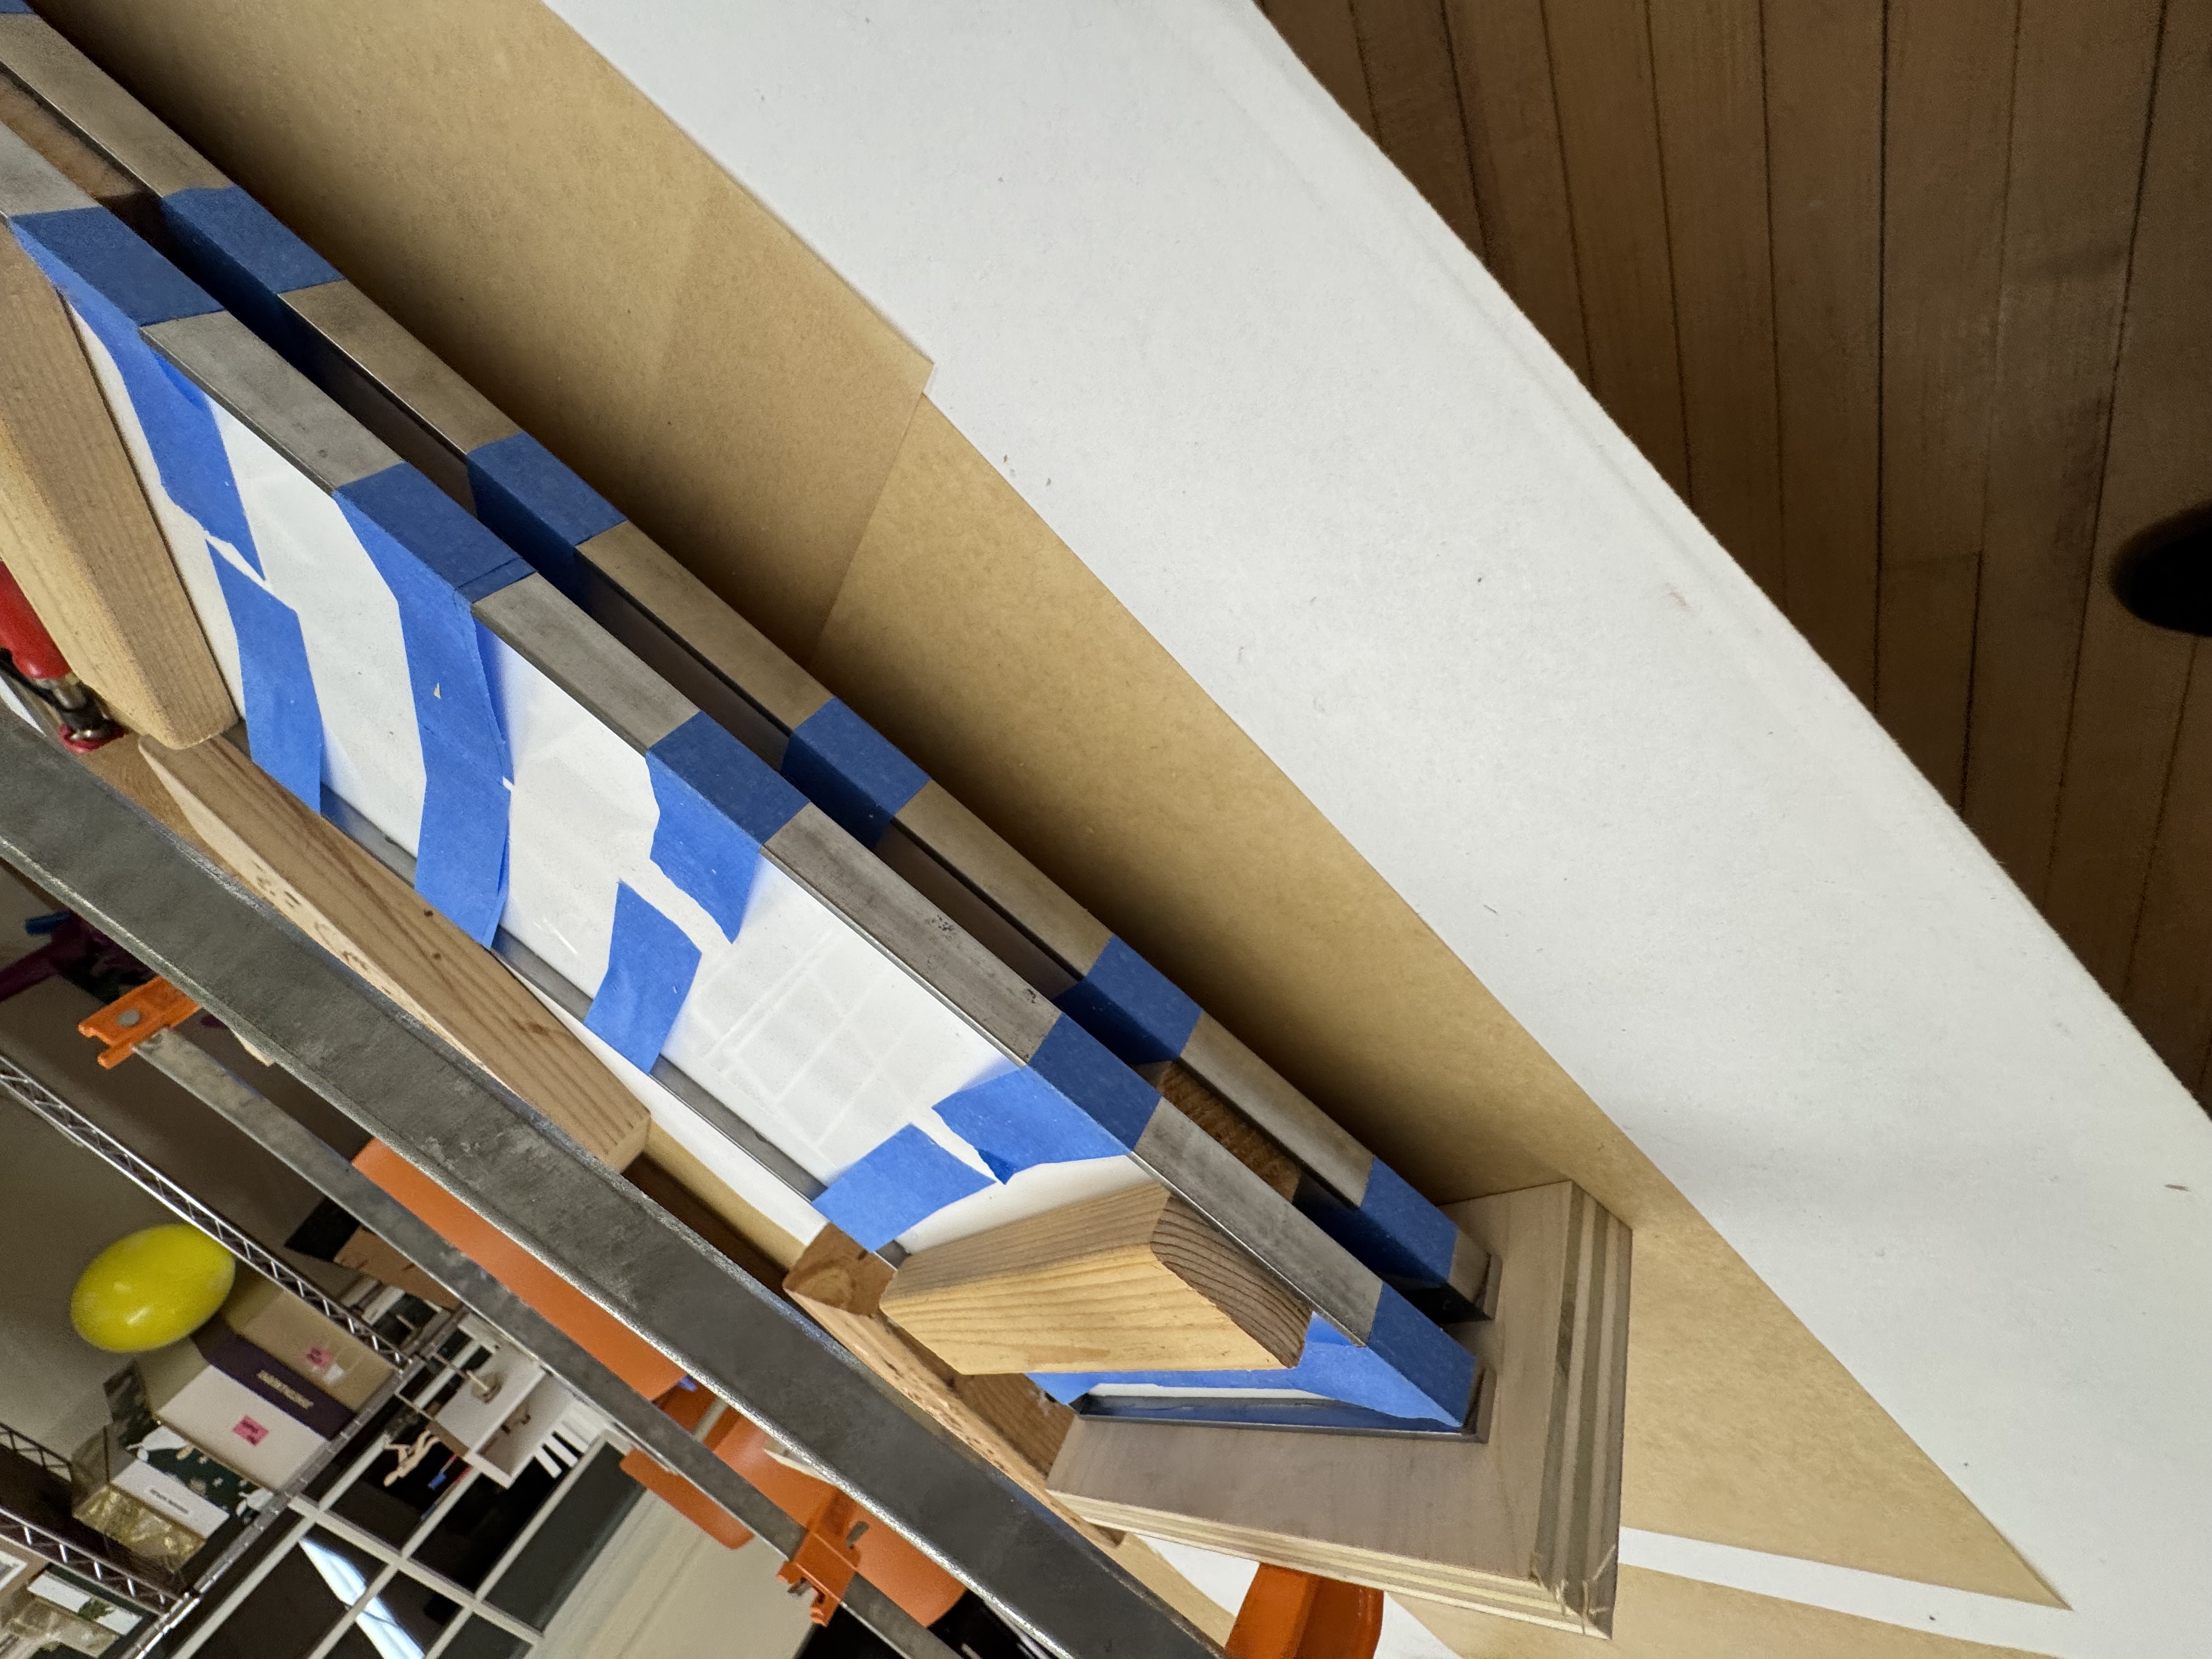
Mr. Geis recommended E600 to adhere the white acrylic backing to the steel border. From the shots I got during research, it looked like the frame slightly extended past the acrylic. I calculated for this but didn’t attach the blue front panels until after I added the epoxy finish. I clamped up the signs and let them sit overnight:
Finally, I was ready to tackle to surface finish. Throughout the process I had done a lot of research, even posting to reddit to ask the experts. I found a single reference that looked somewhat similar, but apparently it was due to errors in the epoxy pouring process. This did at least convince me to use epoxy resin as a final coat on the acrylic.
I didn’t have time to find a way to engineer an “error” in epoxy curing (lol), so I had to find my own solution.
Unfortunately, I didn’t take any pictures of my tests, but I tried rolling epoxy with a brayer (usually used for linocut printing) and just poking it with latex gloves. I tried each of these methods at different stages of the epoxy curing time.
Of all the tests, the “poking method” turned out to work the best around the 2 hour mark after pouring. It maximized the texture while still allowing time for the coating to dissipate all the bubbles that appeared from messing with the epoxy.
At midnight the day before we left for Cincinnati (where we celebrate Christmas with my grandparents), I found myself poking a sticky clear coating in the darkness of my workshop…
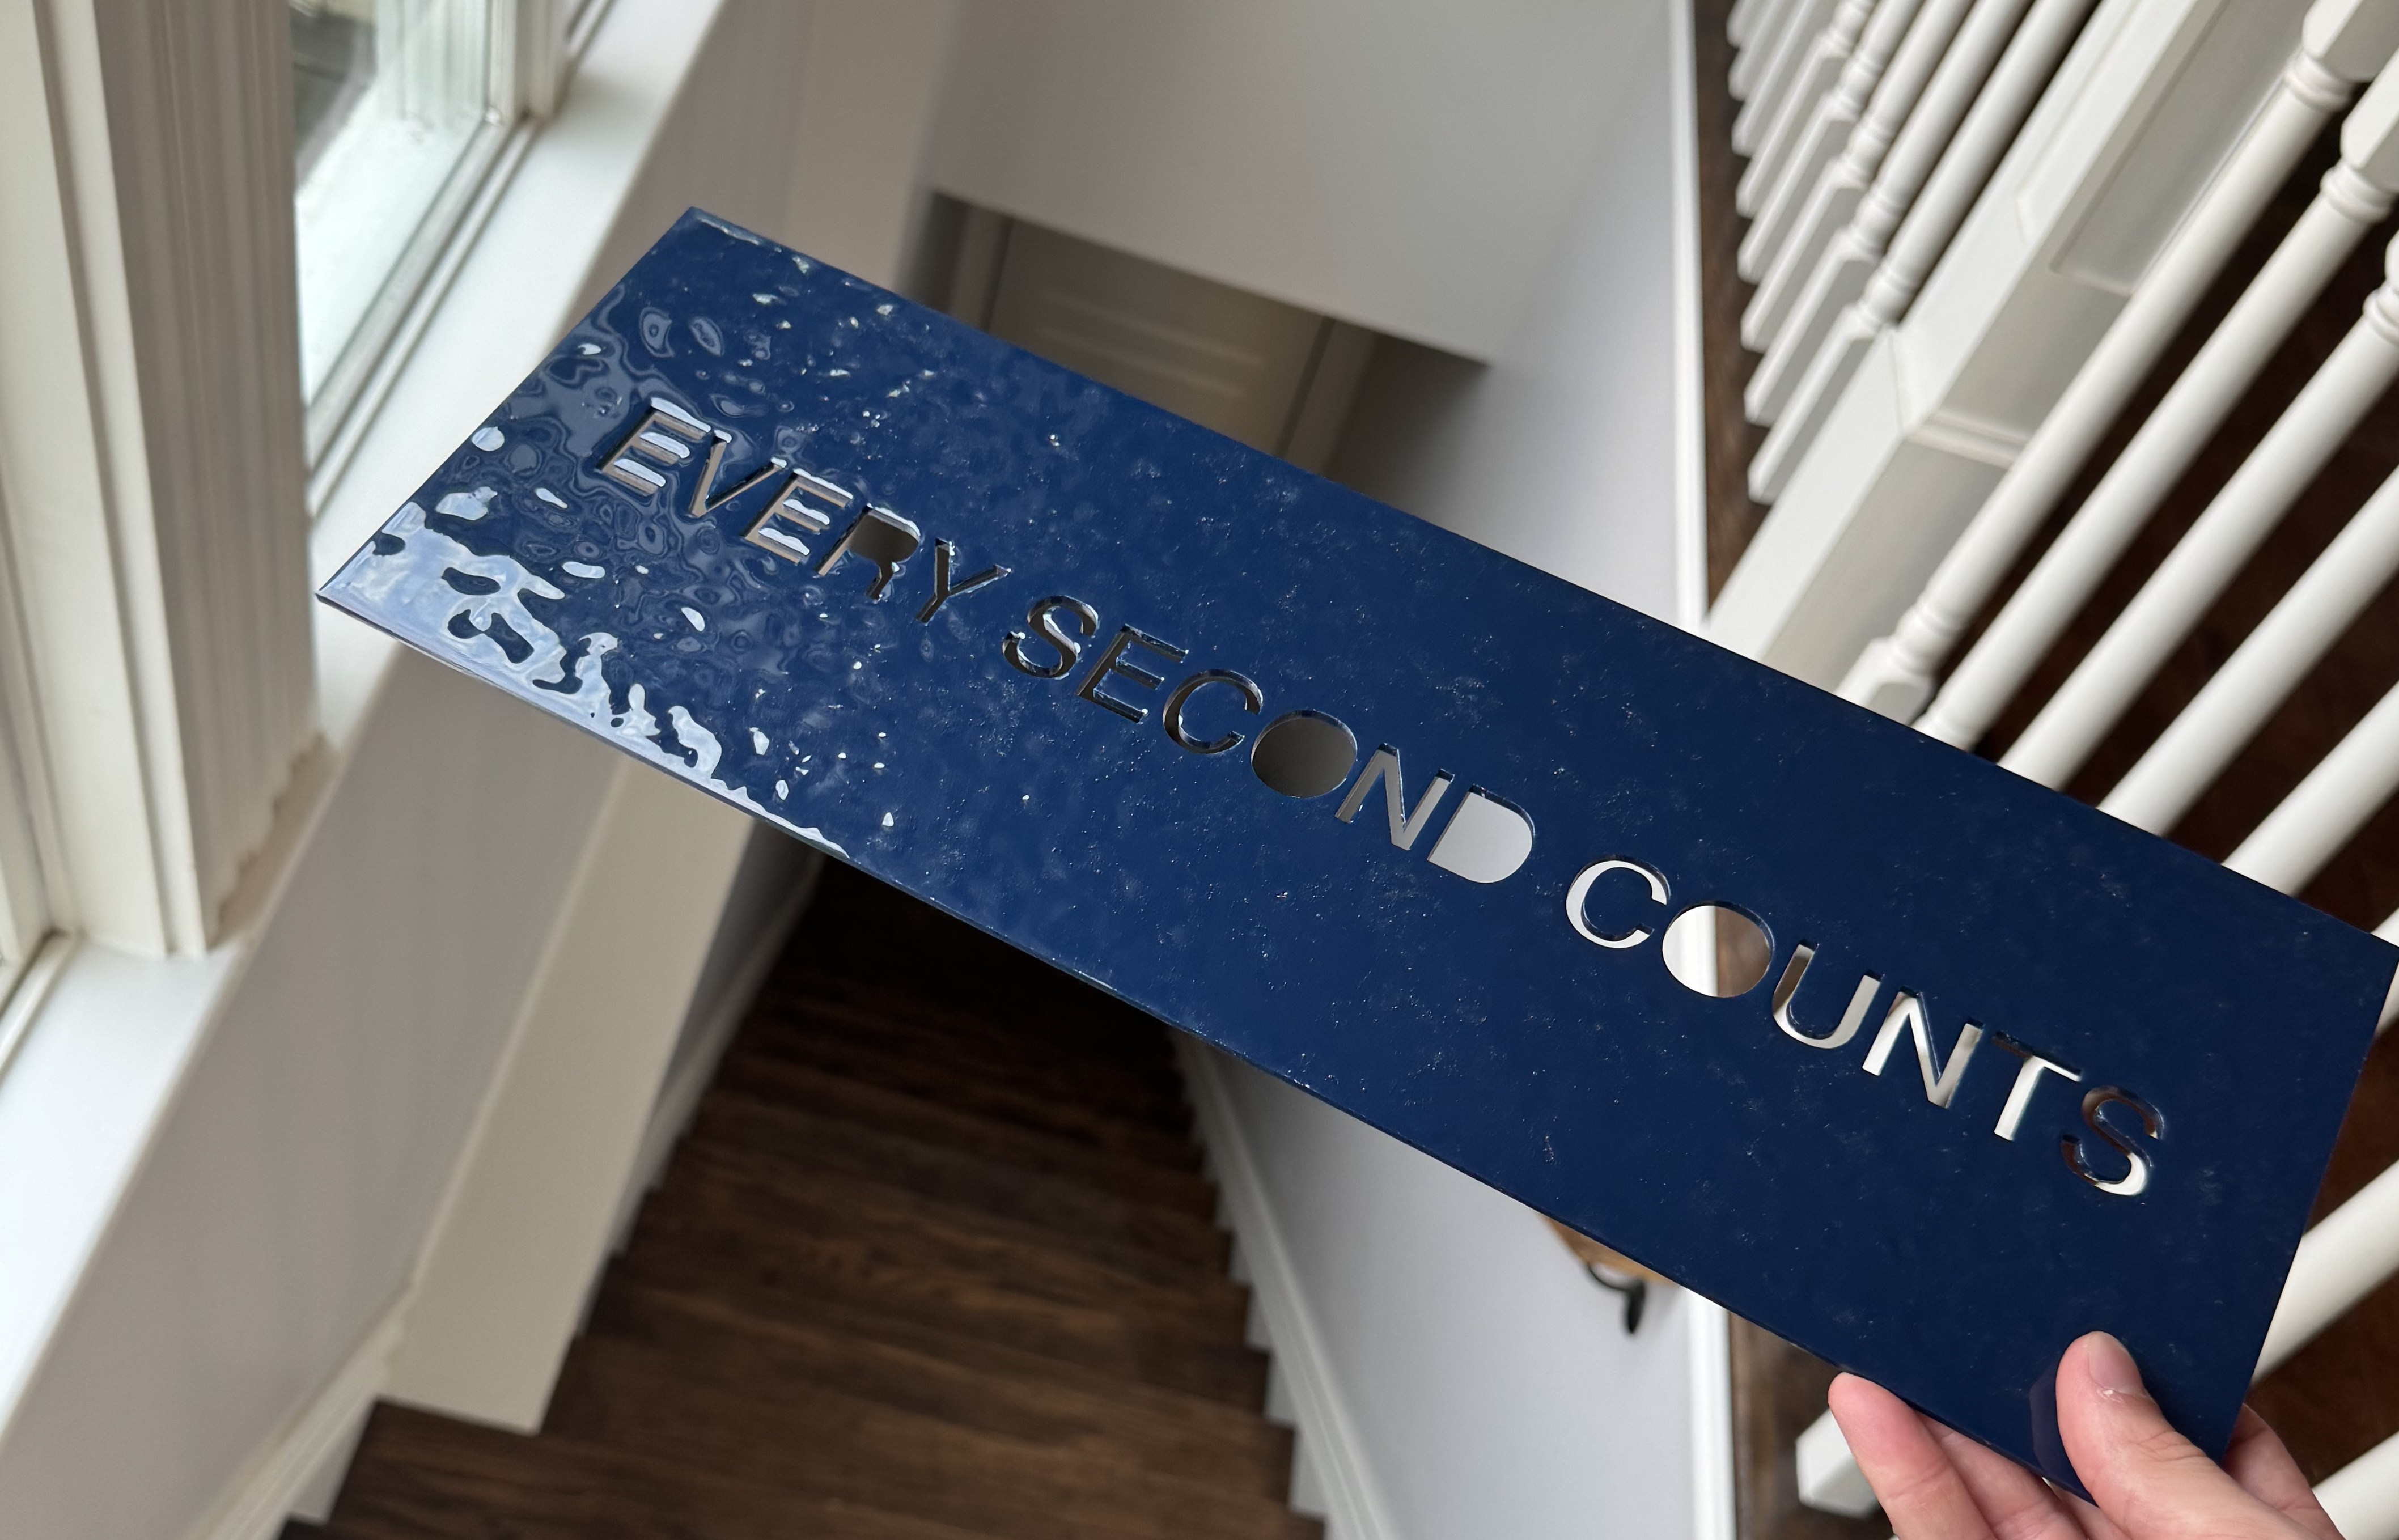
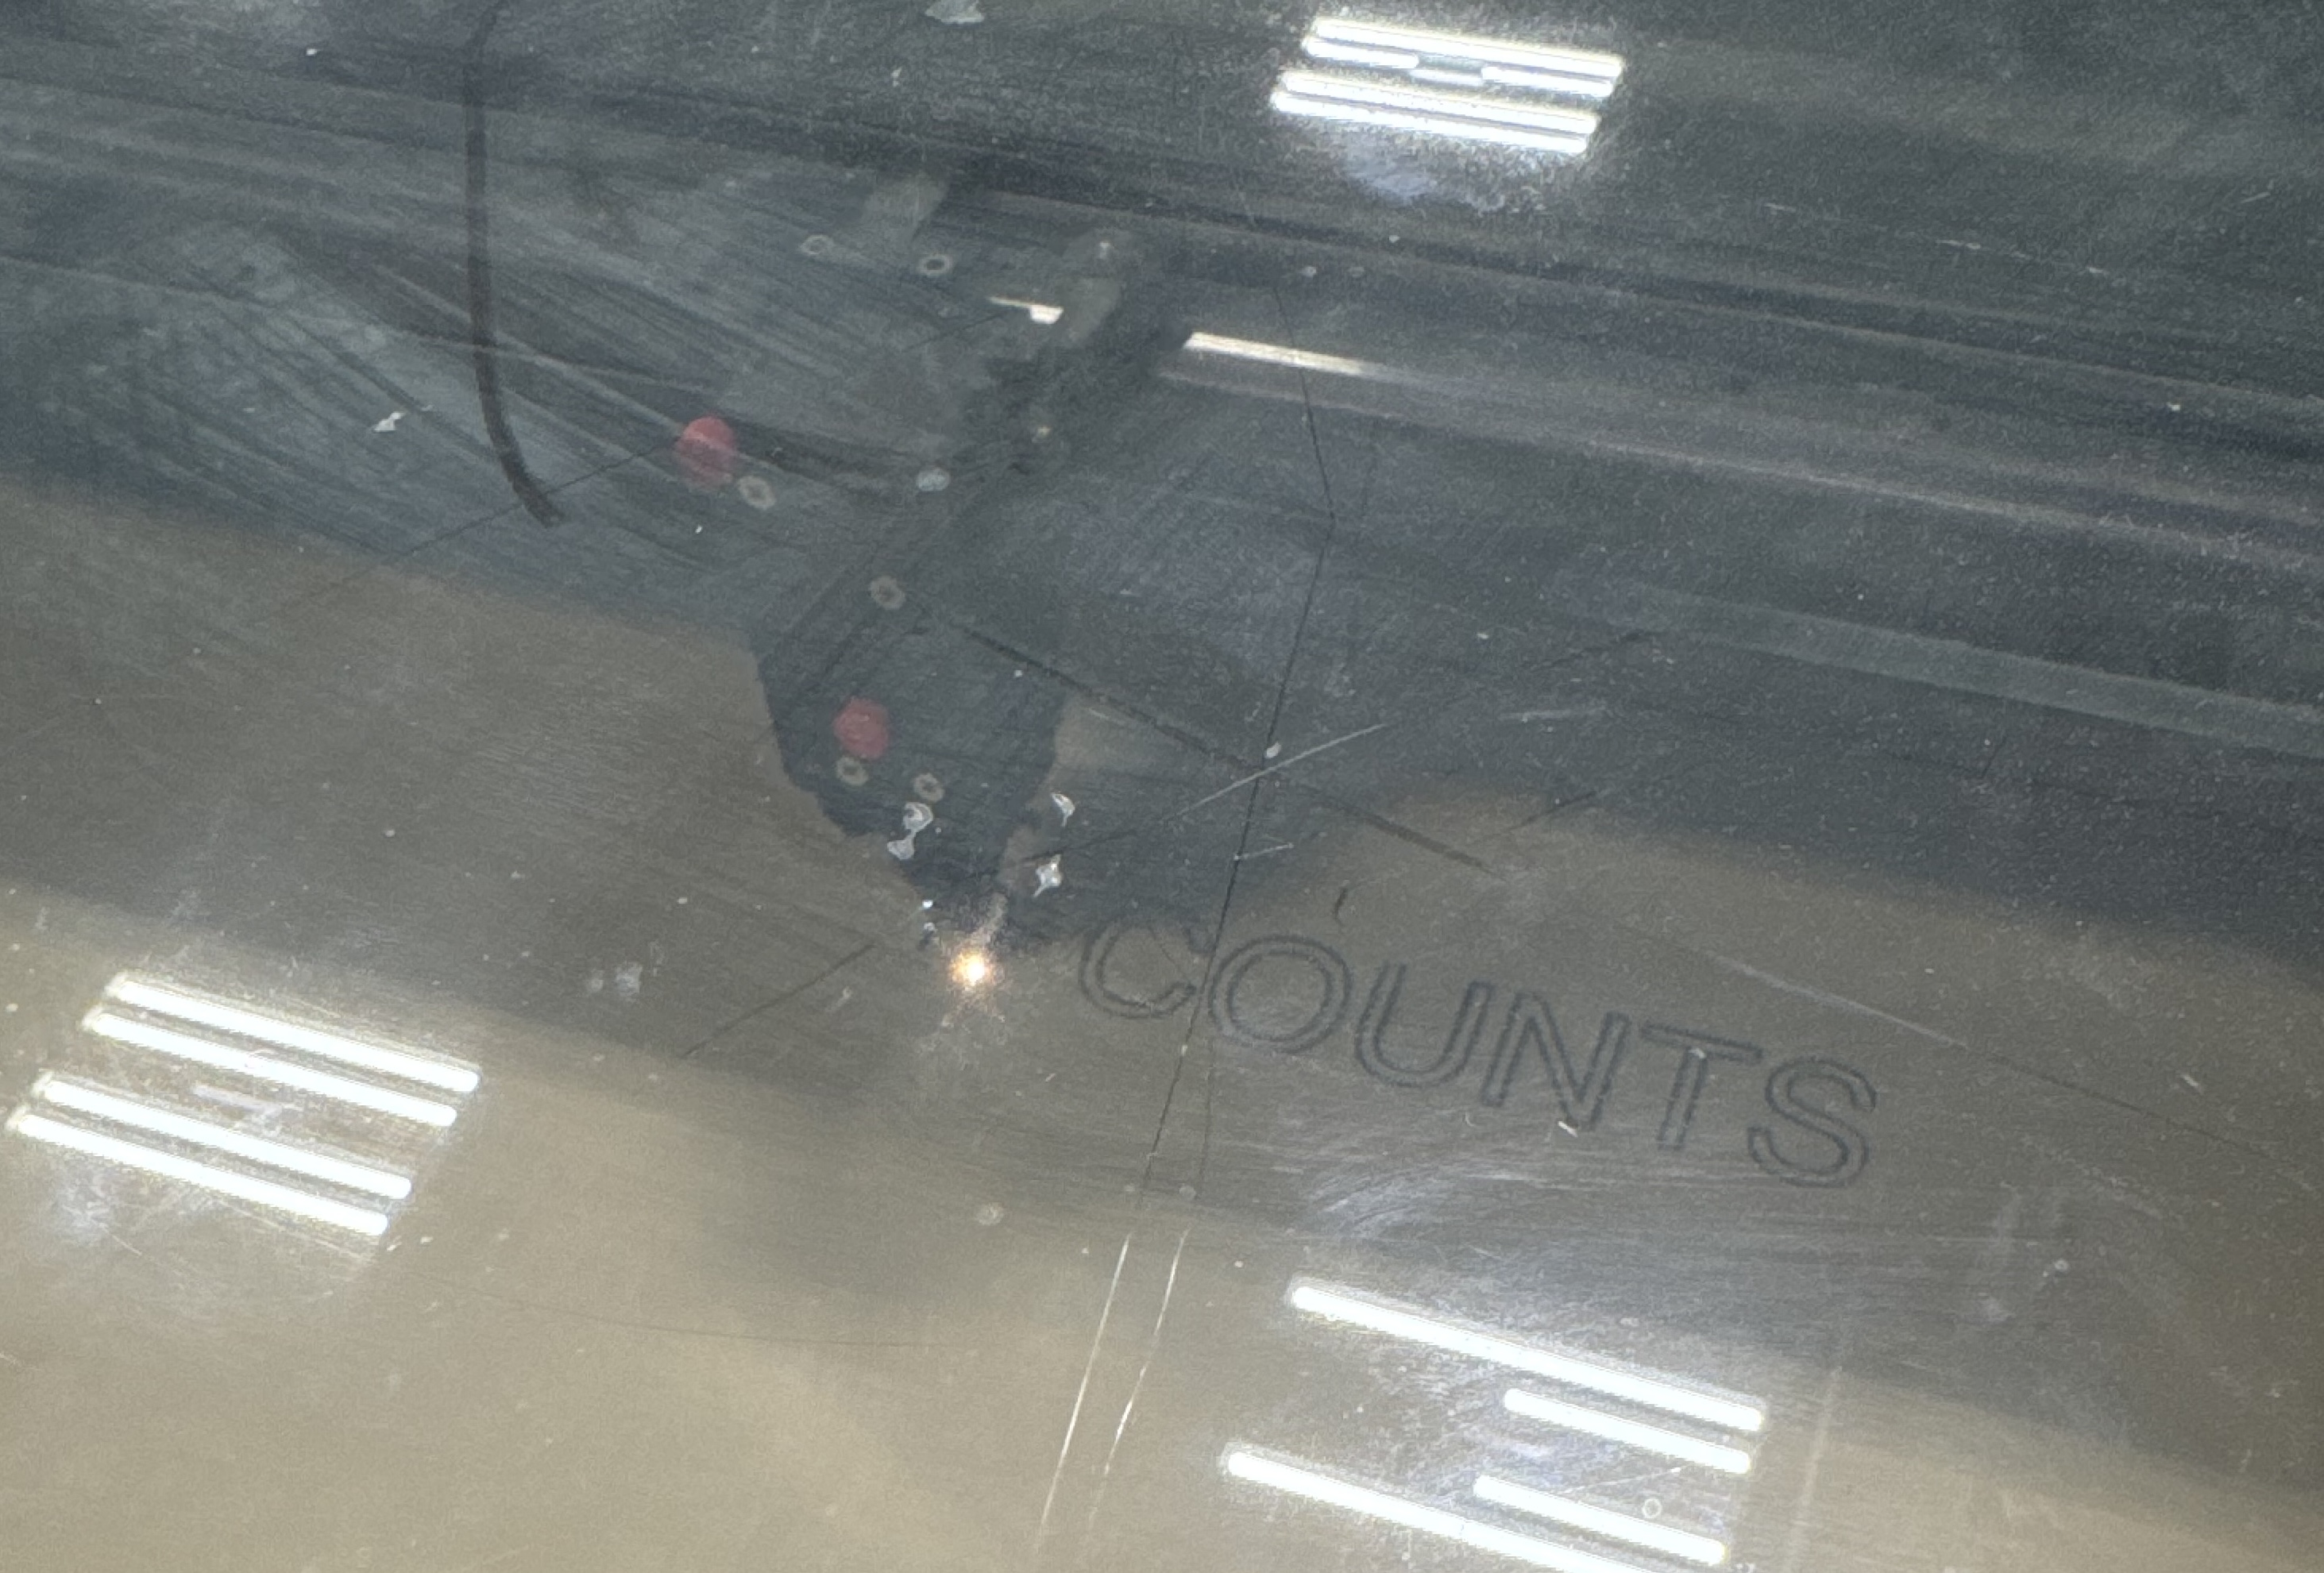
The next day (Christmas Eve), I peeled out the excess epoxy left in the letter holes, which proved to be pretty satisfying. Here’s an image:

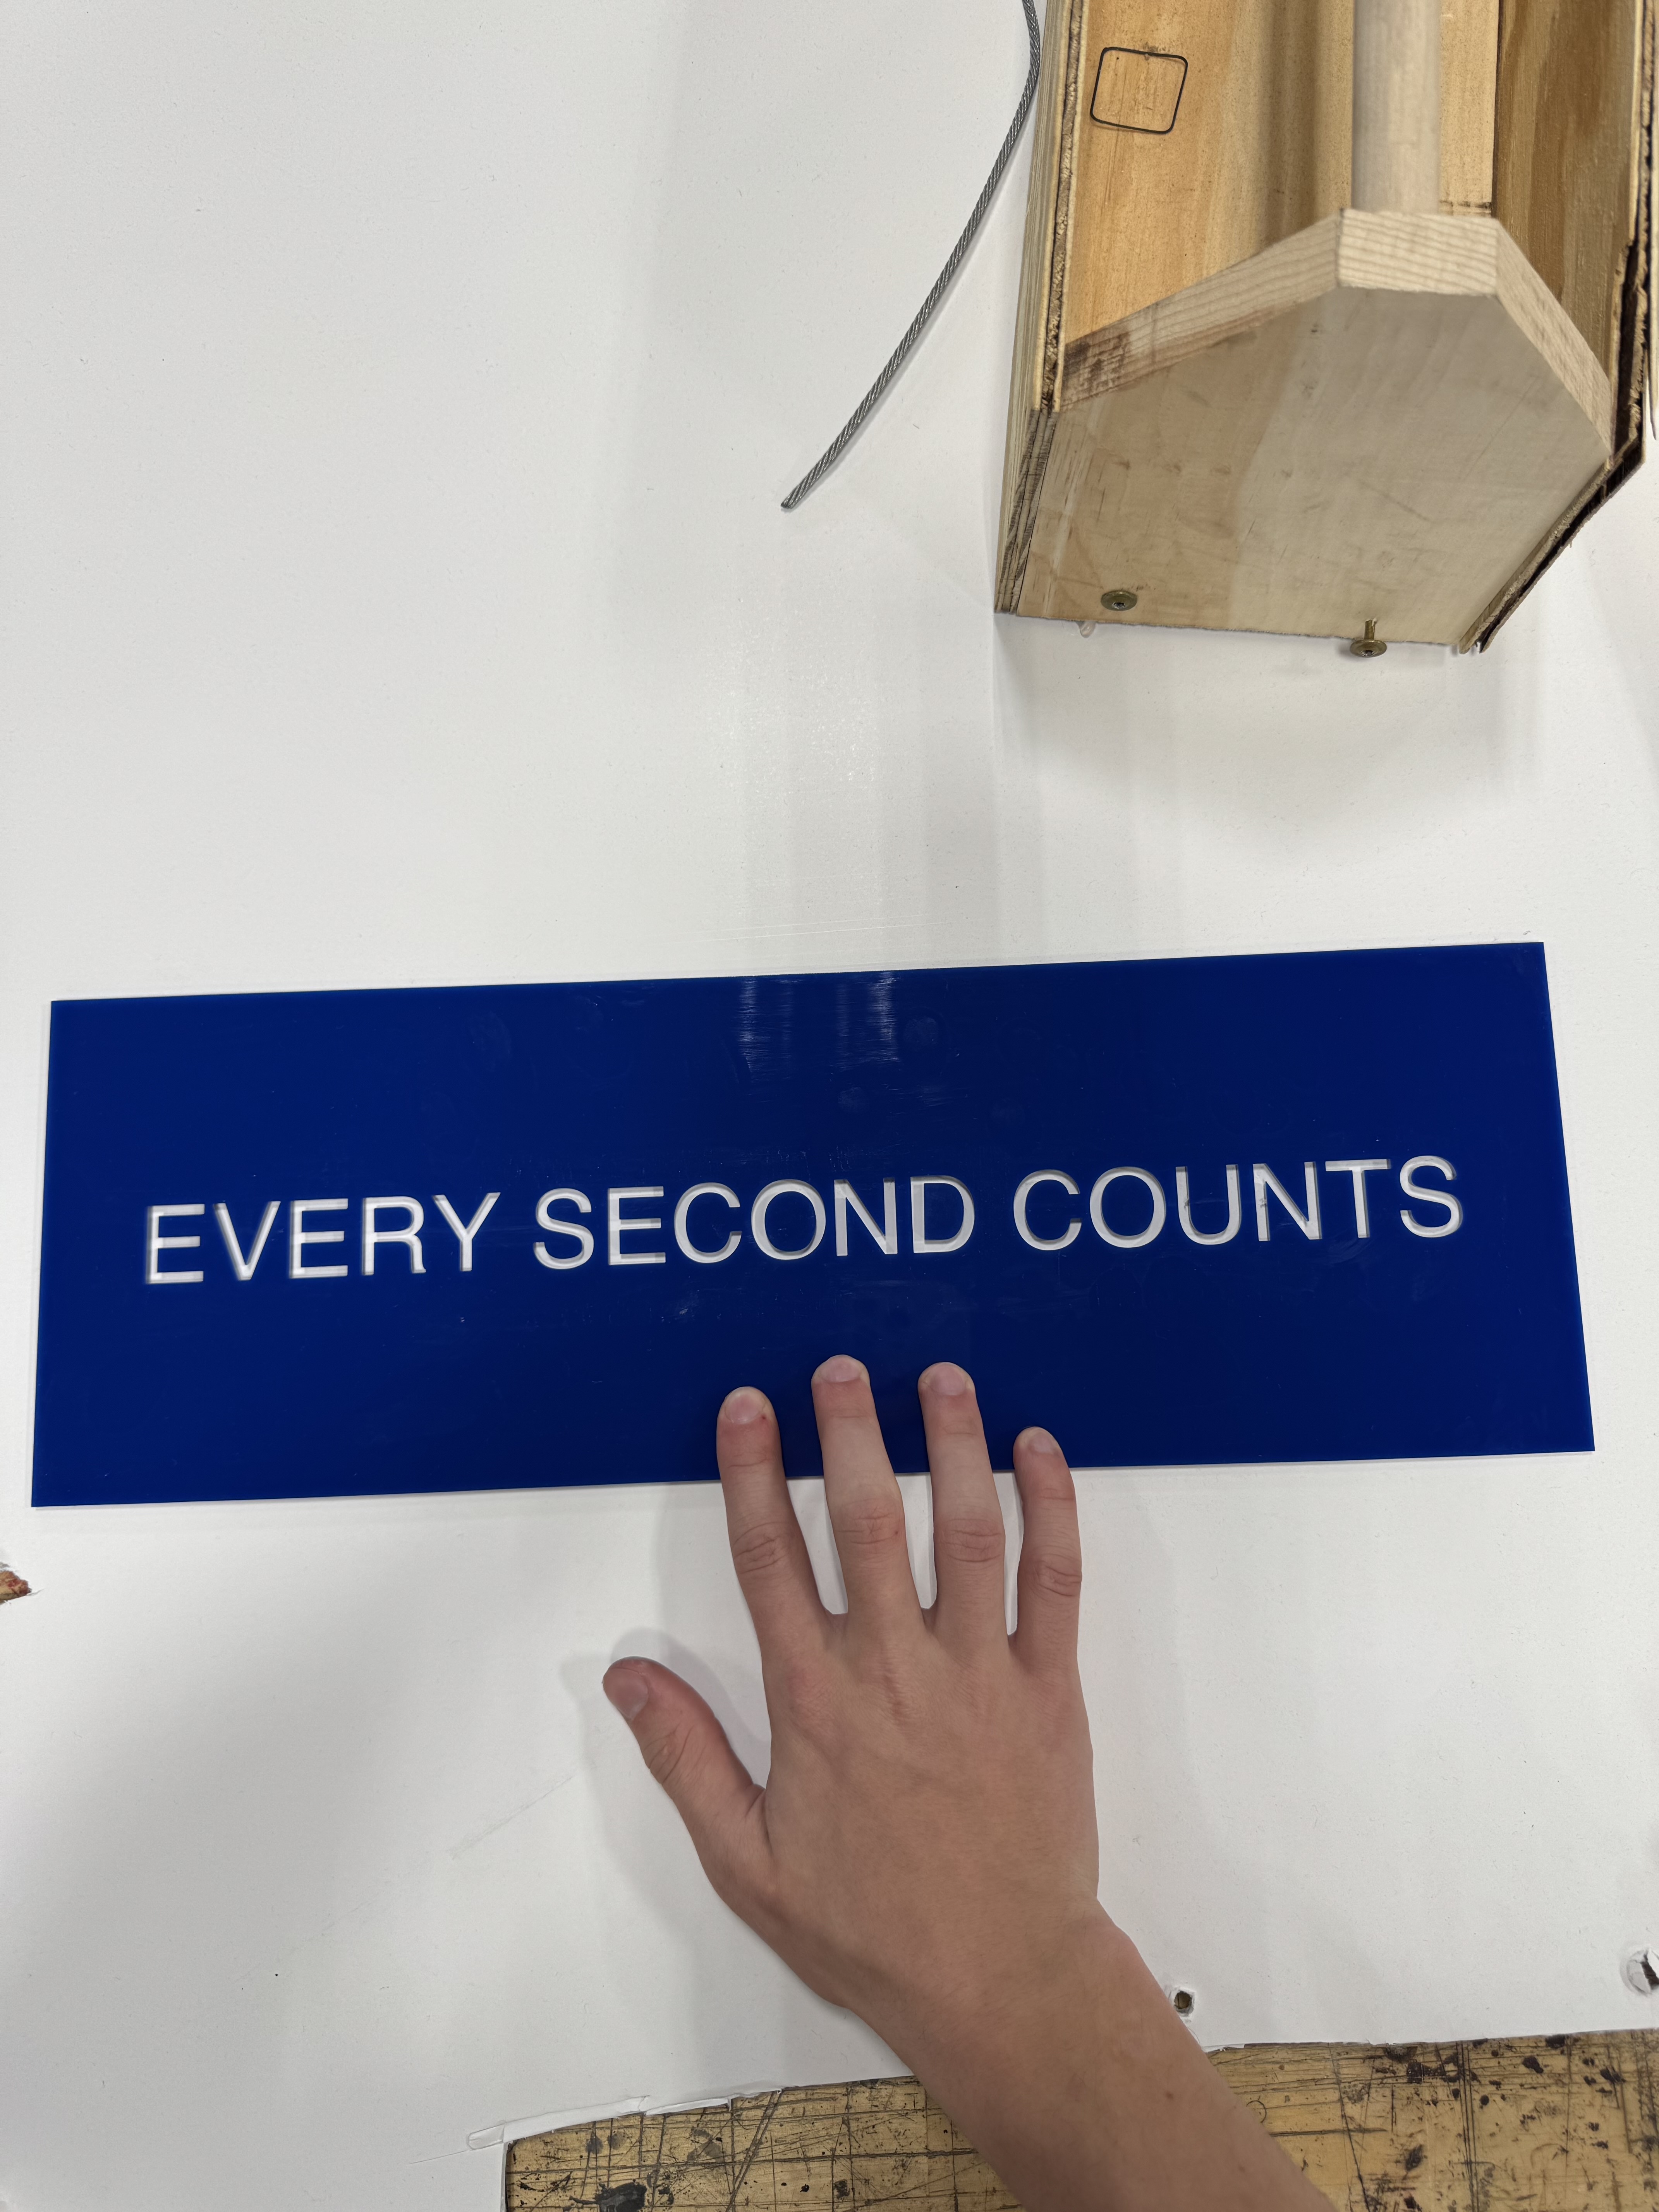
Finally, I used the E600 to glue the blue panels onto the framed whites backings and the project was complete!
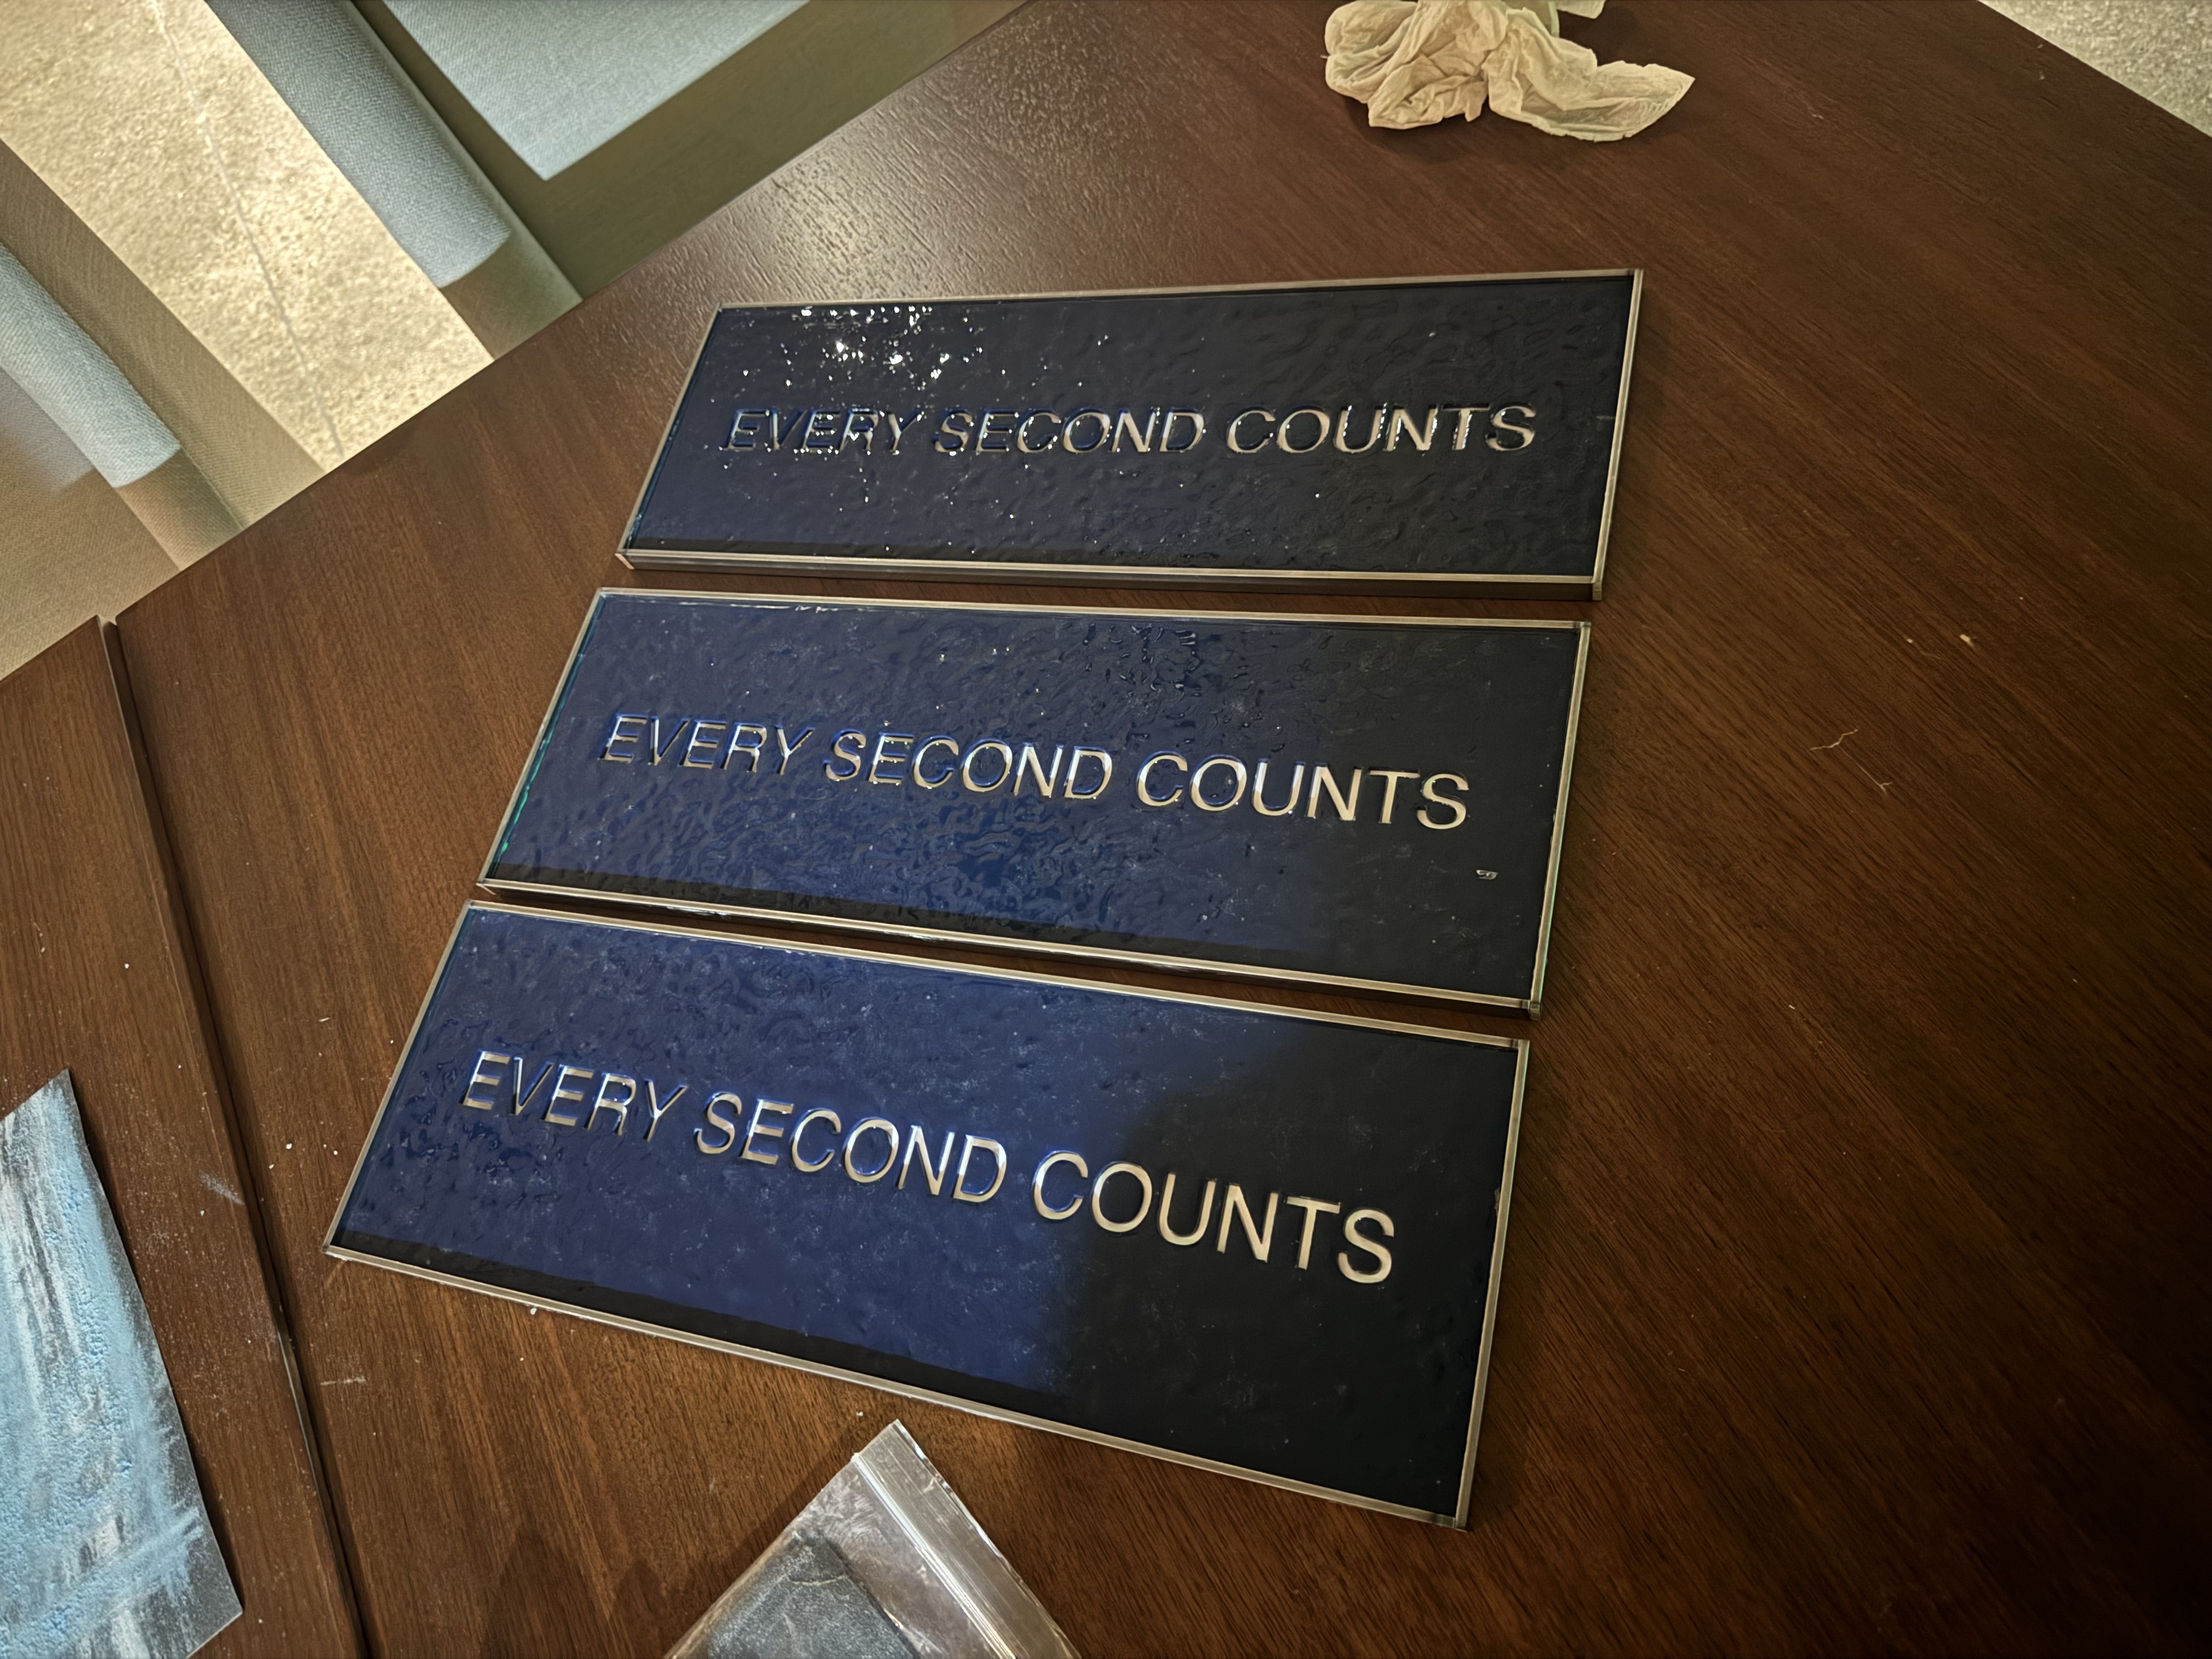
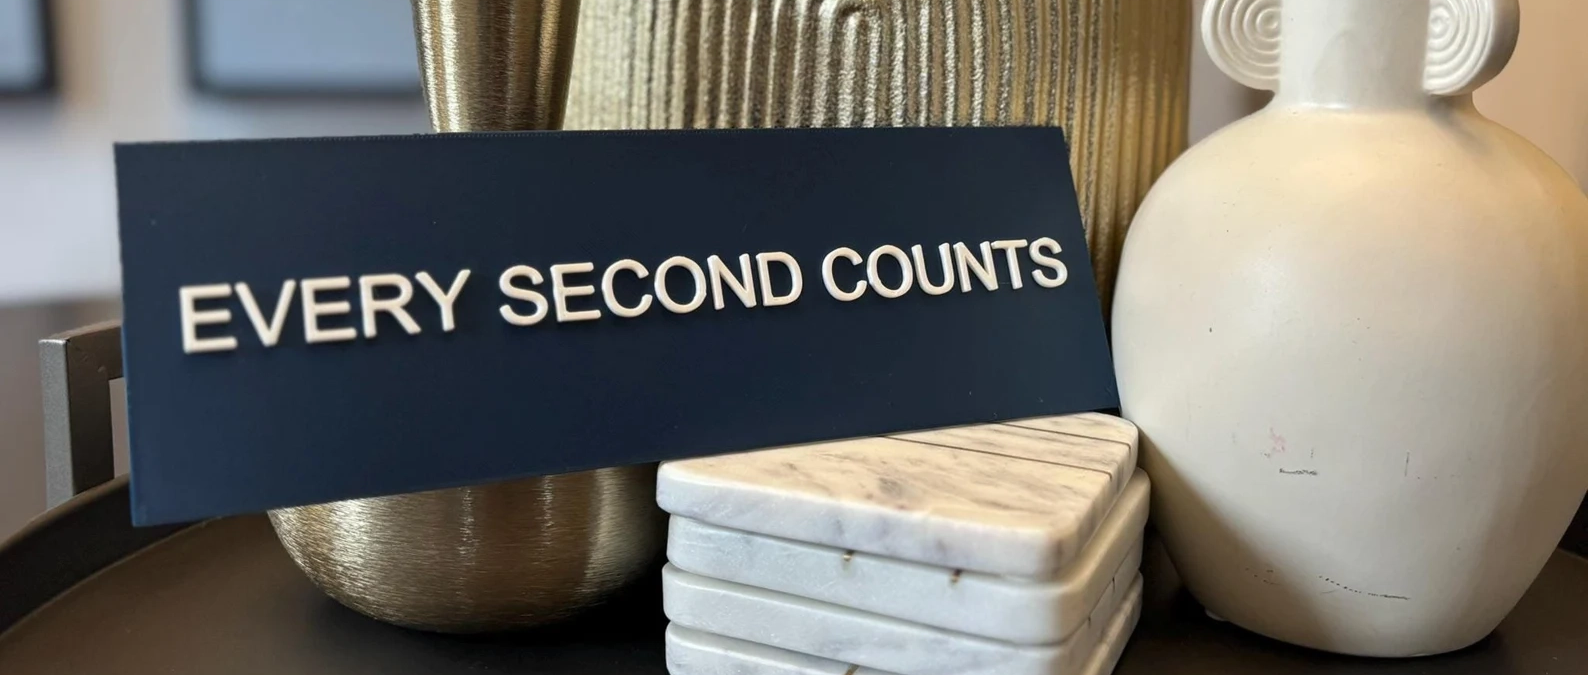
I’m really proud of the final result, and below you can see the locations of all three signs. One ended up in my Brother’s apartment (don’t have a great picture, but you can see it on the edge) and one in my parents’ kitchen. I gave the last one to my favorite teacher, Mr. Cherry, and he hung it up in his classroom
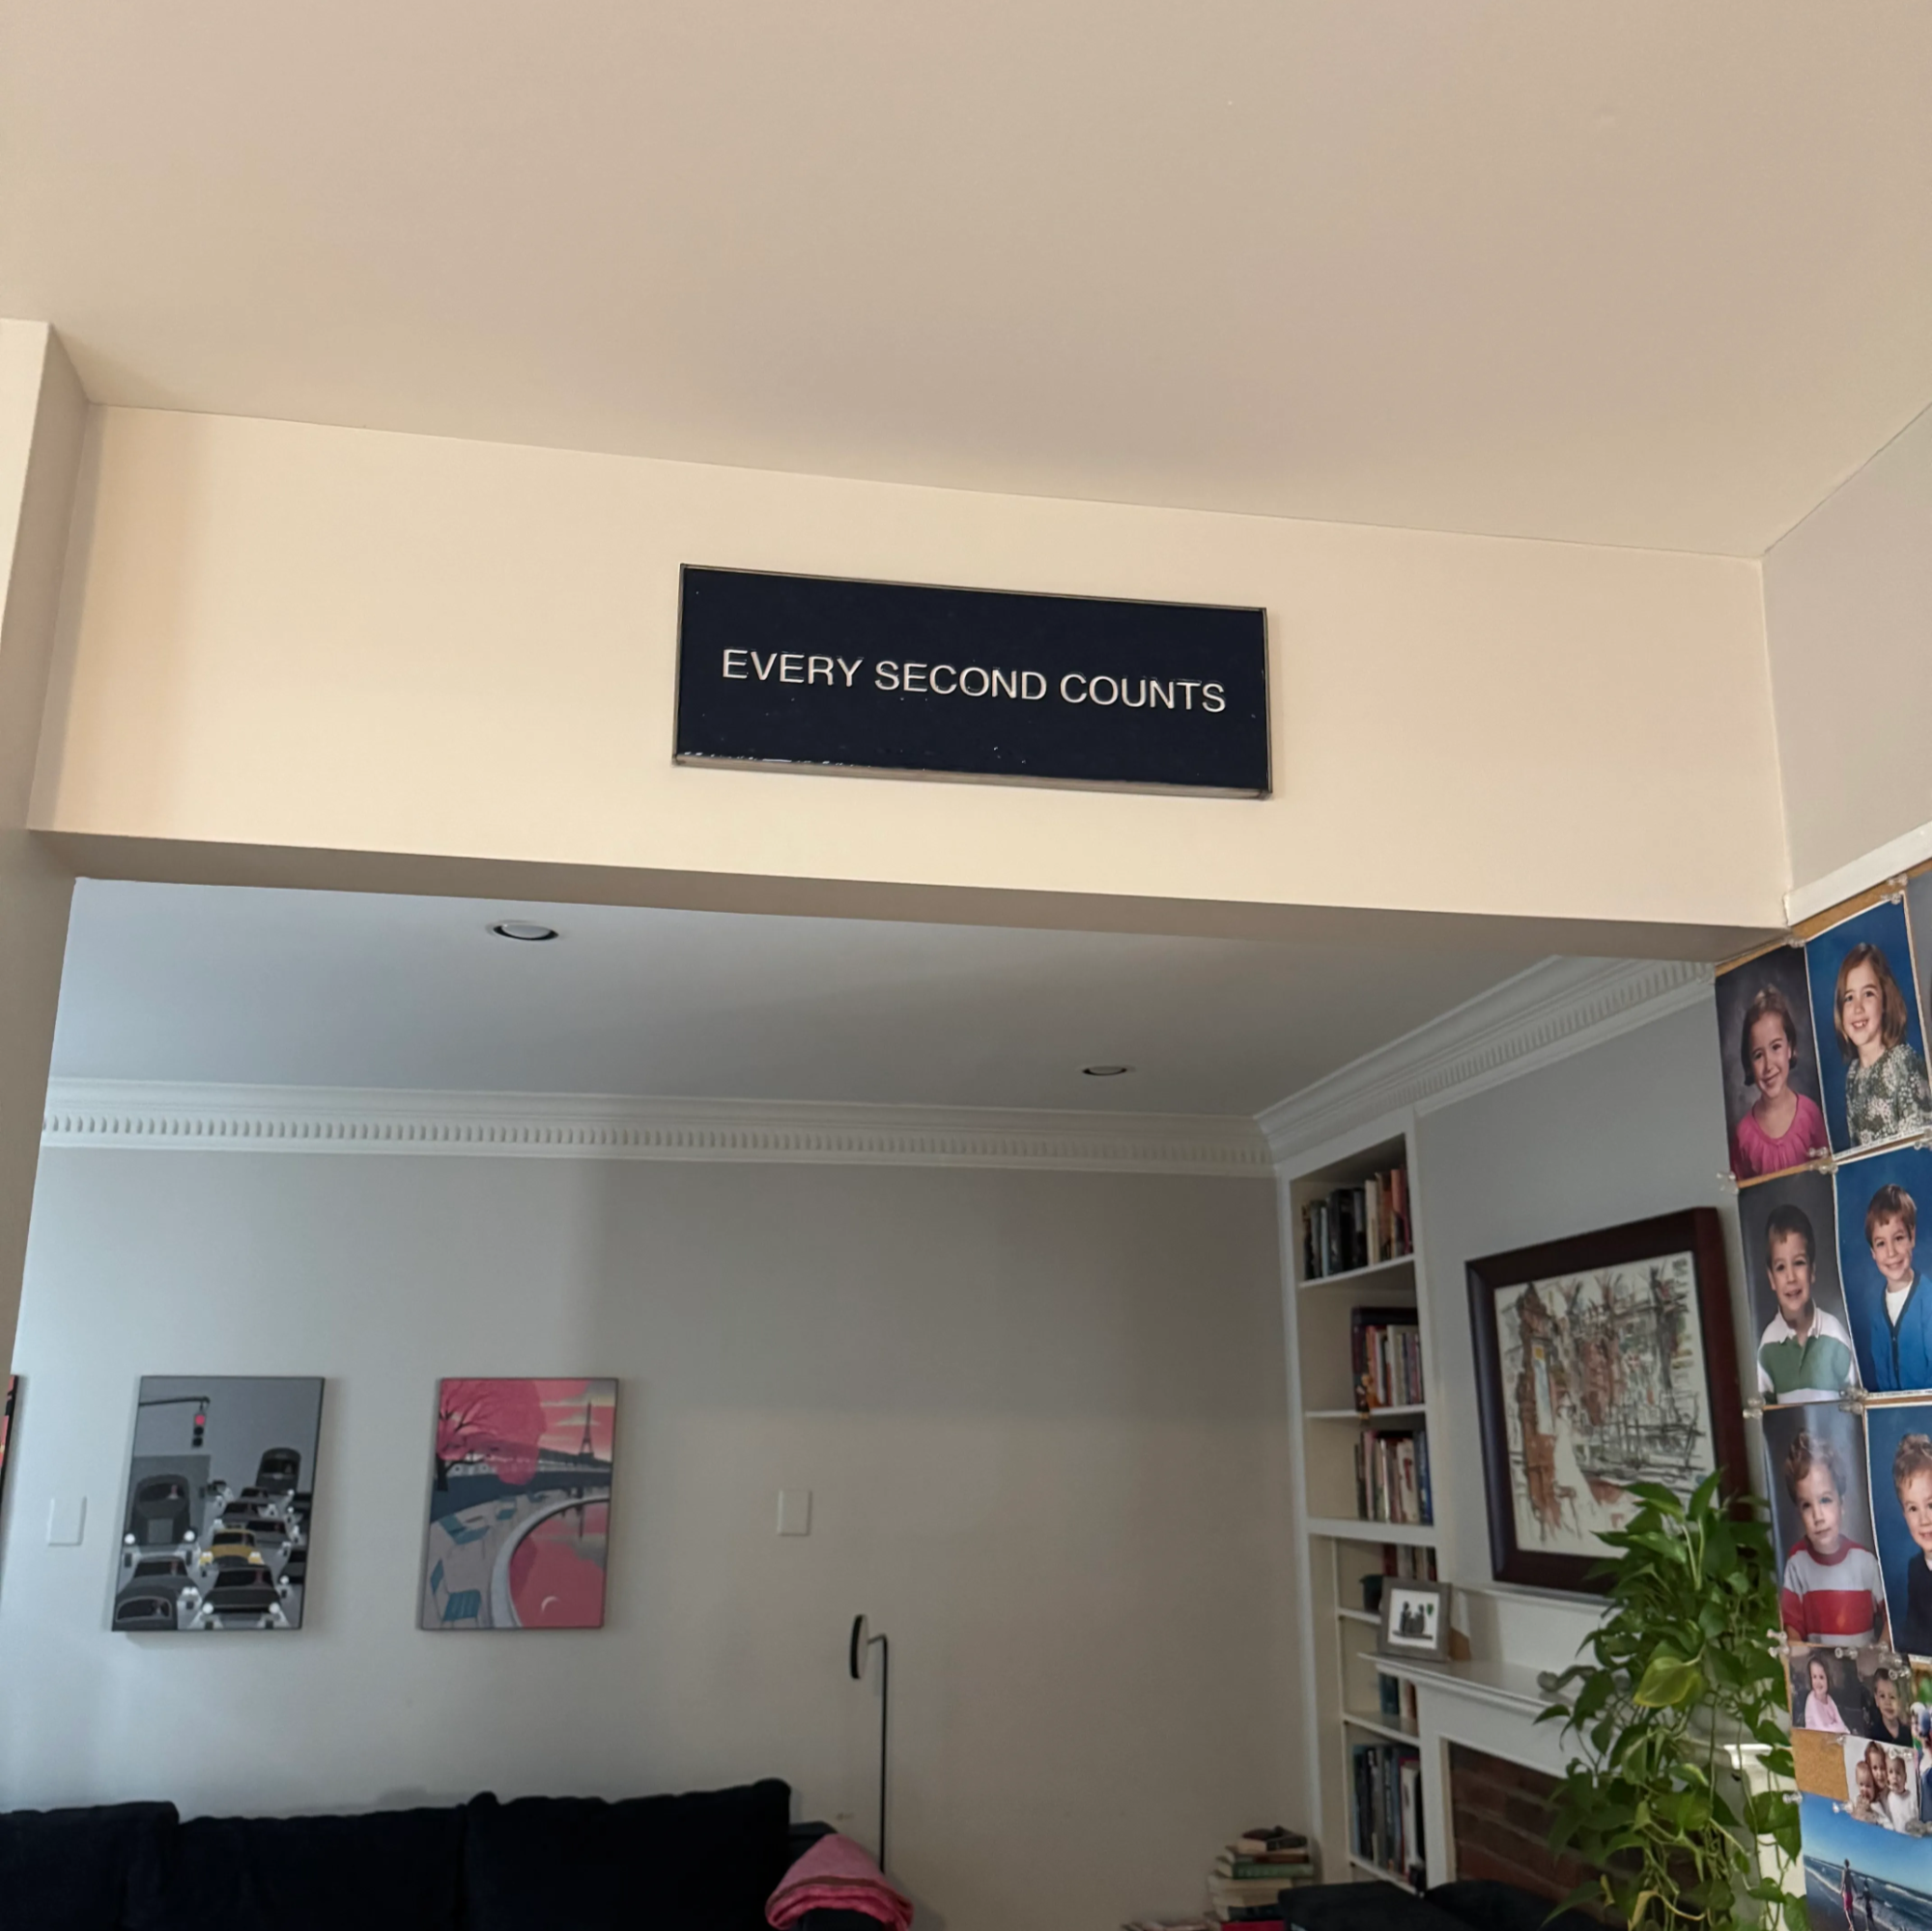
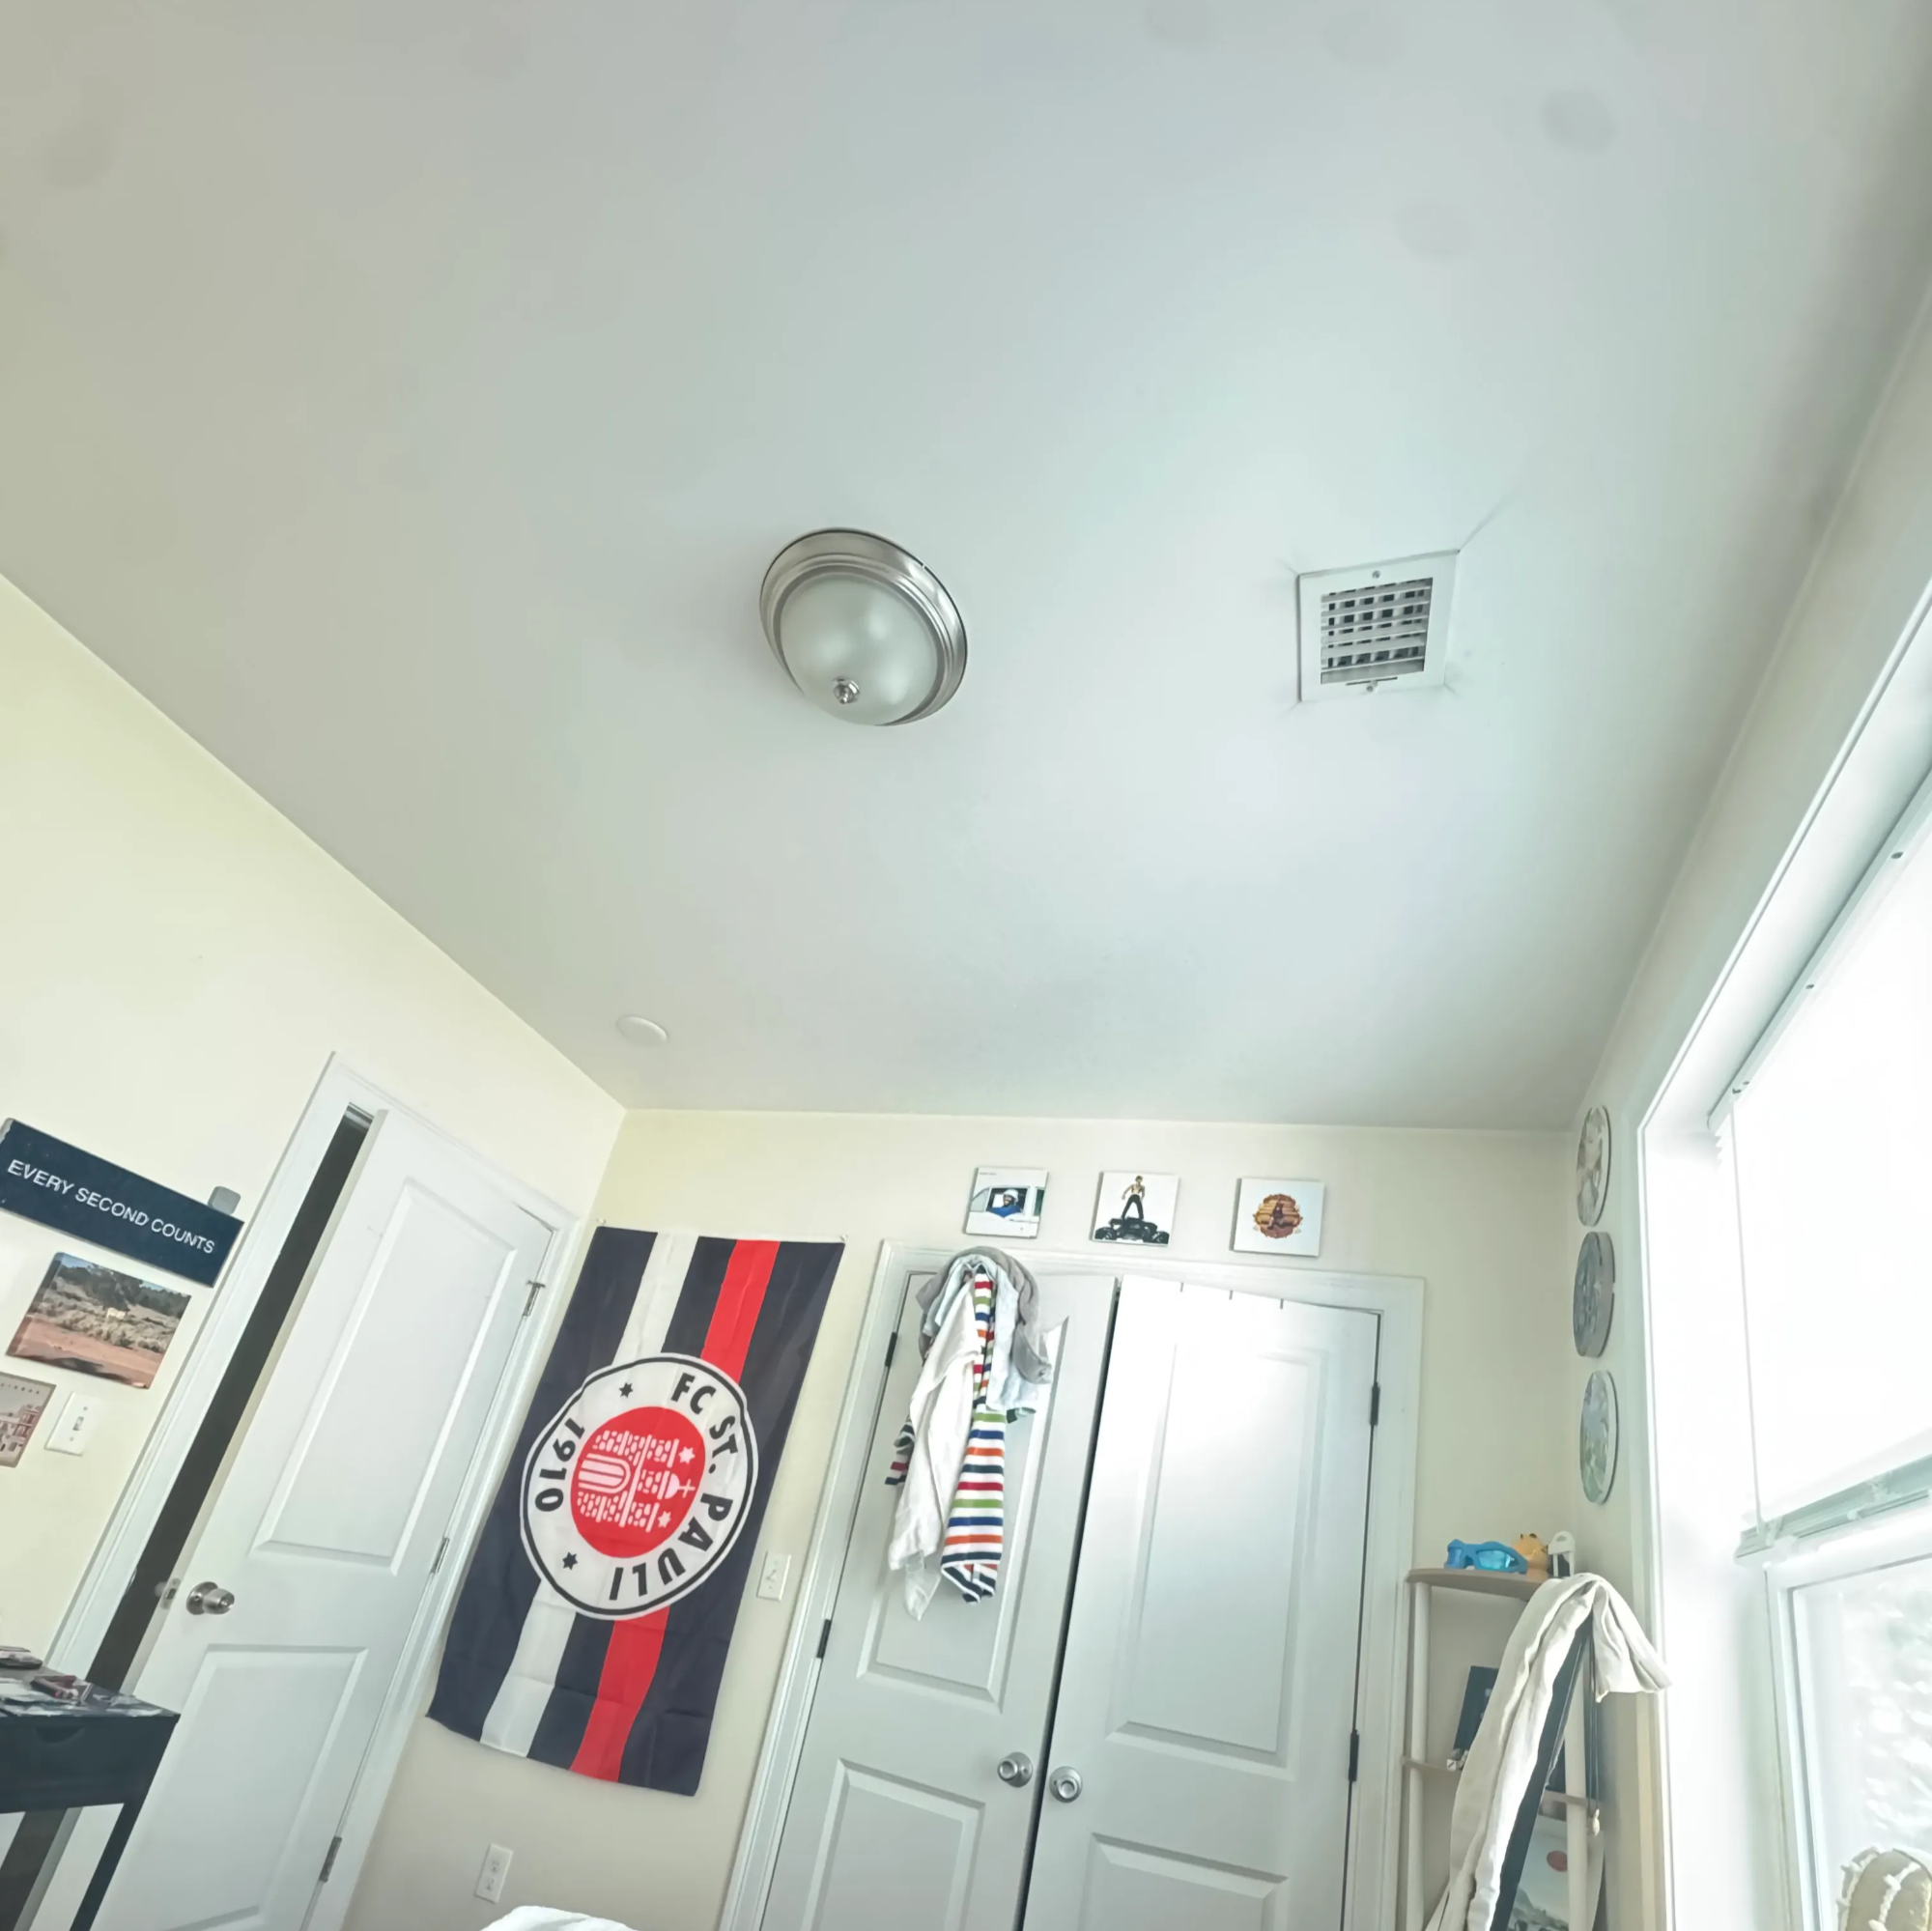
I feel confident that I replicated the signs to a high level, and I really enjoyed the process.
Update
In January 2026, I worked as a PA/runner on the set of The Bear and got to actually talk to the Set Decoration department! They said that the sign went through like 30 rounds of iteration before it was perfect.
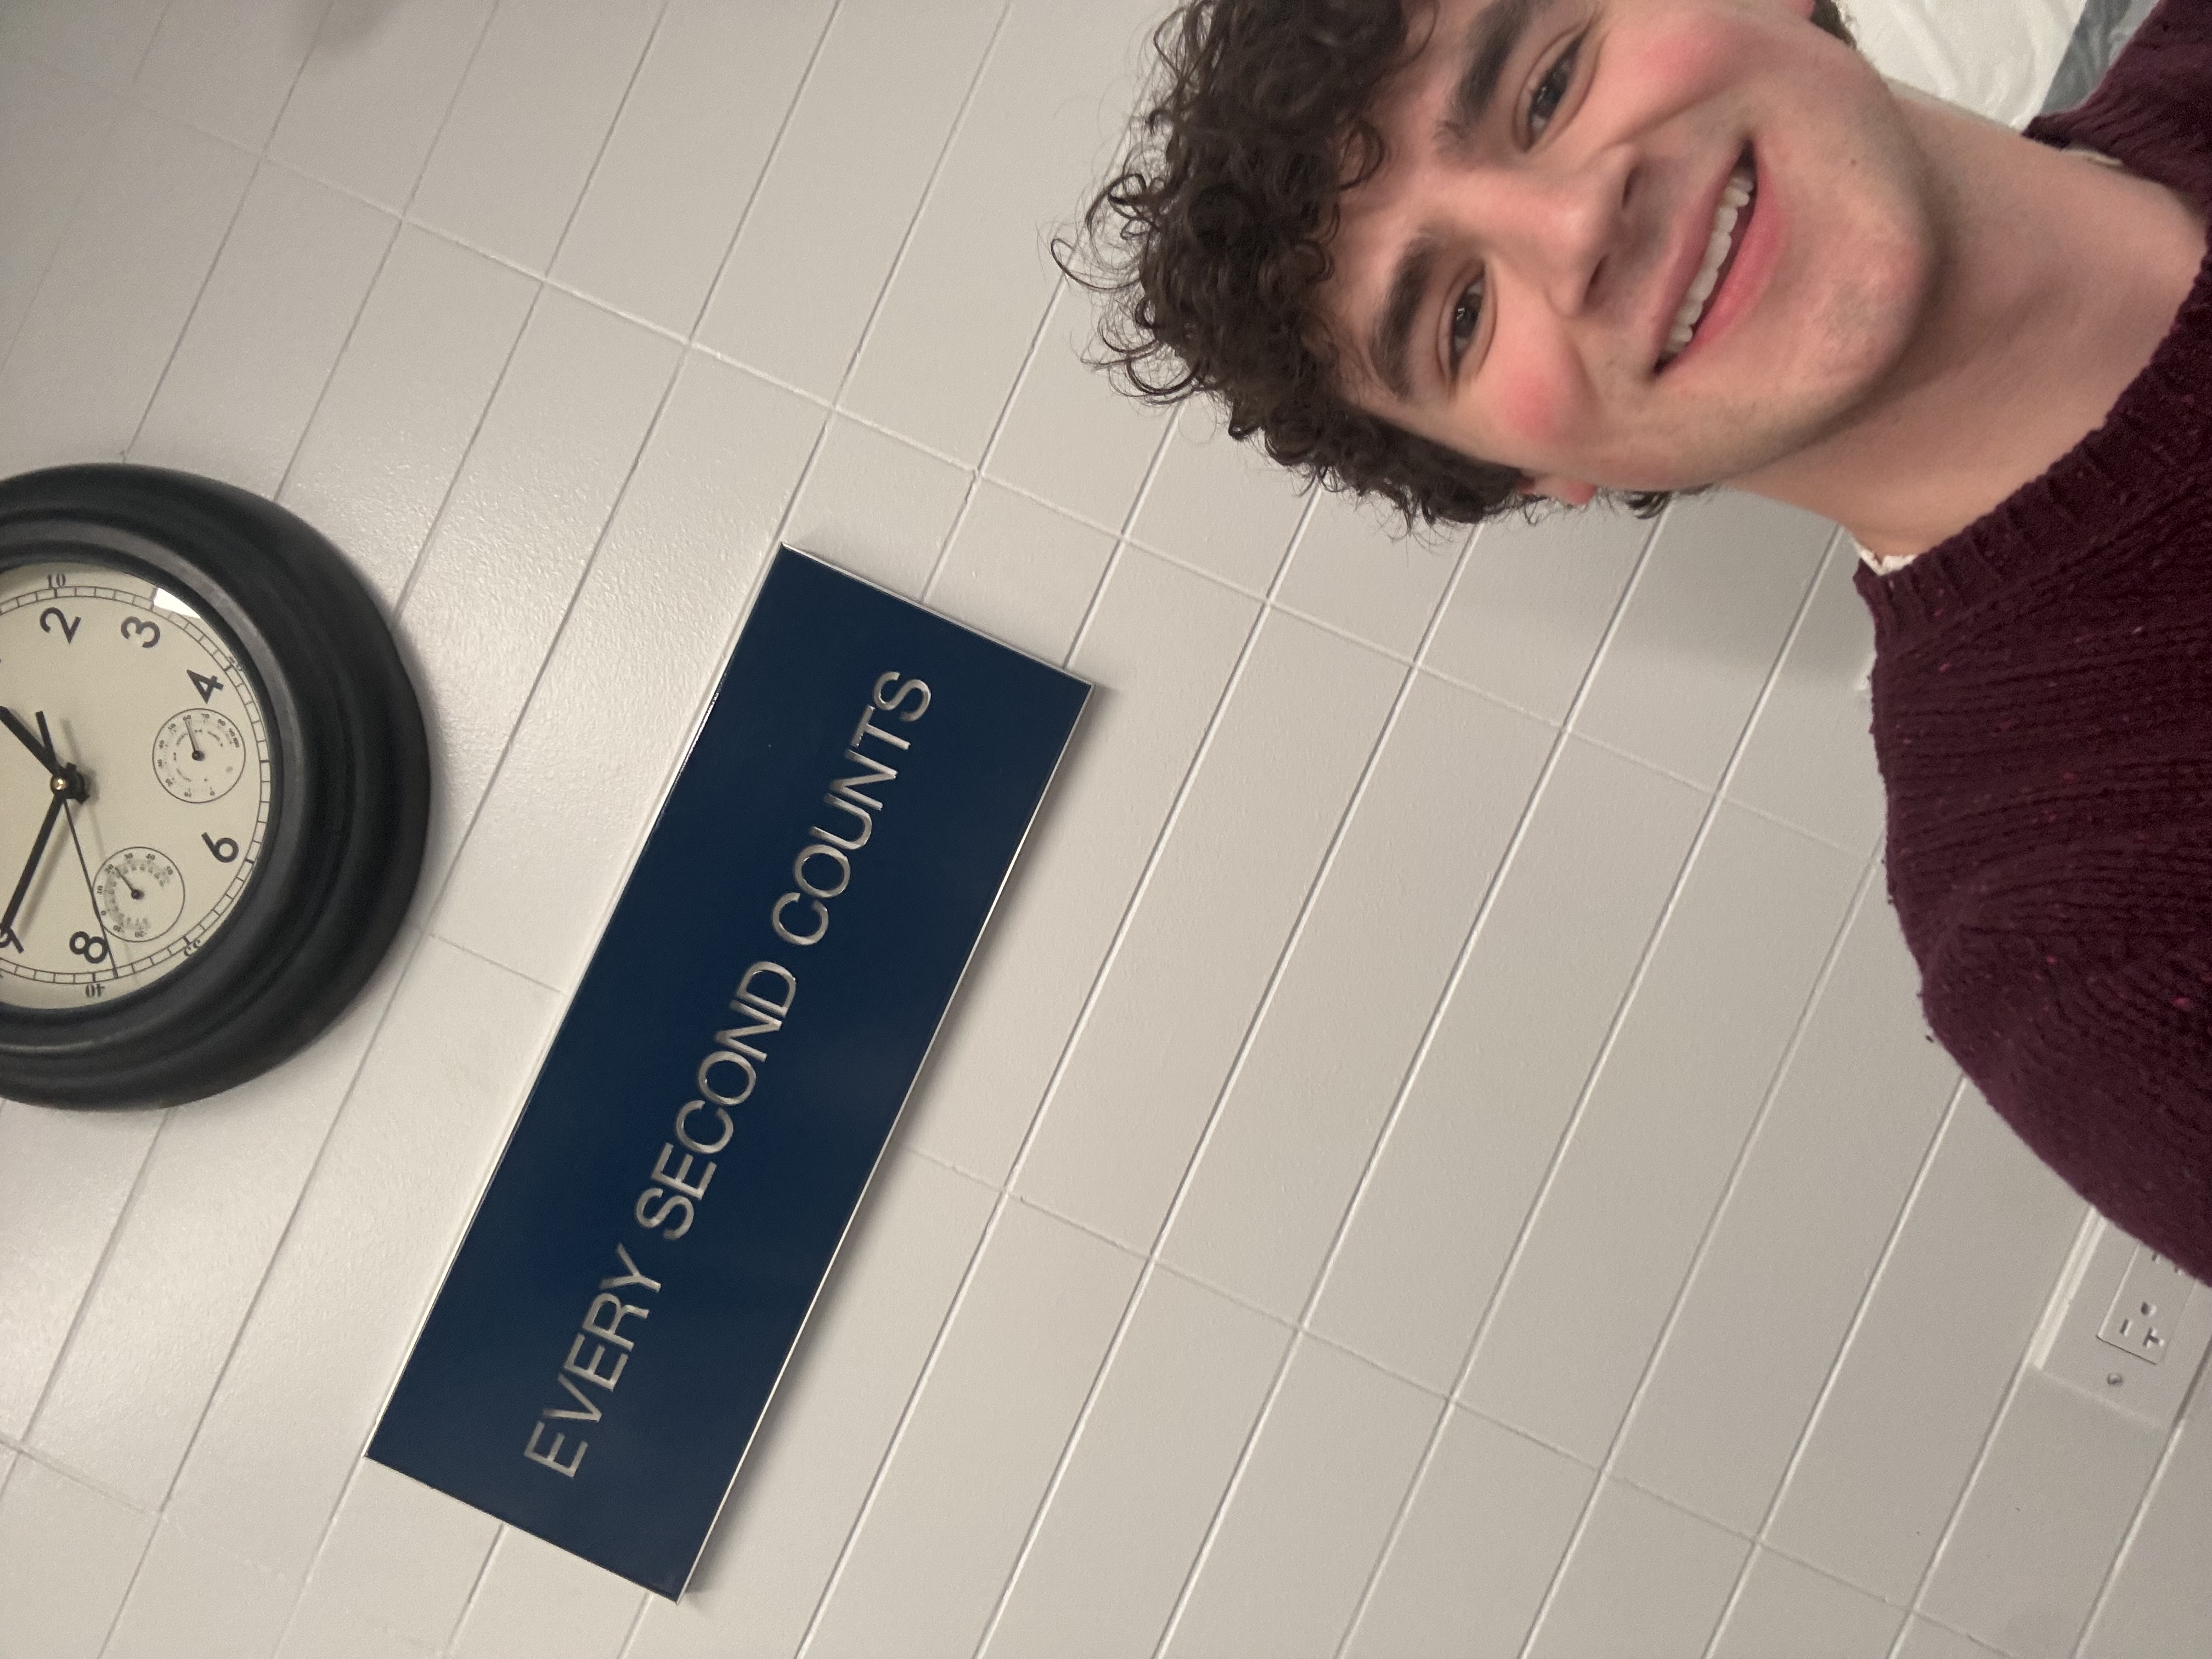
I even got to go on set and take a selfie with the actual sign!